Hugo API site
3 minute read
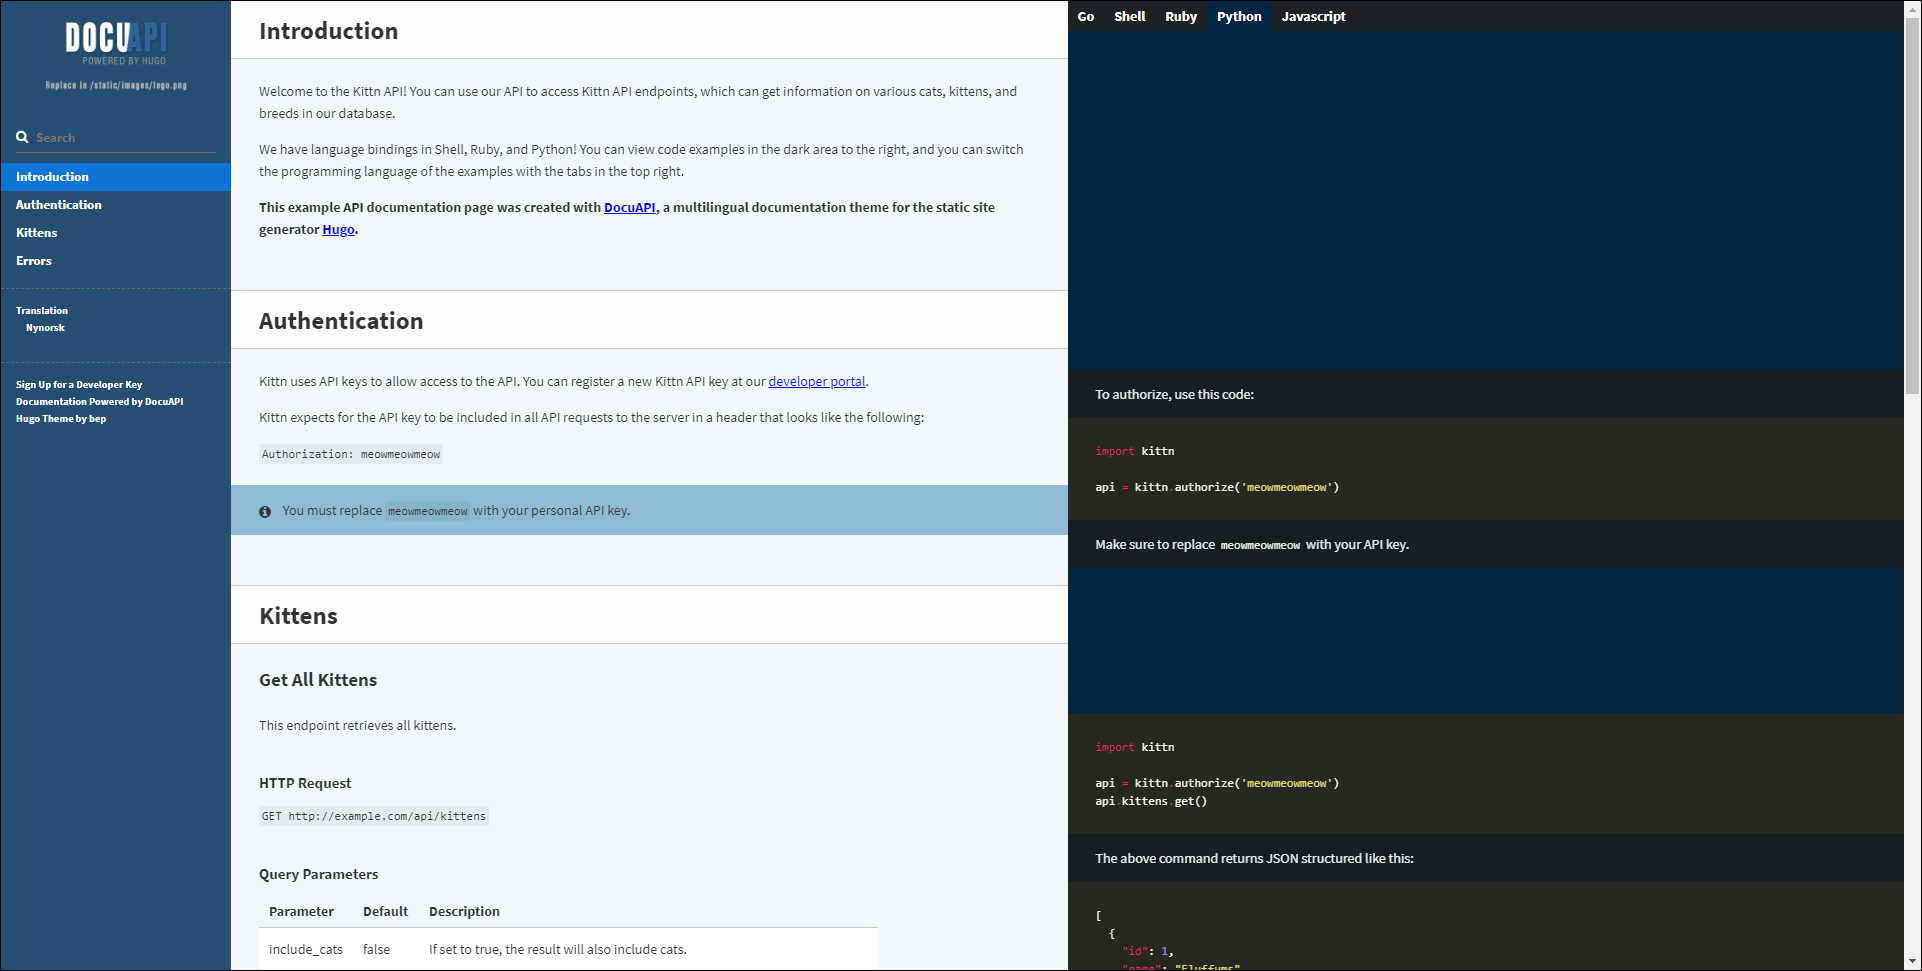
In this example, let’s build the API documentation site using the DocuAPI theme for Hugo static site generator. This Hugo theme is based on Slate. The end result will look similar to this site:
Prerequisites
-
Check that you have Hugo installed:
hugo version.If you don’t have Hugo installed on your computer, read How to install Hugo on Windows.
-
Check that you have Git client installed:
git version.If you don’t have Git client installed on your computer, read how to install Git client.
-
Check that you have:
Download the theme
To download the API documentation theme:
-
Go to the theme GitHub repository.
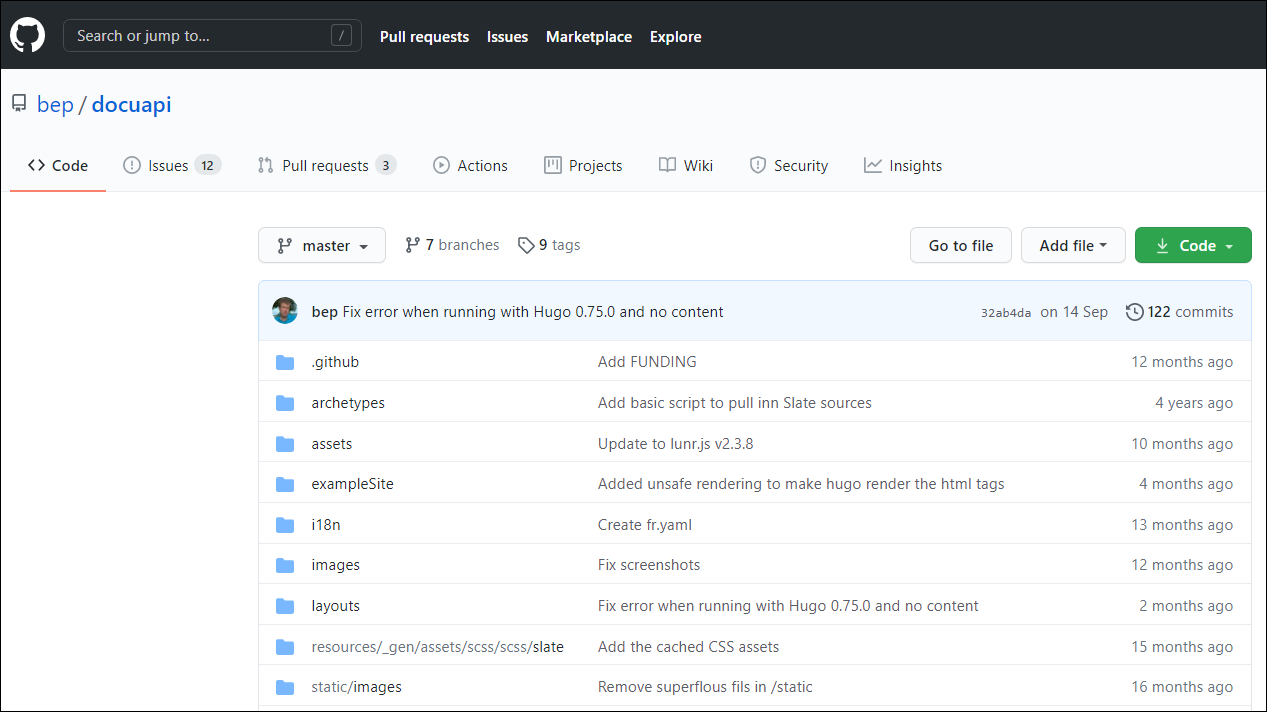
-
Download the zipped project folder.
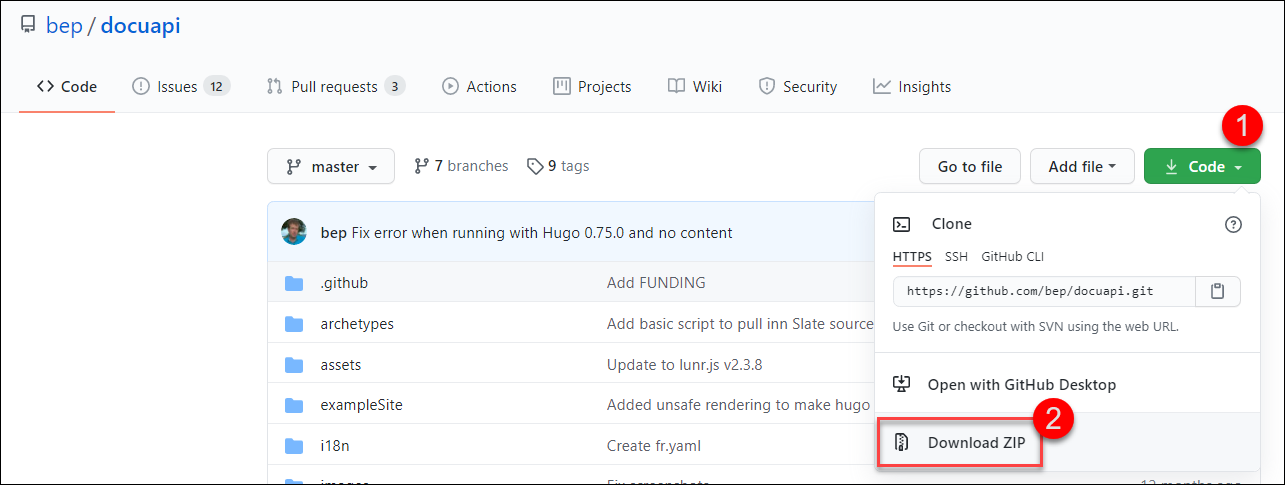
-
Unzip the project folder.
Create Hugo project
To set up a new Hugo project on your computer:
-
In the Command Prompt, enter:
hugo new site docuapiwheredocuapiis the name of the Hugo project you want to create.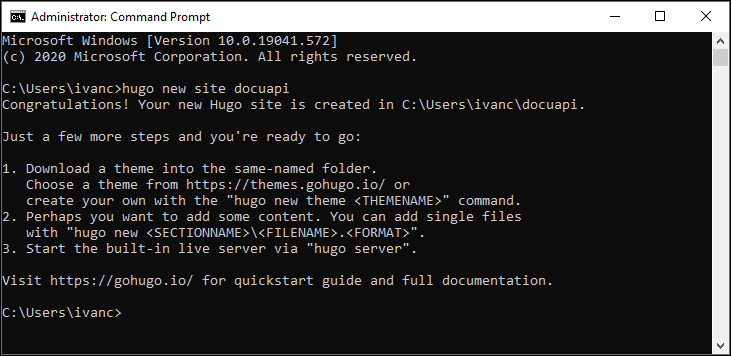
-
Copy the downloaded theme folder to the
themefolder of your Hugo project.In my case, I copy the
docuapi-masterfolder toc:\Users\ivanc\docuapi\themes\.
-
Rename the copied folder from
docuapi-mastertodocuapi. This is the theme name.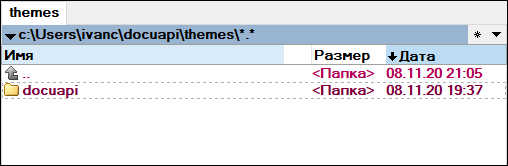
-
Open the
exampleSitefolder inc:\Users\ivanc\docuapi\themes\docuapi\exampleSite\. -
Copy everything in the
exampleSitefolder inc:\Users\ivanc\docuapi\themes\docuapi\exampleSite\to the root of the project folder inc:\Users\ivanc\docuapi\. Replace the existing folders and files when asked.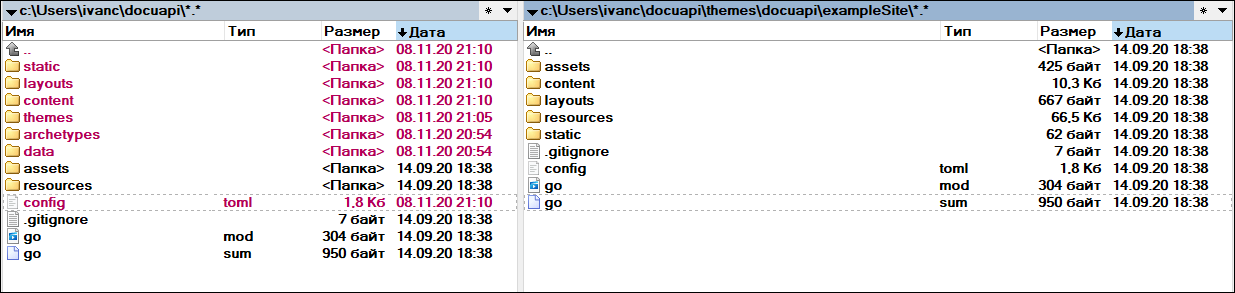
Build site locally
Before publishing the site online, let’s see how it looks locally.
To build your Hugo site locally:
-
In the command prompt, change the folder path to your Hugo folder:
cd docuapi. Press Enter. -
Enter
hugo server. Press Enter.Your site is built and served on the local server.
-
Copy the server address //localhost:1313/ and paste it in your browser.

You should see this site in your browser.
Publish site online
You will use Netlify to deploy and host your Hugo API documentation site online. To publish your site online, you need to edit the configuration files and upload the project folder to GitHub first.
Edit the configuration file
To edit the Hugo site configuration file:
-
Open the
docuapifolder in VSCode. -
Select the
config.tomlfile.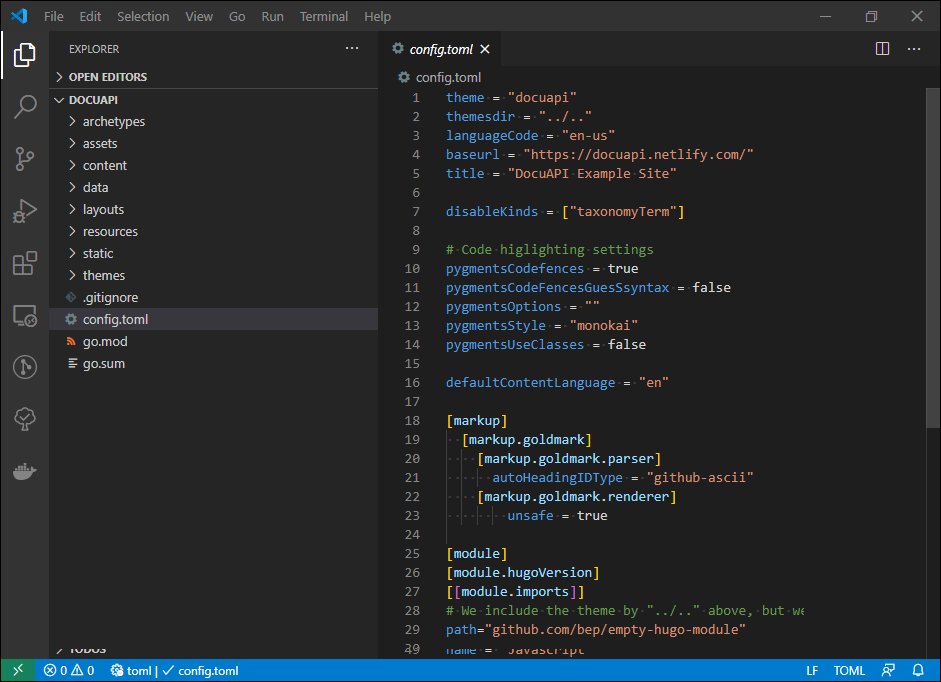
-
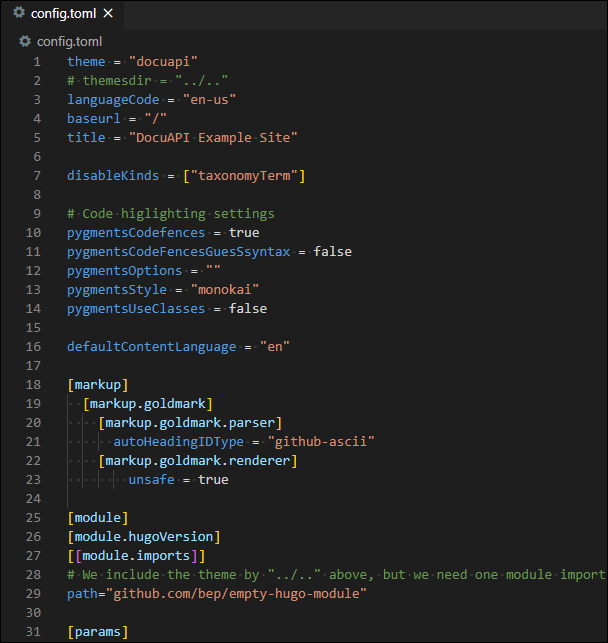
Edit the
config.tomlfile.theme = "docuapi" # themesdir = "../.." languageCode = "en-us" baseurl = "/" title = "DocuAPI Example Site"The config should look like this.
Edit the Netlify configuration file
You need to edit the Netlify configuration file for correct deploy to the Netlify service.
To edit the Netlify config:
-
In VSCode, select the
netlify.tomlfile. In my case, it’s located inc:\Users\ivanc\docuapi\themes\docuapi\.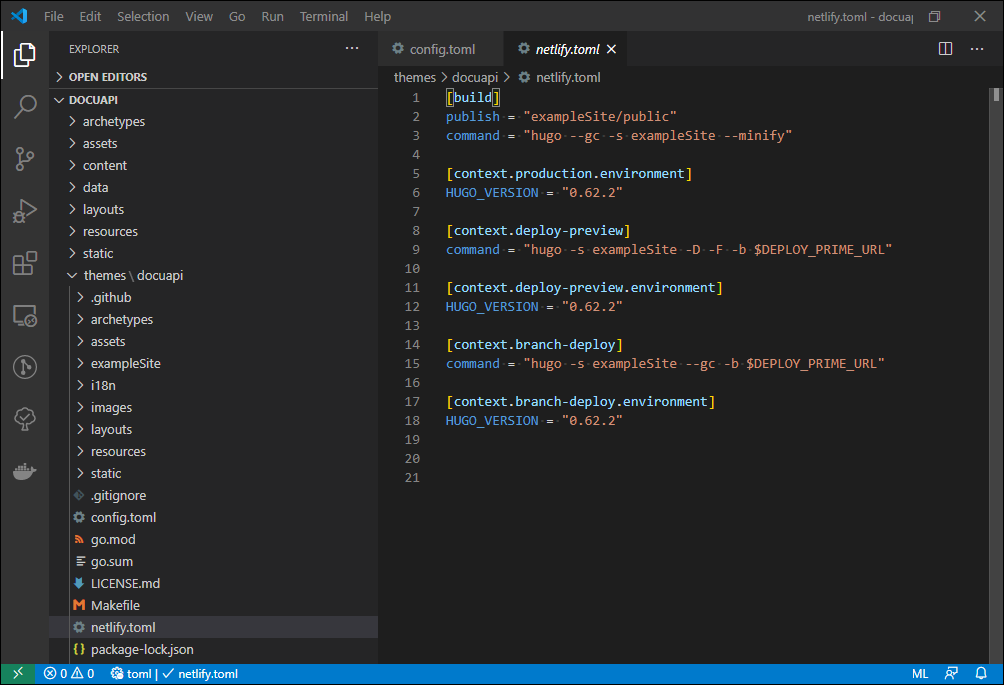
-
Edit the file.
[context.production.environment] HUGO_VERSION = "0.78.1" -
Change the value for
HUGO_VERSIONto your Hugo version.Note
To find out your Hugo version, enterhugo versionin the Command Prompt.The edited
netlify.tomlfile should look like this.
-
Move the
netlify.tomlfile from the theme folderc:\Users\ivanc\docuapi\themes\docuapi\to the project root folderc:\Users\ivanc\docuapi\.
Upload project folder to GitHub
To upload the project folder to GitHub:
-
In VSCode, open the project folder.
-
Select the Source Control icon.
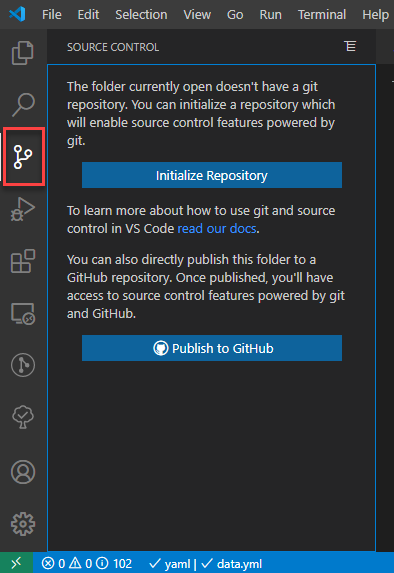
-
Select Publish to GitHub.
-
Select Publish to GitHub public repository.
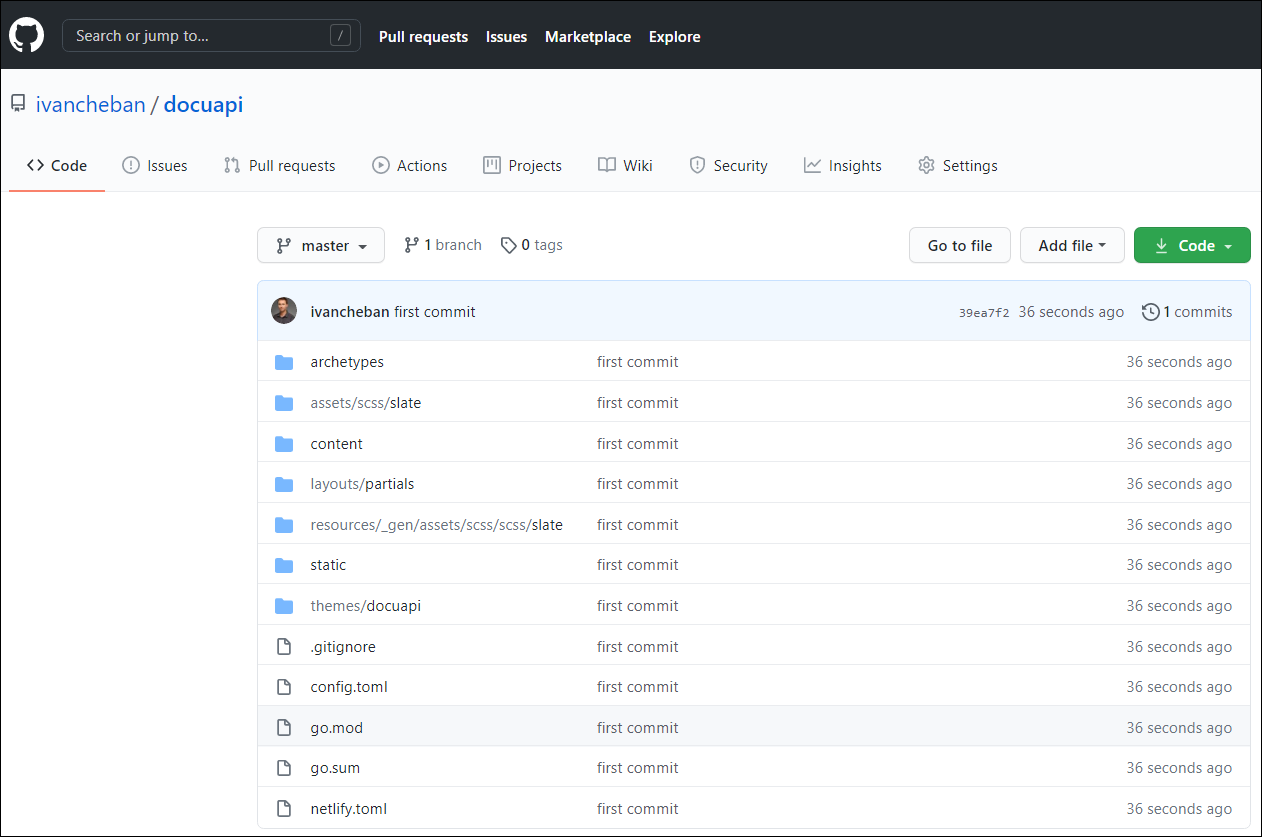
When the project folder has been uploaded to the GitHub repository, you will see the success message.
-
Select Open in GitHub to view your project folder uploaded and synced to the GitHub repository.
Publish with Netlify
To publish your site online:
-
Log in to Netlify.
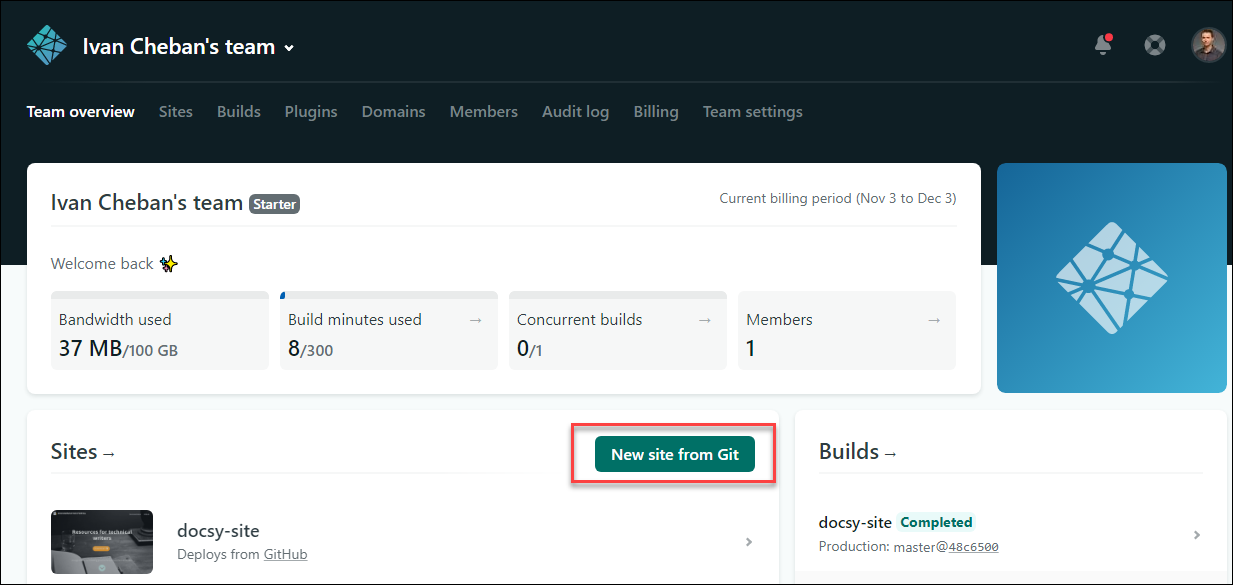
-
Select New site from Git.
-
Select GitHub.
-
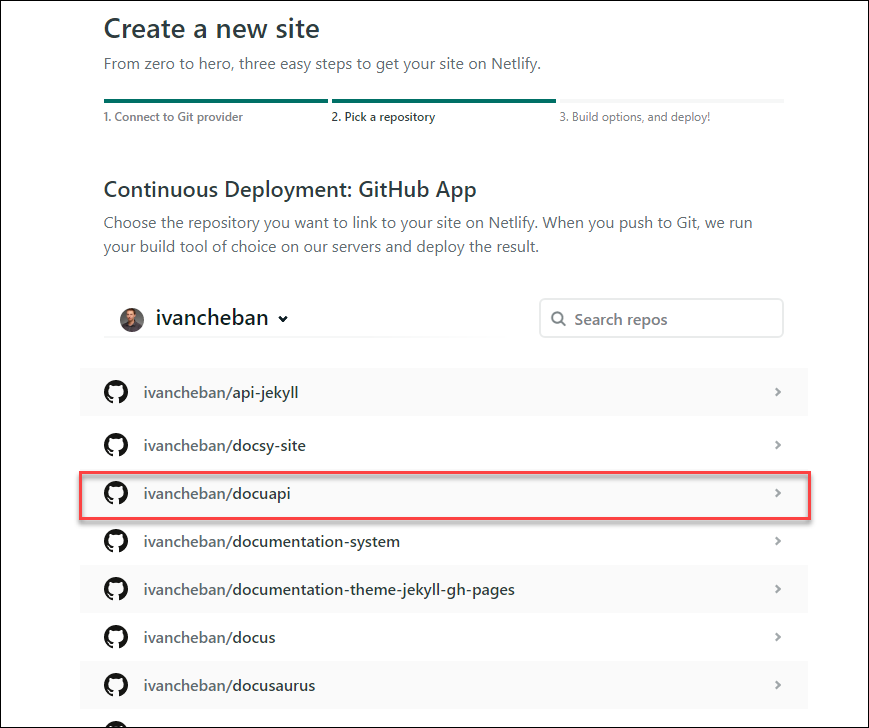
Select your docuapi repository.
-
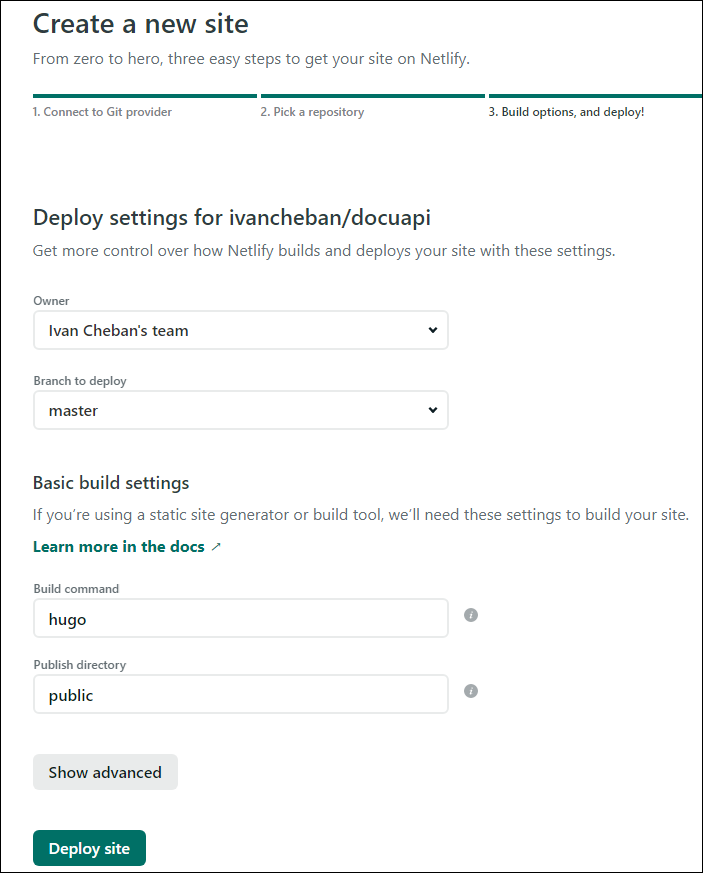
In the Build Command field, enter
hugo. -
In the Publish directory field, enter
public. -
Select Deploy site.
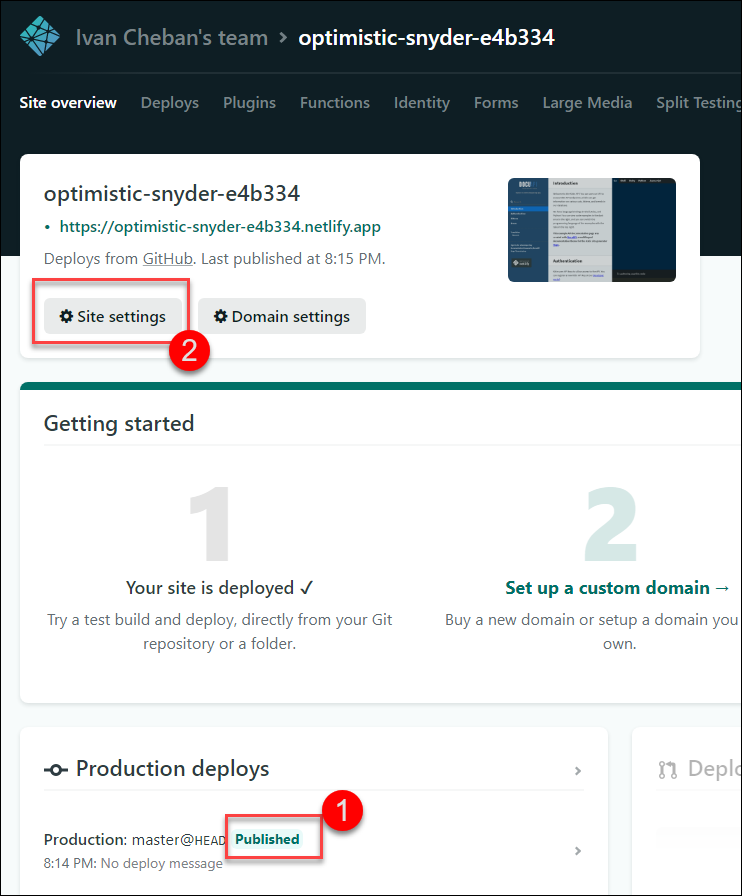
Wait until Netlify deploys your site with some funny name. You should see the green Published message.
-
To change the site name, select Site settings.
-
Select Change site name and enter the available name. In my case, it’s
docuapi-test.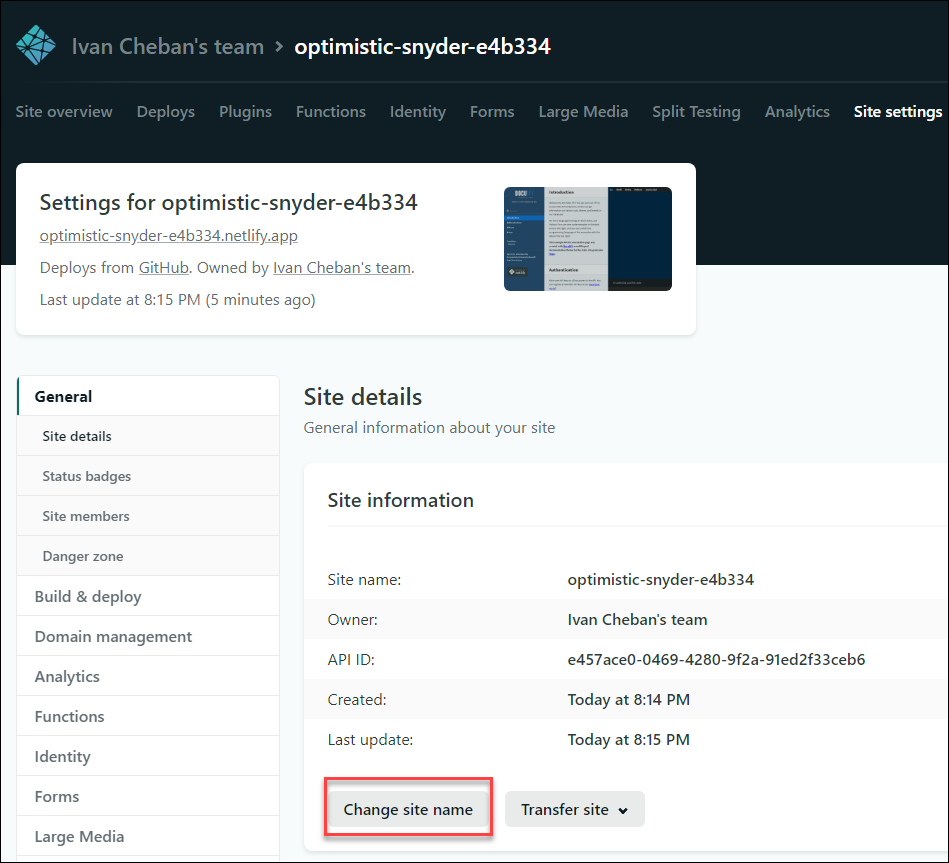
Your site should be available now. You can view my test API documentation site here:
Feedback
Was this page helpful?
Glad to hear it! Please tell us how we can improve.
Sorry to hear that. Please tell us how we can improve.