Image size in Docusaurus
2 minute read
The goal is to change the image size in your Docusaurus Markdown file using HTML markup.
Prerequisites
You must have Docusaurus project on your computer. See my article about installing and configuring Docusaurus.
If you want to use my Docusaurus example site:
-
Fork the GitHub project or clone it to your computer:
git clone https://github.com/ivancheban/my-site.git -
Install npm dependencies:
npm install -
Run the project on your localhost:
npx docusaurus start
Your Docusaurus site opens in the browser on this localhost: http://localhost:3000/
Store images in the static folder
To add images in your Markdown file with the HTML markup, store these images with the following path:
static/img/your-image.png
For more information, see Static assets in the Docusaurus documentation.
Use HTML markup to change image size
To change the size of your image, use the following HTML markup in a Markdown file:
<!-- Paste this code inside your Markdown file -->

import Cat from '/img/cat.png';

<img src={Cat} alt="Siamese cat" style={{width: 400}} />
Where:
-
import Cat from '/img/cat.png';is the Docusuarus MDX feature for importing assets usingimport... from...You can use any name instead ofCat. You should use the path to your folder and image file in thestatic/folder. -
<img src={...}is the reference to the imported path with image. -
style={{width: 400}}is where you specify the image size.400is the size in pixels. You can change the image size by changing this number. -
Use inline CSS style because otherwise Docusaurus uses its own CSS styles.
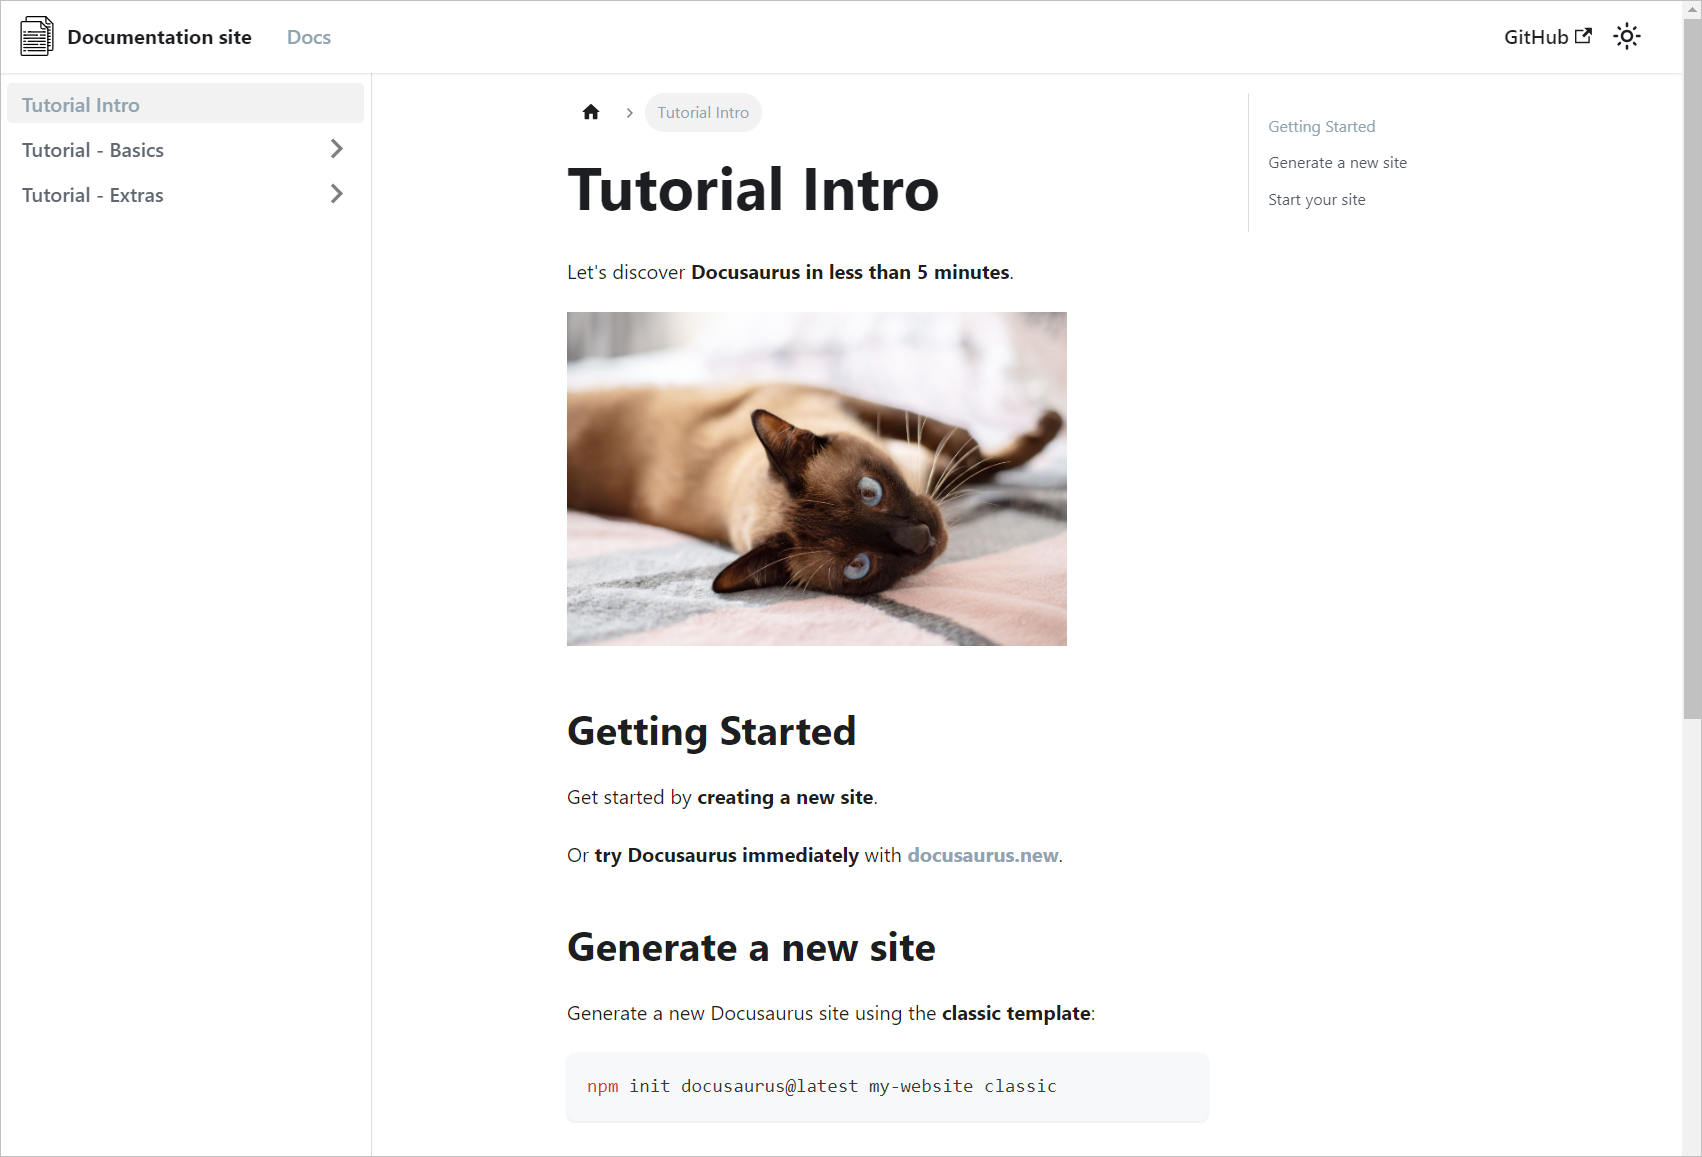
Here’s the custom image size in my Docusaurus example site:
Note
When you use HTML for resizing image in Docusaurus, the image zoom feature doesn’t work.Feedback
Was this page helpful?
Glad to hear it! Please tell us how we can improve.
Sorry to hear that. Please tell us how we can improve.