The docs-as-code approach for creating documentation using the Docusaurus static site generator
13 minute read
The article is aimed primarily at tech writers, but can also be useful for the software development teams looking for a way to create an internal or external site with documentation for their software product.
In this article, you learn:
-
What’s the docs-as-code approach
-
How to create a site with documentation using the Docusaurus static site generator in 5 minutes
-
How to customize the appearance of the site with documentation
-
How to create and edit documentation articles on the site
-
How to publish a site with documentation on the Internet for free
-
How to configure a CI / CD pipeline to automate the publication of changes on the site
Docs-as-code
The docs-as-code approach is becoming more common among tech writers and other specialists who write documentation for the software products. First, let’s understand what this concept means.
An experienced Google tech writer Tom Johnson writes in his blog: “Docs-as-code means to treat docs just like developers treat code.” He provides the following features of the docs-as-code approach:
-
Work with files in the format of “lightweight” or “readable” (plain) markup. This is primarily Markdown (.md)—the most common documentation source format for docs-as-code. Markdown is a simple and readable markup format. For example, bold highlighting is done with two asterisks ** at the beginning and end of the word or phrase you want to highlight in bold. This way, you can read Markdown files in the source code of the documentation even before converting to HTML. This doesn’t require a WYSIWYG editor that converts the hard-to-read XML code, as Word or MadCap Flare does.
-
Use an open source static site generator. Today there are dozens of free open source generators of static sites. This means that you can download their code to your computer from an open repository in GitHub, build a site locally to automatically retrieve HTML pages with added CSS styles for color themes, JS elements, and more. You can upload these pages to a web server to make the compiled site available online. Among the most famous generators of static sites are: Jekyll, Hugo, Gatsby, Next.js and others. The list is quite long. You can find more on the Jamstack website. You can use generators not only to create sites with documentation, but primarily for blogs, landings and more.
-
Work with files through a text editor. The docs-as-code tech writers use code editors (IDEs), which are also used by developers. These can be Visual Studio Code, WebStorm, PyCharm and other code editors. In these editors, you can work with files in Markdown format and at the same time have a preview of the final result in HTML. In addition, you can use many extensions that simplify the work with the git, spell check, and so on.
-
Store docs in a version control repository. Like developers, tech writers commit changes to the documentation code locally and push these changes to the git server in GitHub, GitLab, Bitbucket, or other version control system (VCS). In addition to the well-known advantages of a version control system, such as tracking changes with diffs (difference), the git repository can be used in the CI / CD pipeline to compile and publish a site.
-
Collaborate with other writers using version control. Like developers, the team of tech writers work together on the project with documentation site: create master and develop branches, feature branches (feature branch is a branch to work on a separate functionality, which in the case of documentation may be a separate article on the documentation site), create merge requests (merge request is a request for adding changes to the develop branch from a feature branch after finishing writing an article) and code reviews by the team lead.
-
Automate the site build process with continuous delivery using the CI/CD pipeline. Usually, devops or system engineers configure the process of automatically building a site with documentation and its publication (deploy) on the web server. Such specialists create a script with all the steps and commands of generating a static site: after pushing changes to the master branch, a script is automatically launched that executes commands to build the site on the server and deploys the generated HTML pages with all CSS styles and JS elements as a static site with documentation.
-
Run validation checks. Like developers, tech writers test the documentation for compliance with certain requirements: no broken links, Vale linter with rules for checking compliance with the requirements of Microsoft’s style guides, Google and their own style guides. I wrote about this in my previous article.
-
Manage docs using processes similar to engineers (Scrum, Agile, Kanban). Like developers, tech writers work in sprints (sprint is a period that usually lasts one month, during which developers deliver part of the developed functionality to demo to the customer the work done). Tech writers use Jira or other task tracker and perform appropriate Scrum ceremonies (daily standup, Sprint Planning, Retro, etc.). Often tech writers link their tasks of documenting features to the tasks of developers.
The process of developing a documentation site is generally similar to the process of developing code. Next, we install the necessary docs-as-code tools in practice, generate a documentation site and publish it on the Internet.
Docusaurus static site generator
Why did I choose Docusaurus as the static site generator (SSG) for the documentation site? Although my favorite site generator is Hugo, which I use for my own pet project (this site), configuring such a site, although well described in the documentation, is time consuming. Instead, you can configure a Docusaurus-built site very quickly—in just a few minutes you can have a local documentation site and start writing there in the Markdown files. It’ll take a little longer to configure the CI/CD pipeline and customize the CSS for your own color schemes, fonts, images, etc., and then publish the site online. But not much more.
To install and run Docusaurus:
-
Make sure Node.js is installed on your computer. In the command prompt, enter:
node -vNote
After all the commands here and after you need to press Enter. -
Install Node.js if the version isn’t displayed.
-
Reboot.
-
Create a folder where you want to deploy the project site with documentation. For example, at the command prompt, type:
md my-docusaurus-projectsto create a folder andcd my-docusaurus-projectsto go to the created folder. -
Create a site with documentation using the latest version of the Docusaurus generator with the project name
my-site:npx create-docusaurus@latest my-site classicNote
classicis a pre-installed site theme. -
Enter
yeswhen the message to continue the installation appears.Wait for the system to install all npm dependencies.
-
After the installation is complete, go to the folder of the newly created site project:
cd my-site -
Run the site on a local server:
npm startThe site with the documentation opens in the browser: http://localhost:3000/.
Adjust the appearance of the site
So, you launched the site locally in the browser. The site project folder with all the necessary files is in my case: C:\Users\Ivan_Cheban\my-docusaurus-projects\my-site. We will now change:
-
The name of the site
-
Logo image
-
Color scheme of the theme
-
Text on the home page
You can read about all the settings of the site created with Docusaurus in their official documentation: https://docusaurus.io/docs.
To change the site name:
-
Open the project folder in the VS Code editor.
-
Select the
docusaurus.config.jsfile.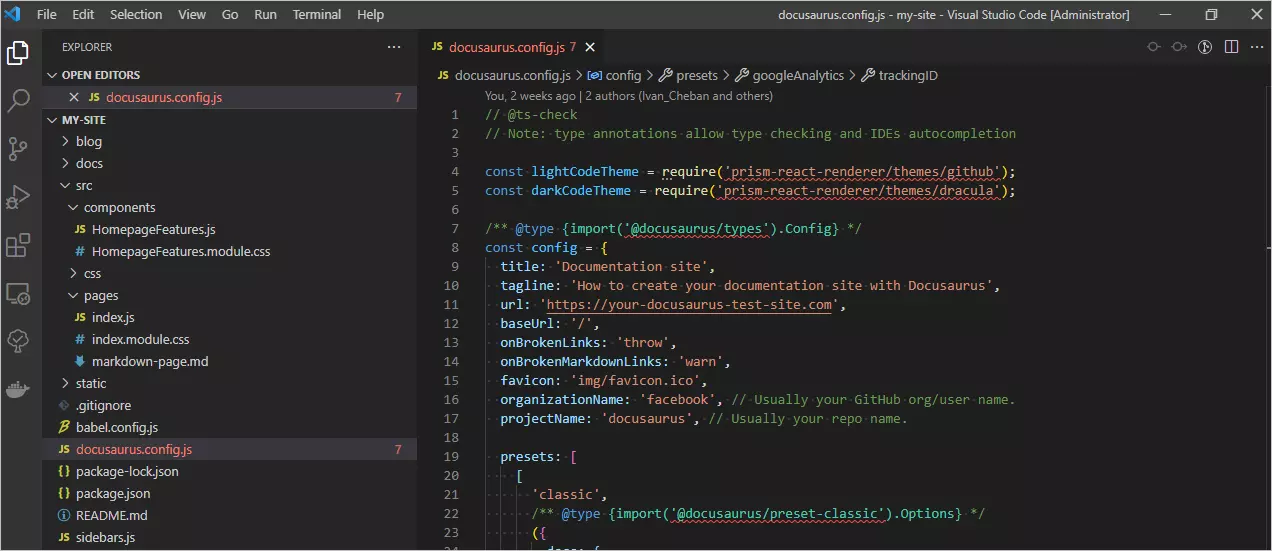
-
Change the site name
title: 'My Site'to your own. For example:Documentation site.Note
All changes are immediately reflected in the browser, because you launched the site on a local server in the live reload mode. -
In the same file below, change the site name
title: 'My Site'in the navigation menu.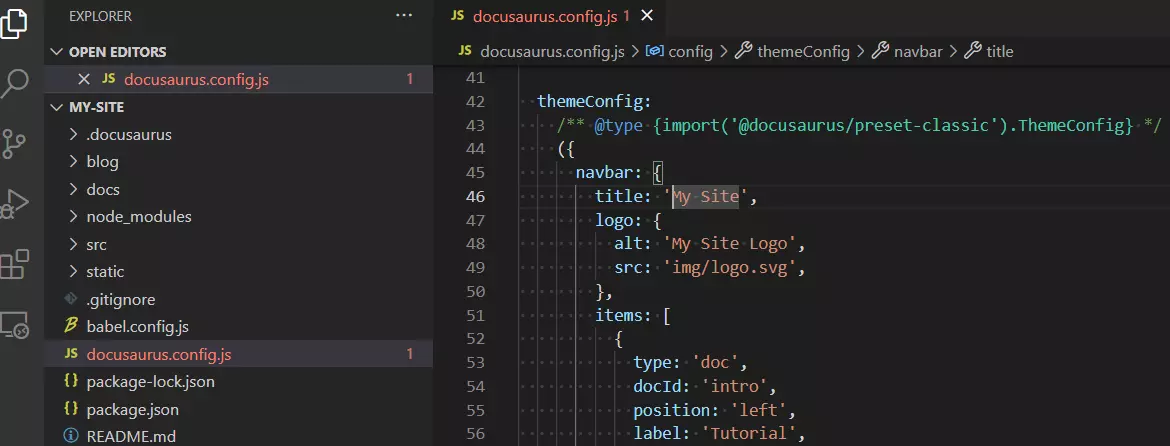
To change the logo image (dinosaur):
-
Copy your logo image to a folder
c:\Users\Ivan_Cheban\my-docusaurus-projects\my-site\static\img\. -
Replace the image
logo.svgwith your own image with the same filename and extension. For example, I downloaded the logo here: https://www.svgrepo.com/download/205072/documents-document.svg. -
Reload the site’s documentation page in the browser to see the new logo.
To change the color scheme of the theme:
-
In VS Code, select the
c:\Users\Ivan_Cheban\my-docusaurus-projects\my-site\src\css\main.cssfile. -
Change the hex color code for the
--ifm-color-primarysetting from#25c2a0to#90a3b0or another color to your liking.Note
The changes apply not only to the home page, but also to the color scheme on other pages of the site (side menu, top navigation menu, link color, etc.).
To change the text on the home page of the site:
-
Change the site subtitle
taglinein thedocusaurus.config.jsfile fromDinosaurs are cooltoHow to create your documentation site with Docusaurus. -
Change the names and links, copyright, etc. at the bottom of the site
footer. -
If you don’t need a blog on the documentation site, comment out (
//) the line so that it doesn’t appear in the navigation menu.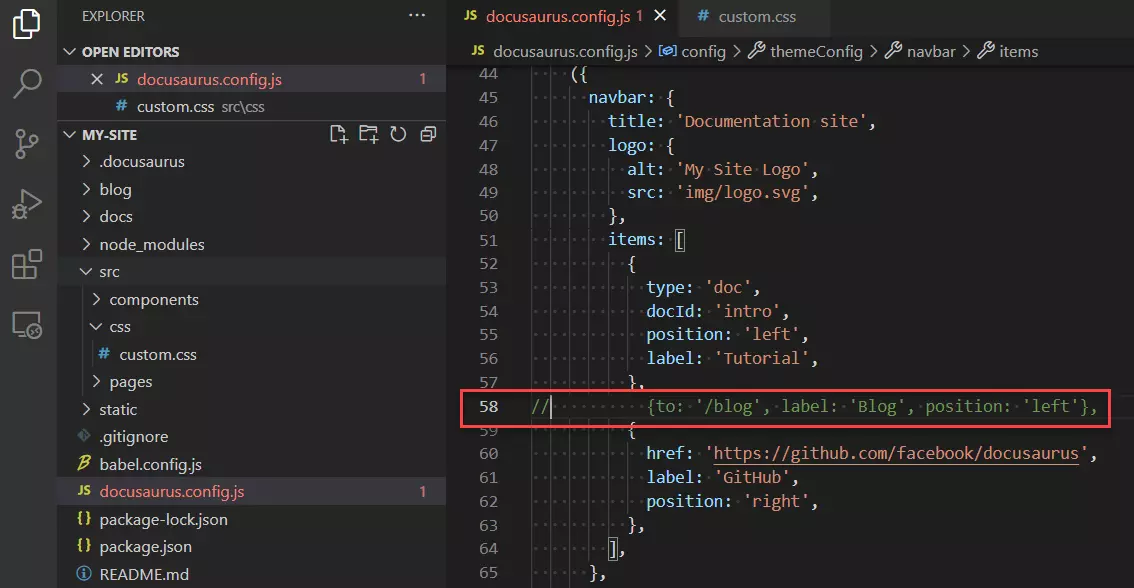
-
Rename the documentation section of the site
labelfromTutorialtoDocs. -
In VS Code, select the
my-site\src\components\HomepageFeatures.jsfile and change the text and image features on the home page.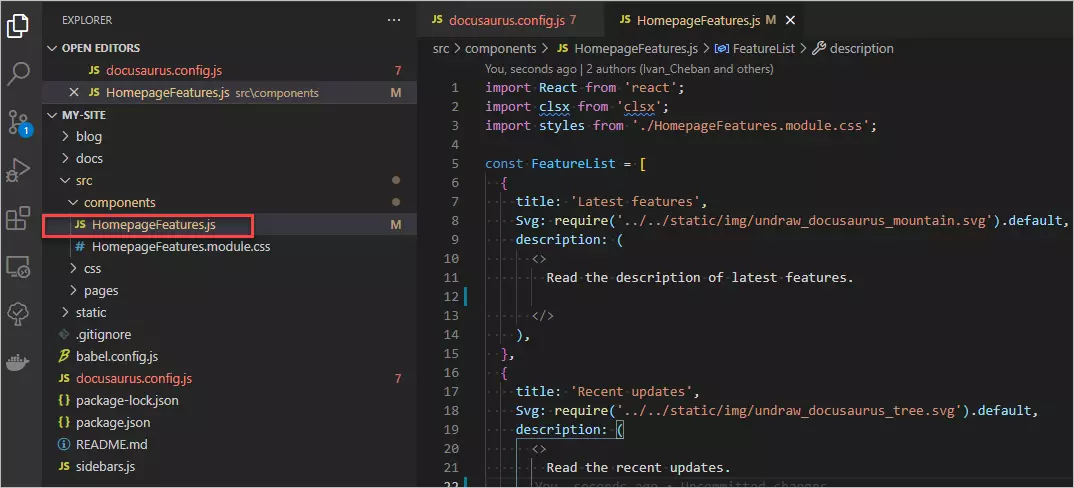
-
In VS Code, select the
my-site\src\pages\index.jsfile to change the label on the button fromDocusaurus Tutorial - 5mintoStart here.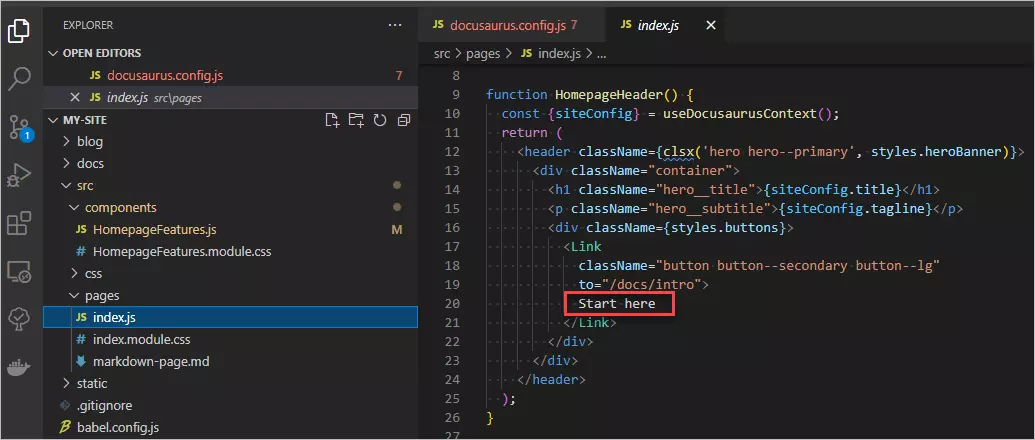
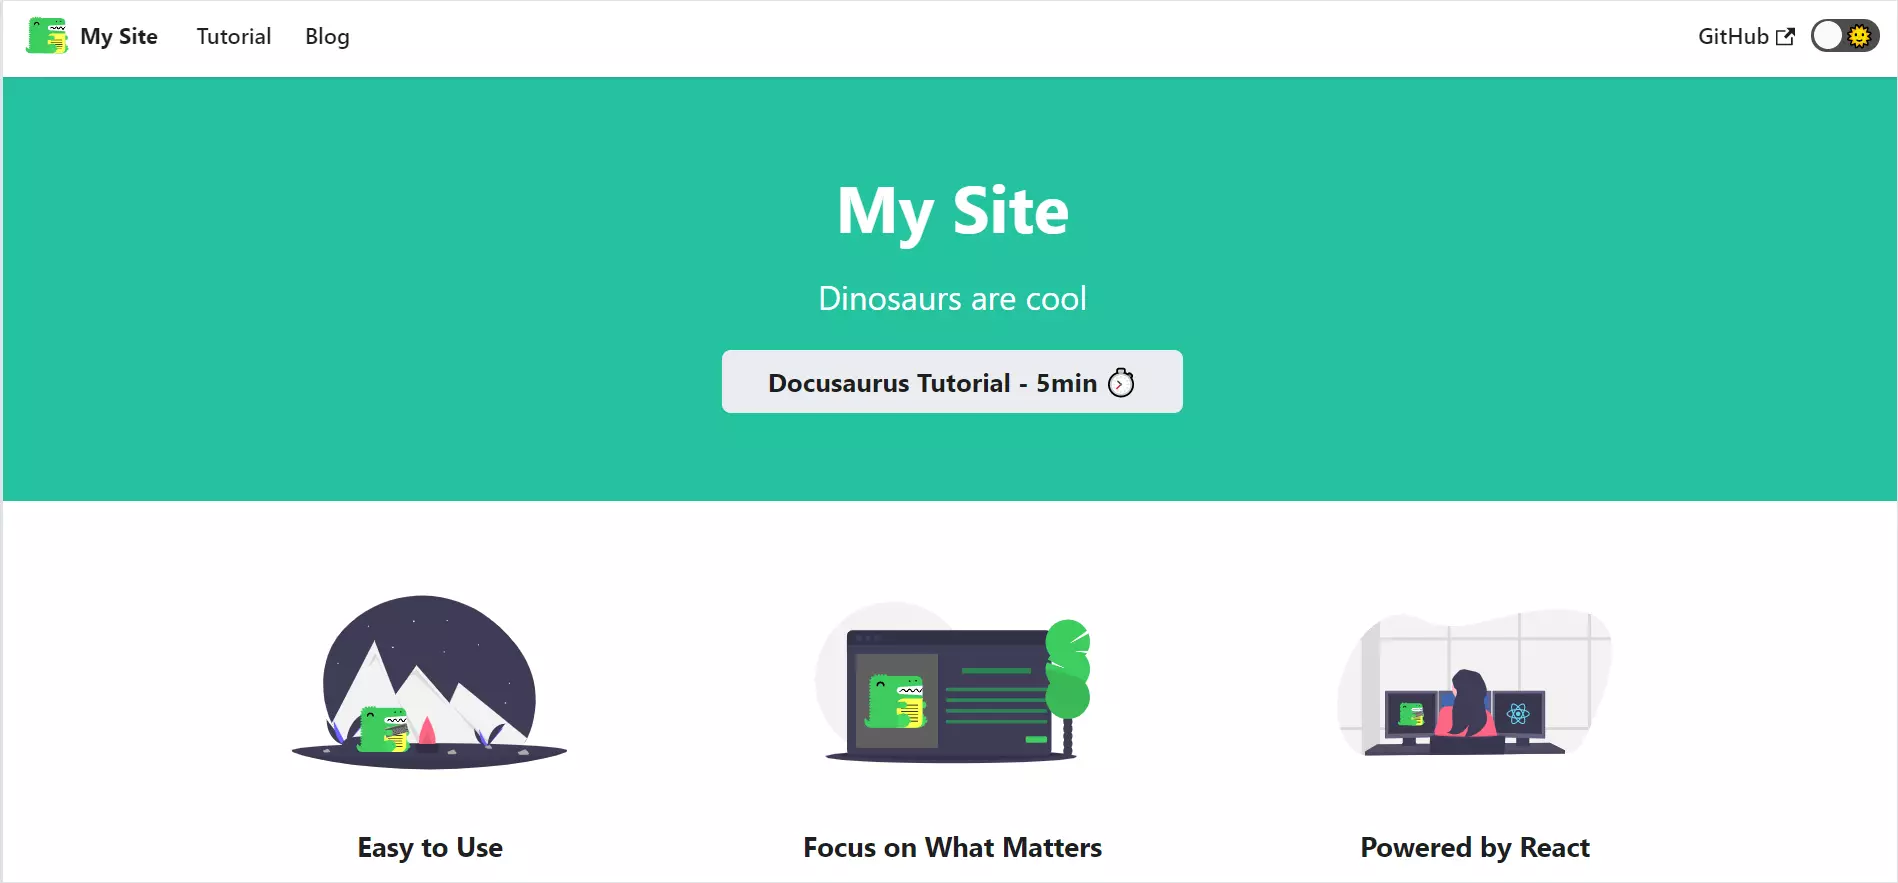
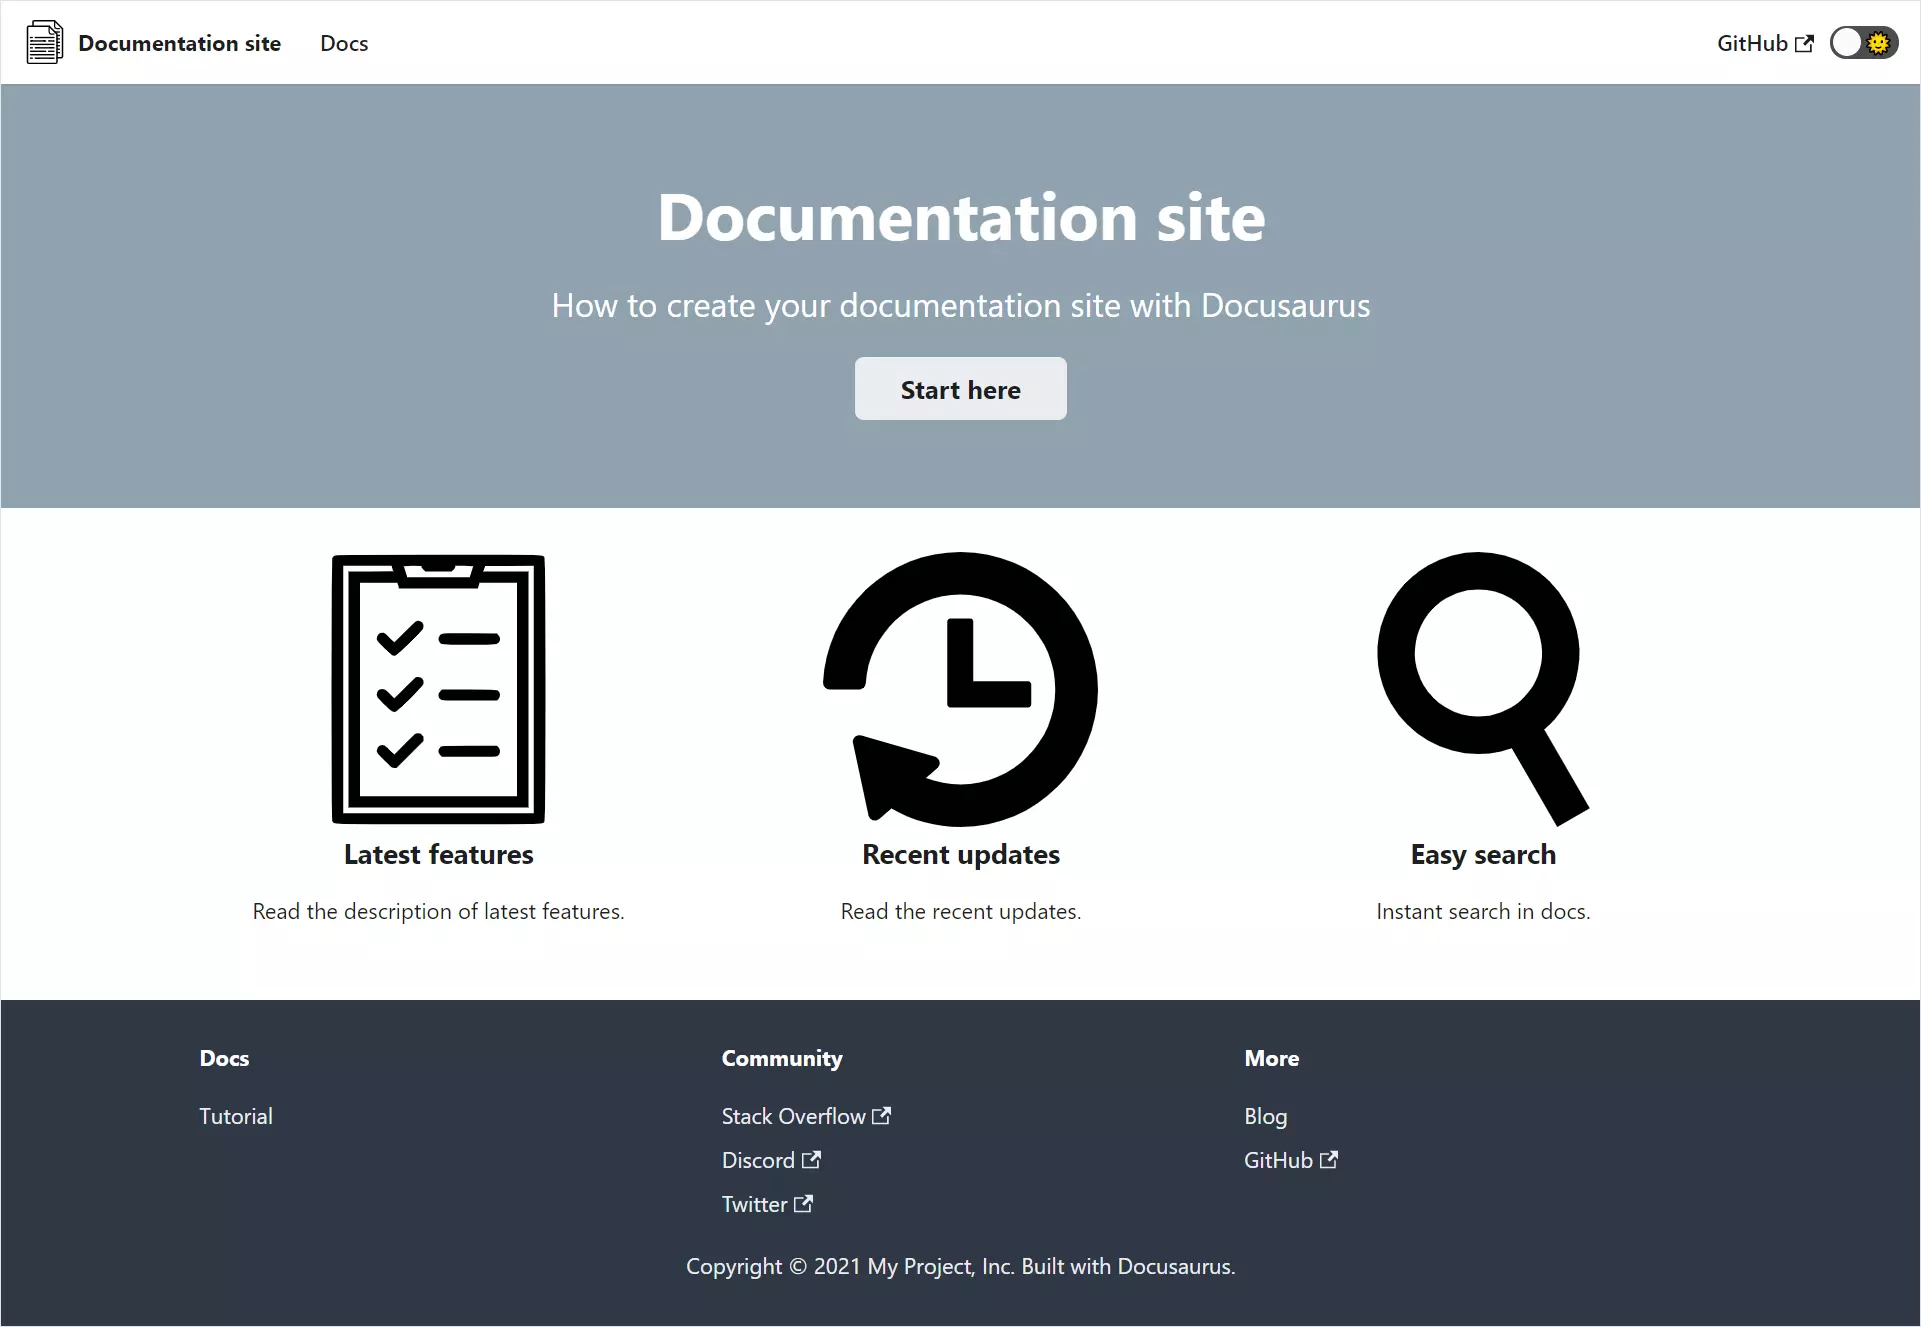
After all these changes, the home page will look like this.
Create and edit documentation articles
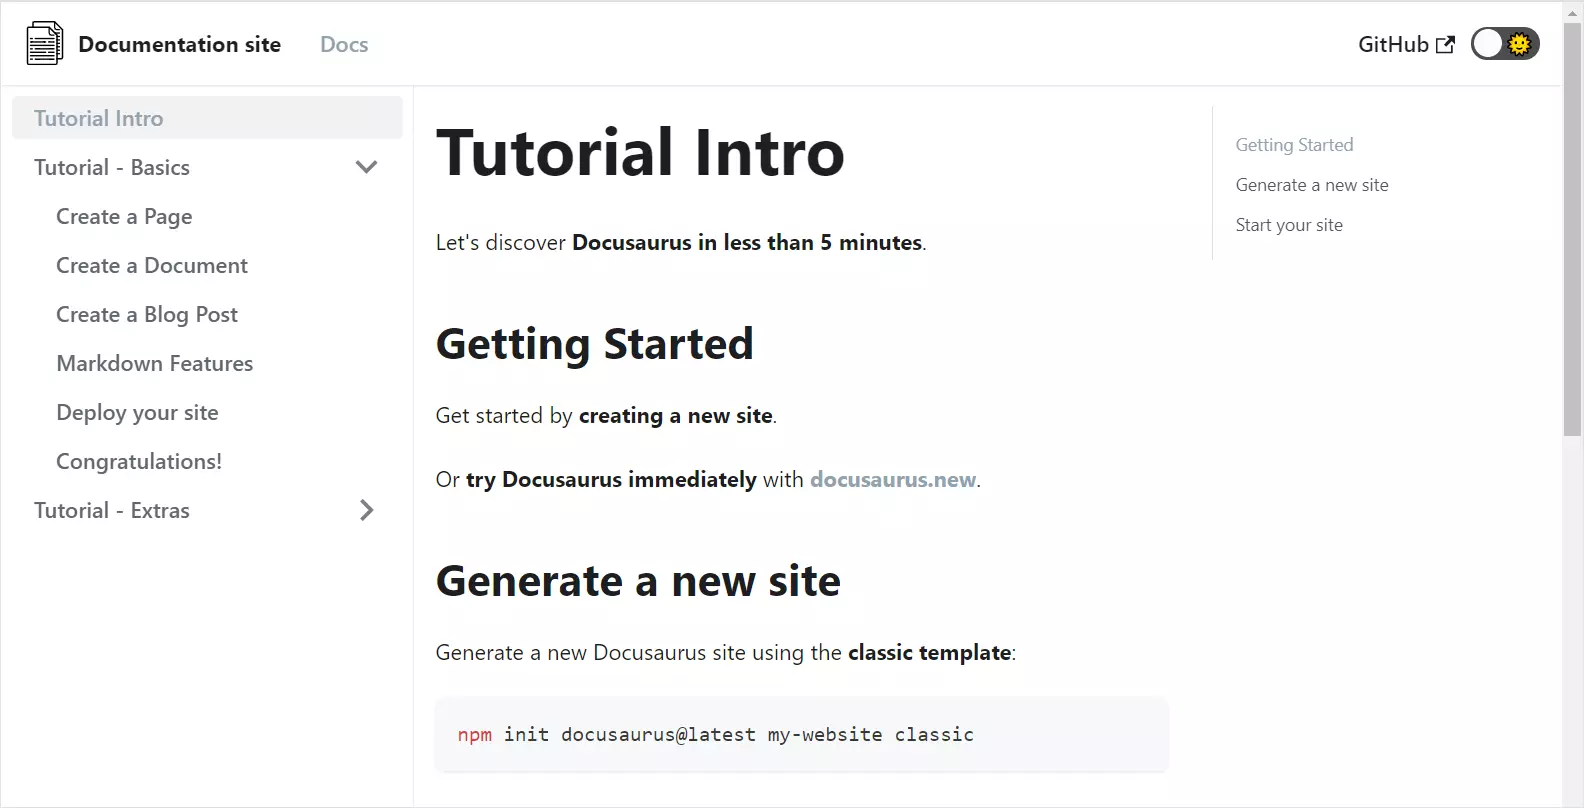
After customizing the home page of the site with the documentation, you can start writing your own documentation. To go to the actual documentation, click the Start here button on the home page.
This is a sample documentation in the Docusaurus template.
Location of documentation articles
All documentation in Docusaurus is contained in the form of Markdown files in a folder: c:\Users\Ivan_Cheban\my-docusaurus-projects\my-site\docs\.
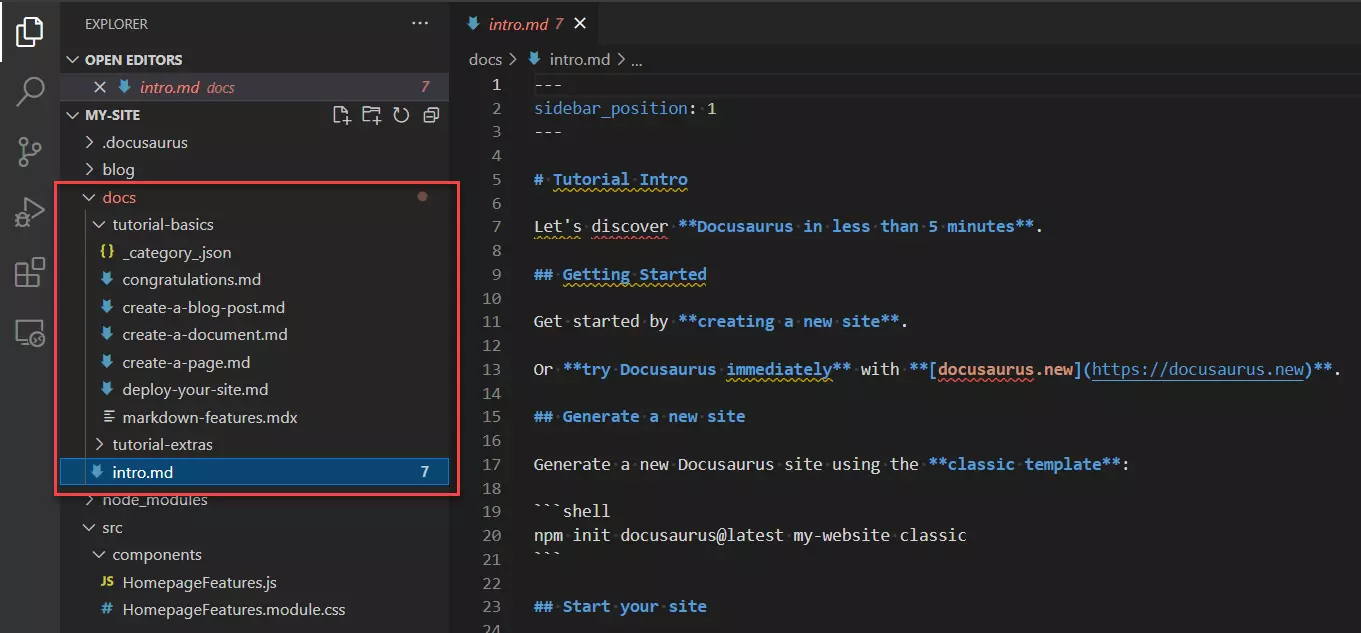
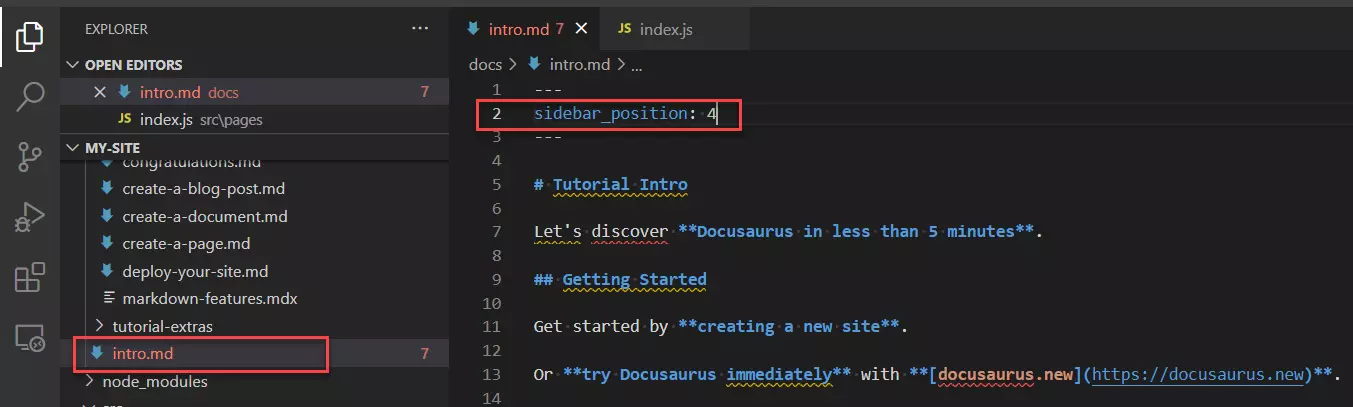
Order of articles in the documentation section
The first article Tutorial Intro is the intro.md file. Its location in the sidebar is defined by the sidebar_position: 1 parameter. The name is taken from the first title in the text of the Markdown file.
To change the hierarchical location of the article in the sidebar, change the value of the sidebar_position parameter. For example, to move to the end of this article: sidebar_position: 4.
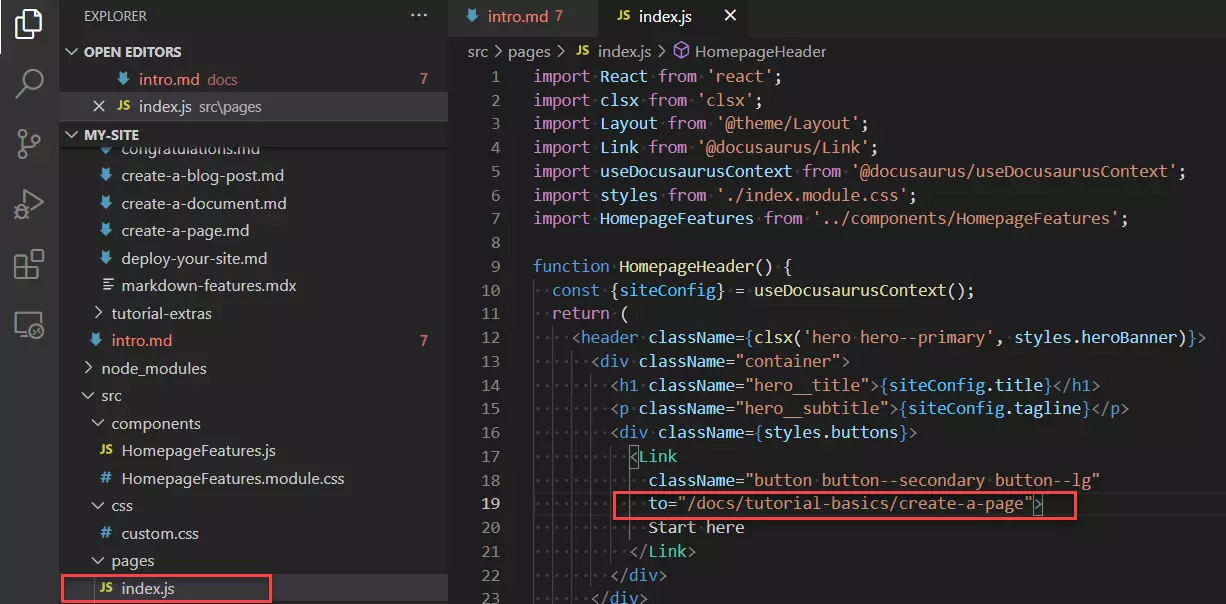
To open another article after going from the home page, change the path to the desired article in the my-site\src\pages\index.js file.
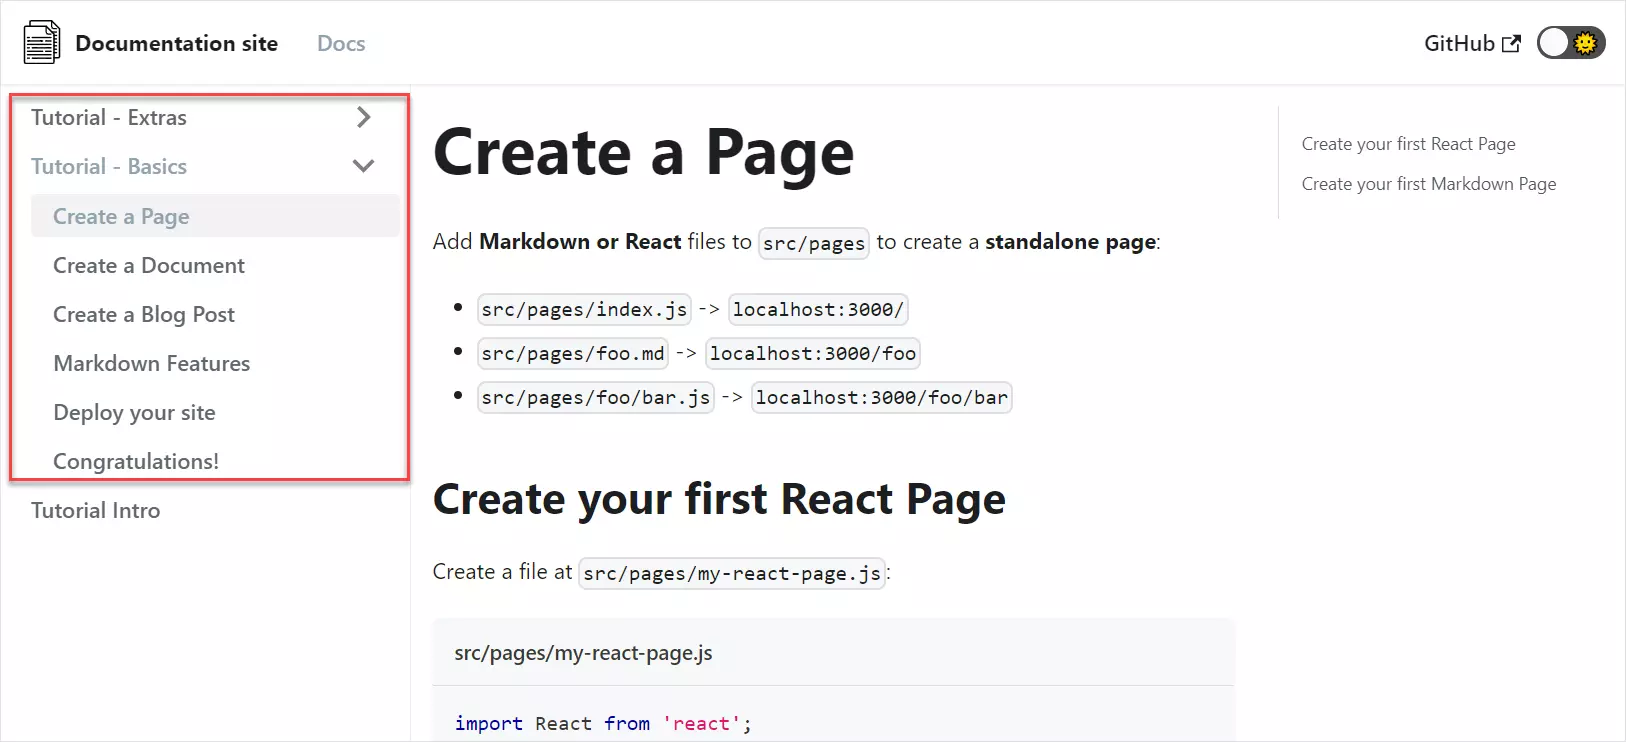
For example, show first the Create a Page article in the c:\Users\Ivan_Cheban\my-docusaurus-projects\my-site\docs\tutorial-basics\create-a-page.md file. To do this, change the value of the to parameter from /docs/intro to /docs/tutorial-basics/create-a-page.
Subsections in the documentation section
Our test site with documentation has two sections: Tutorial - Basics and Tutorial - Extras. These sections contain other articles that can be viewed by clicking the appropriate section in the sidebar. These subsections are tutorial-basics and tutorial-extras in the c:\Users\Ivan_Cheban\my-docusaurus-projects\my-site\docs\ folder.
To add a new section with articles, copy one of these folders and paste it into a docs folder with a new name, such as my-docs.
Note
Follow the rules for naming folders and files: all lowercase letters, hyphens instead of spaces.Next, rename the Markdown files in the my-docs folder.
Order of documentation sections
To define the order of the sections with documentation articles, change the position parameter in the C:\Users\Ivan_Cheban\my-docusaurus-projects\my-site\docs\tutorial-basics\_category_.json file. For example, change the order of tutorial-basics and tutorial-extras sections. To do this, change 3 to 2 for tutorial-basics and 2 to 3 for tutorial-extras.
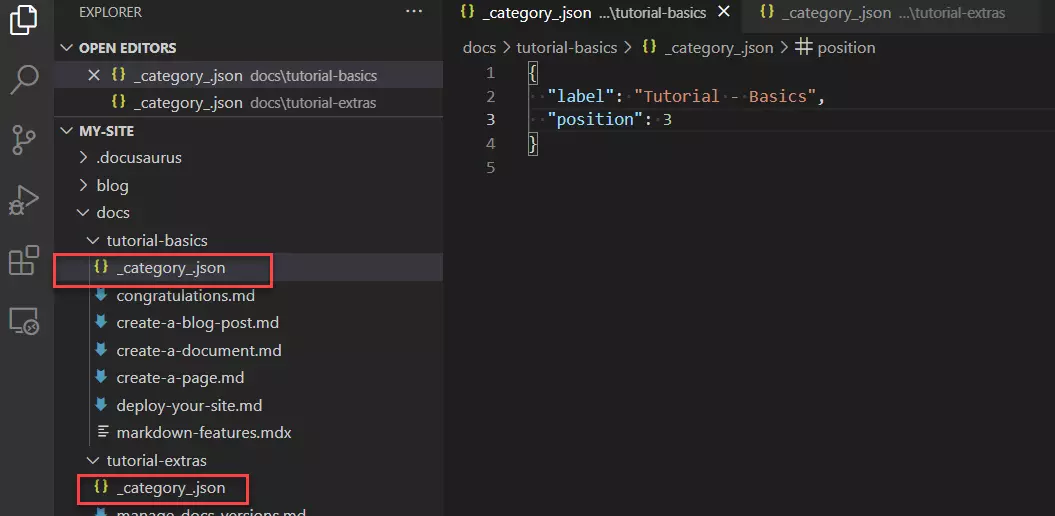
The order of these sections changes in the sidebar.
The article hierarchy within a section is changed using the sidebar_position parameter, as described in Hierarchy of articles in the documentation section.
Publish your documentation site
So far, you’ve created a local site with documentation and can view it in the browser. It’s time to publish it online, so everybody can view it using the link. To do this, you need:
-
Account in GitHub, where you’ll load the source code of the project documentation.
-
Account in Netlify, where you’ll host the generated site.
Note
First, sign up for GitHub to sign in to Netlify with your GitHub account.You also need to download and install the git locally on your computer: https://git-scm.com/downloads.
To verify that your git is installed locally, in the command prompt, type:
git version
Upload to GitHub
First, link the local documentation project folder to the GitHub repository:
-
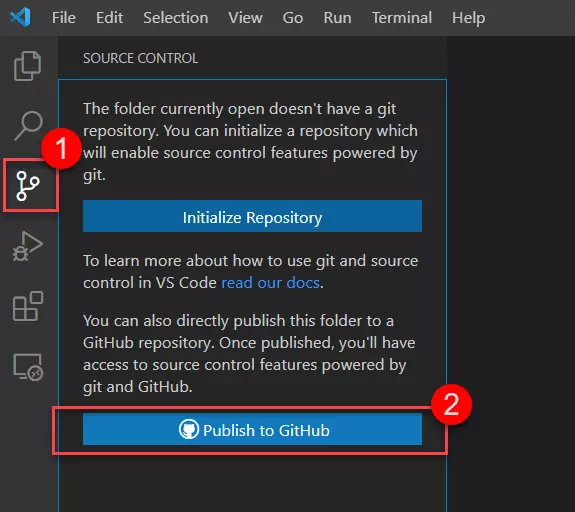
Open the project folder with the documentation in VS Code. In my case it’s:
c:\Users\Ivan_Cheban\my-docusaurus-projects\my-site\. -
Go to the Source Control tab in the VS Code side menu.
-
Select Publish to GitHub.
-
Select Publish to GitHub public repository.
-
Wait for your project to be published and select Open on GitHub to go to the created repository in GitHub.
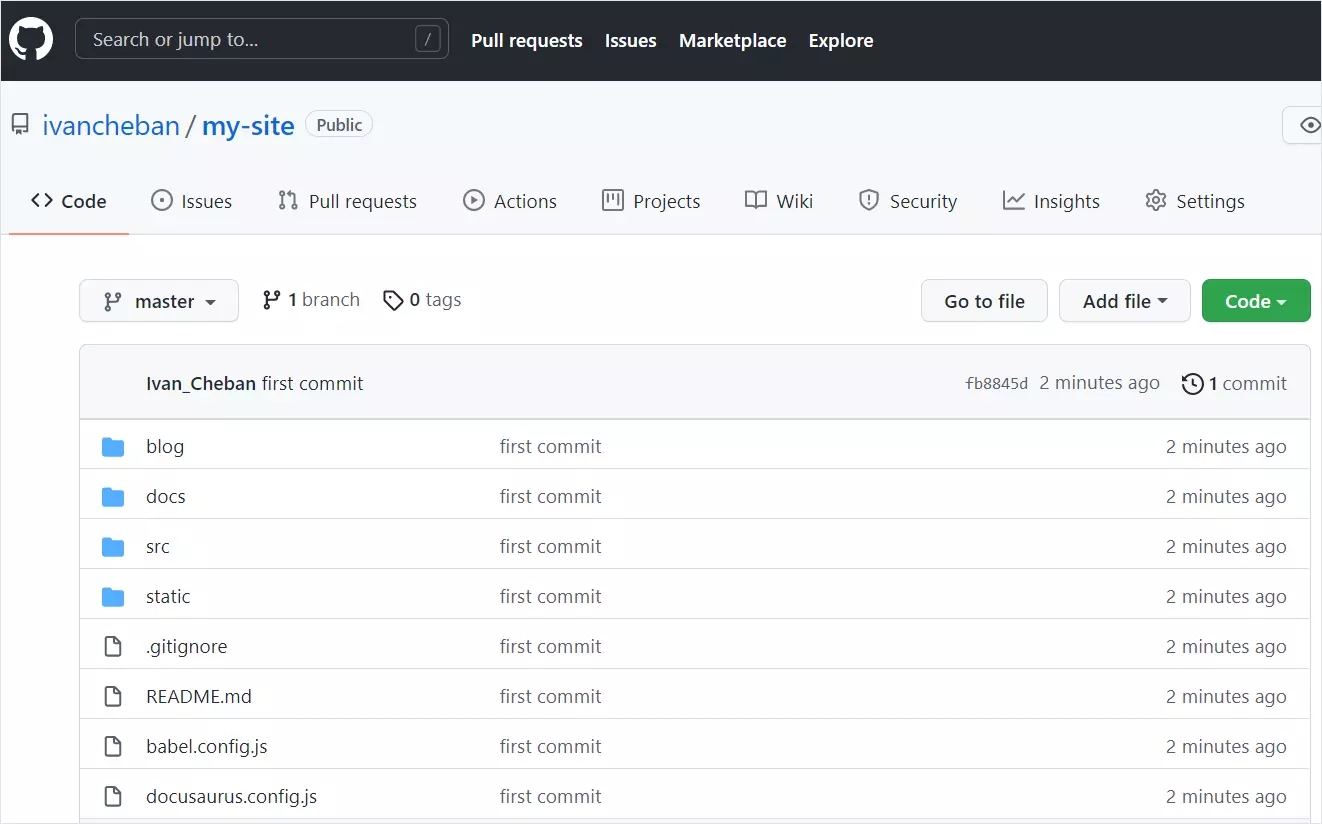
Your local project is now synced to the GitHub repository. All changes you make locally you need to synchronize with the git repository manually.
After you make all the necessary changes in your documentation:
-
In VS Code, click Ctrl+Shift+P.
-
Enter or select Git: Commit All.
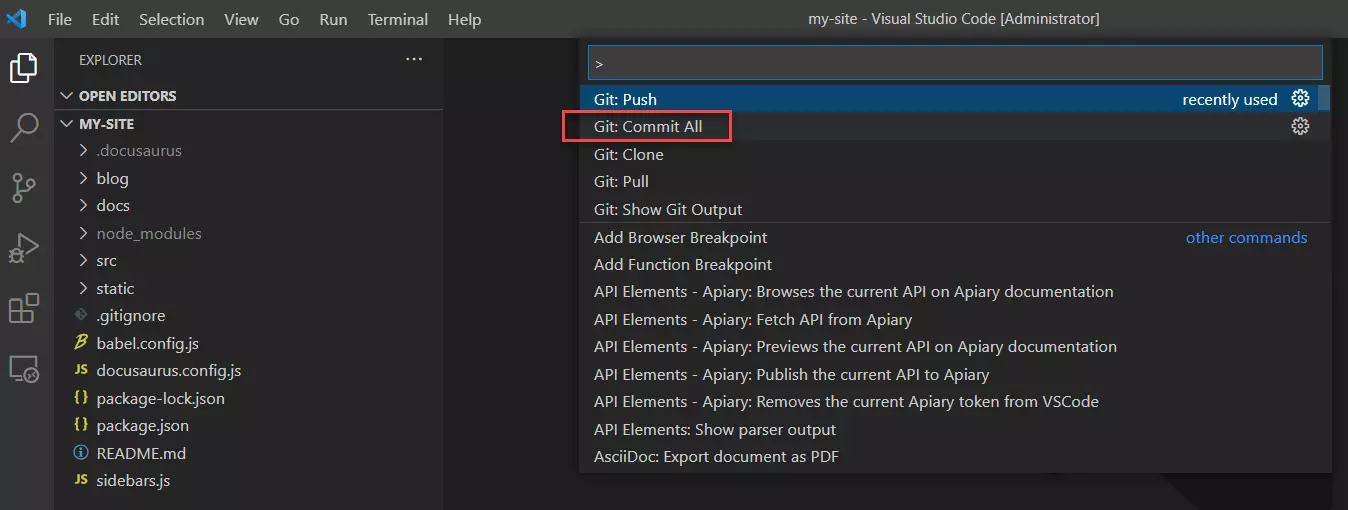
-
Enter the message you changed.
-
Click Ctrl+Shift+P.
-
Enter or select Git: Push.
Your changes have been uploaded to the GitHub server.
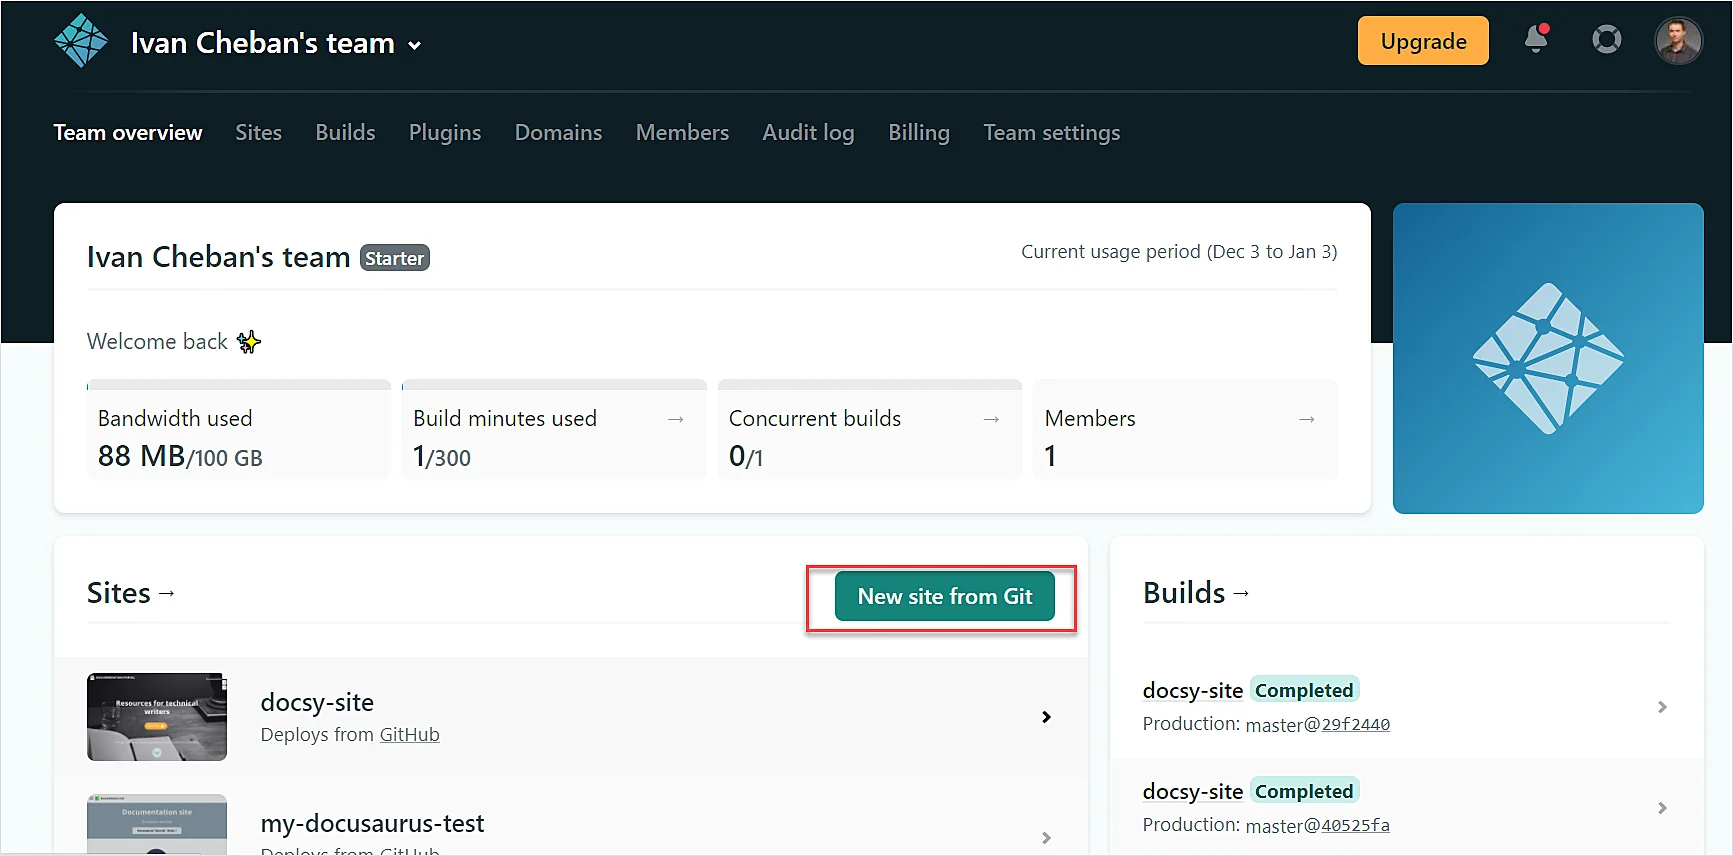
Publish the site using Netlify
Now you can publish your site with documentation using the Netlify service. It’s free if the domain name of the site contains netlify.app.
-
Log in with your GitHub account.
-
Select New site from Git.
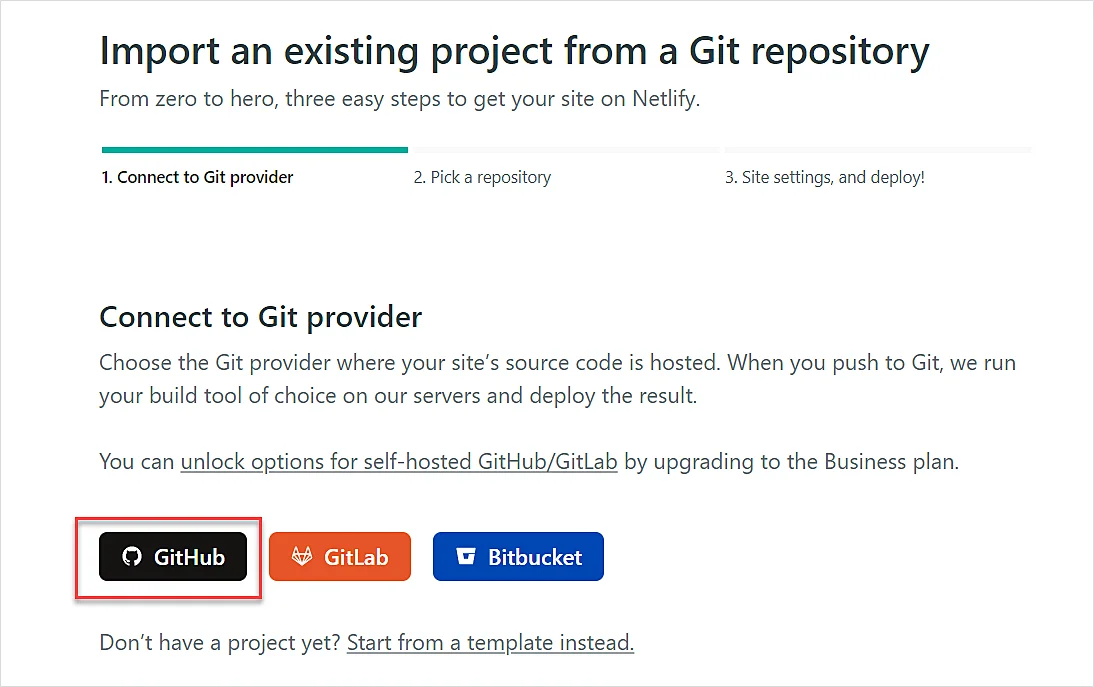
-
Select GitHub.
-
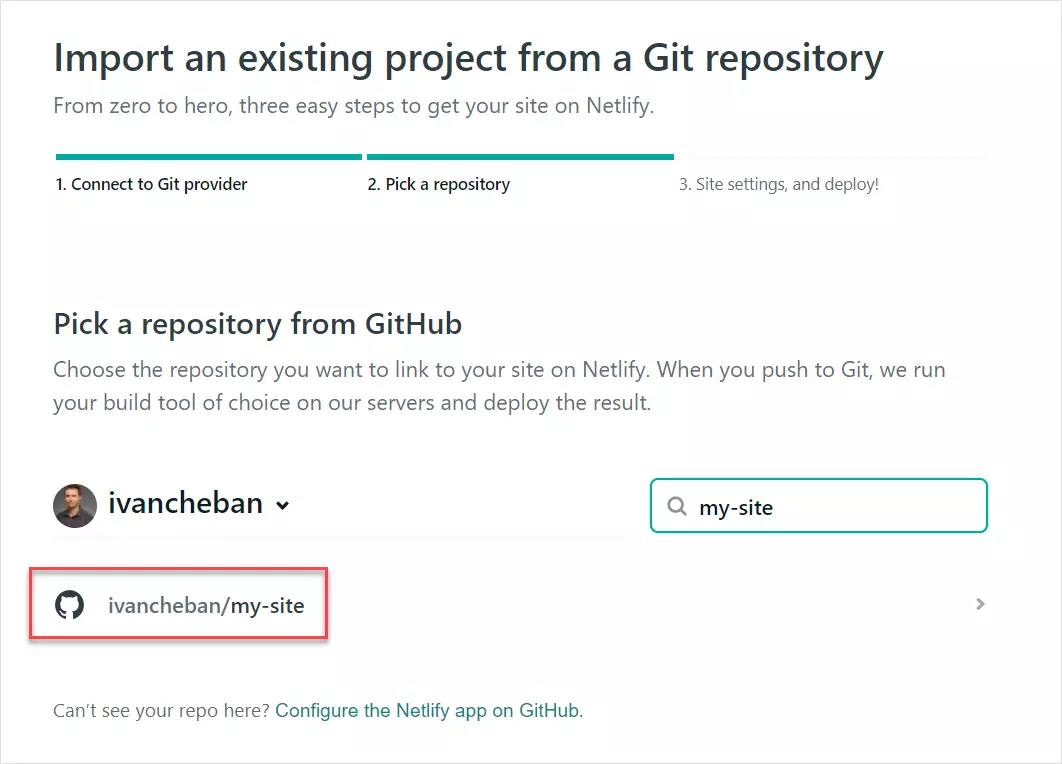
Authorize Netlify to access your GitHub repository and select a repository with your site.
-
Select Deploy site.
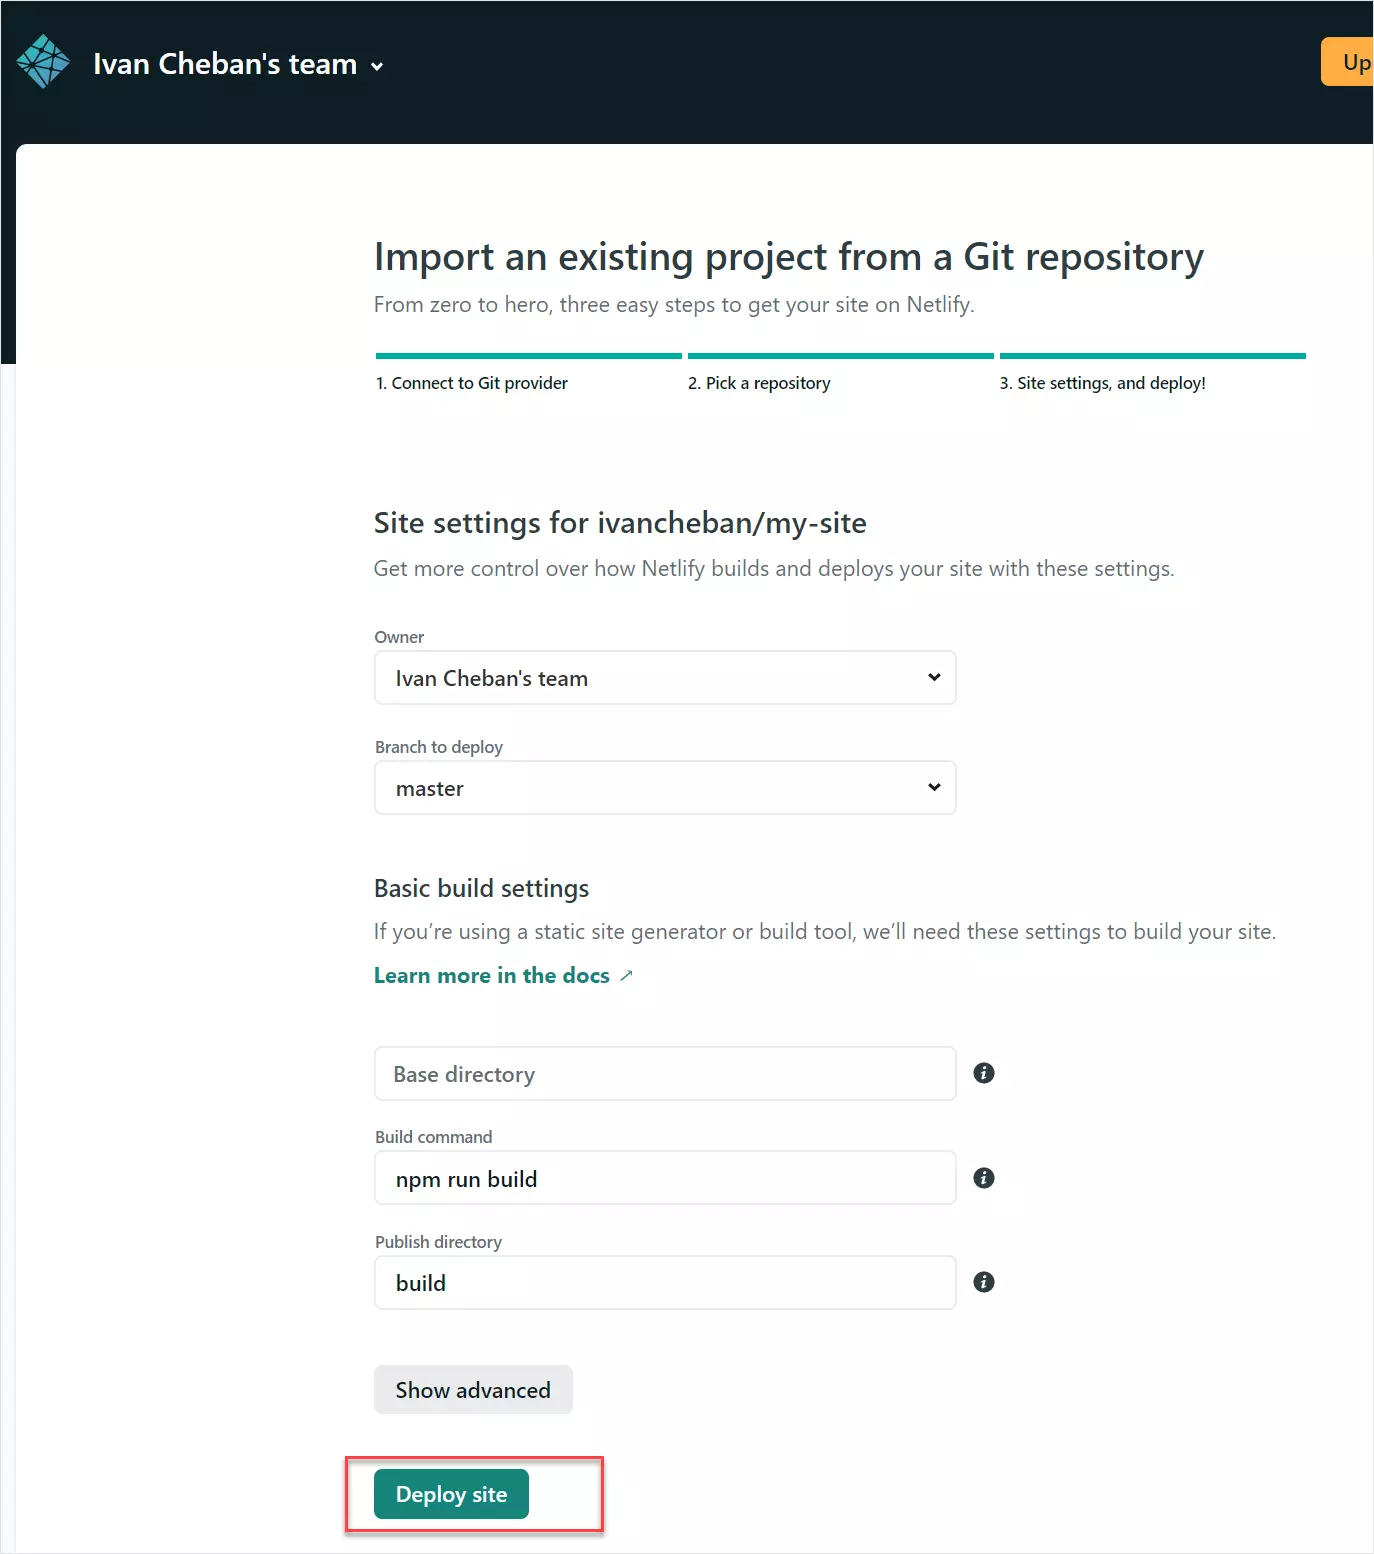
-
Wait till your site is published (deploy).
-
As the site is published with a random name—such as
inspiring-benz-dc91fd—change the site name to something more meaningful in the Site settings.
-
Select Change site name and enter your name.
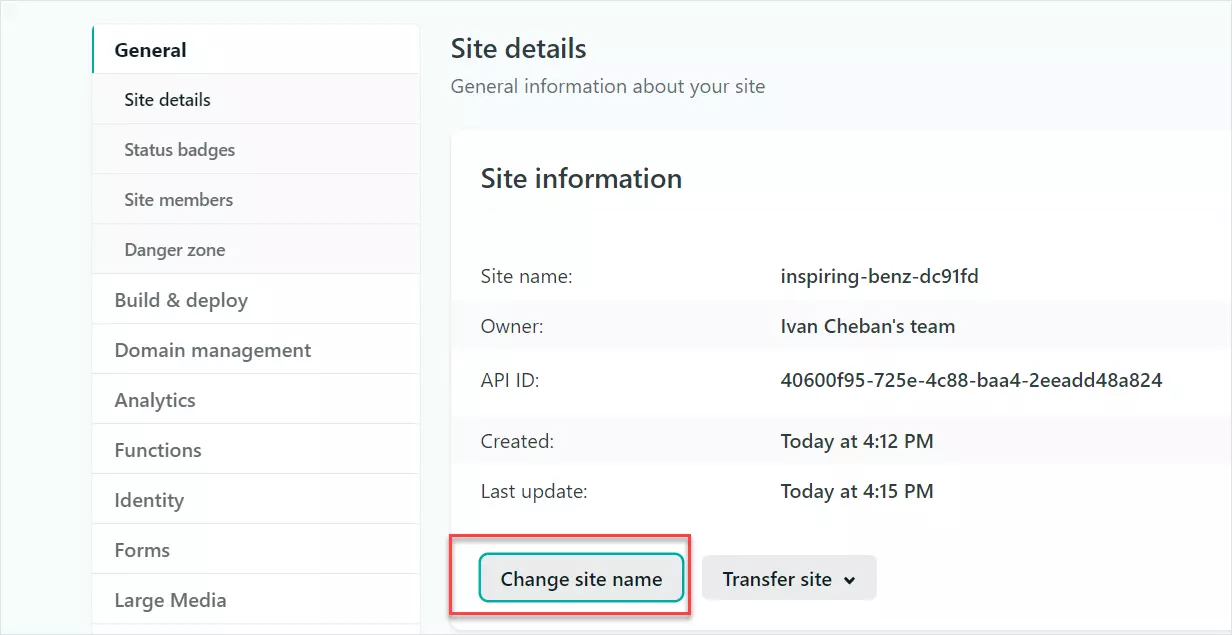
I entered
ivan-documentation-example. -
Follow the link to the published site. In my case it’s:
CI/CD pipeline
If you followed the steps in the previous sections, you have published your site on the Internet. Now I explain how to automatically update your site with documentation using the CI/CD pipeline.
In fact, automatic pipeline is already set up—Netlify has created a hook in your GitHub repository and will track any changes. Once you commit and push changes from your local project to the GitHub repository, Netlify begins the process of building and deploying the site. It doesn’t take much time (1–2 minutes), because everything is cached, and only delta is deployed—changes between the original and current version of the files.
Try changing something in the files locally, and then repeat the steps for Git: Commit All and Git: Push described in the Upload to GitHub section.
All changes are published to the master branch. If you create a develop branch or other branch, the changes you make to those branches won’t appear on the site because the master branch is considered Production. Of course, all this is adjustable. However, I suggest leaving all the configuration processes in the local infrastructure to the specialists who deal with it: devops or system engineers. They will create scripts and environments for publishing the local instance of the site (useful for viewing articles before publication for production). Specialists will also configure the deployment server (Octopus or other), the location of file hosting (AWS S3 buckets or other).
Your task is to create a demo for the documentation site to show how it works. Leadership will then decide whether to continue to use Confluence or other internal knowledge base. And it’s possible that this site with documentation will be finalized by frontend engineers so that it serves as the main documentation site for your product.
The docs-as-code approach allows you to take full advantage of the tools used by software developers. You can customize the Vale linter to check the text of the documentation for compliance with the Microsoft and Google style guides, as well as your own style guides. I wrote about this in How to check the documentation using an automatic tool - Vale linter.
Feedback
Was this page helpful?
Glad to hear it! Please tell us how we can improve.
Sorry to hear that. Please tell us how we can improve.