Deploy Docusaurus site to GitLab Pages
3 minute read
The goal is to deploy or publish your Docusaurus site to GitLab Pages. I use this example Docusaurus site from this article.
Prerequisites
Before you dive into publishing on GitLab Pages, it’s a good idea to read more about this service. Or, you may skip and continue with the instructions below.
- You have created the Docusaurus site by following these instructions
- You have your own Docusaurus site you would like to publish on GitLab Pages.
With either of these two options you’re ready to publish the Docusaurus site on GitLab Pages.
Create a GitLab repo
First, you need to create your GitLab repo, if you don’t have one.
To create a GitLab repo:
-
Go to this link to create an empty repo:
-
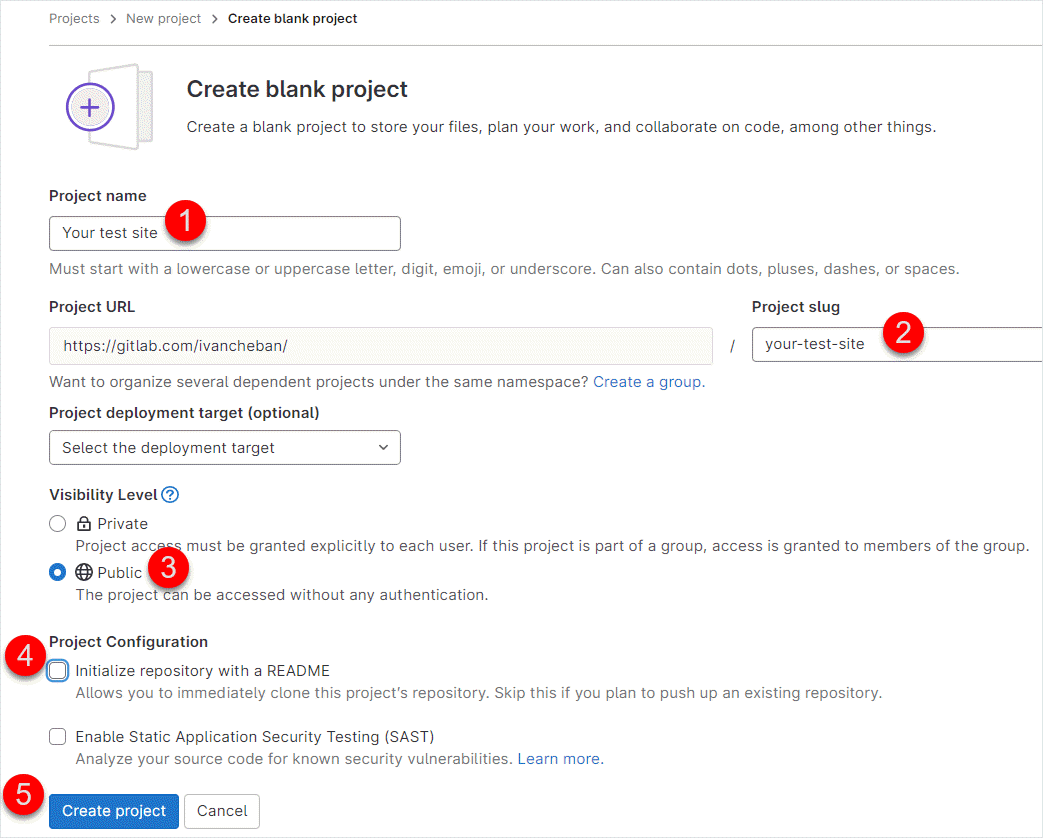
Fill in these fields:
a. Project name - any name of your project.
b. Project slug - your repo name.
c. Select the Public checkbox.
d. Remove selection from the Initialize repository with a README checkbox.
e. Select Create project.
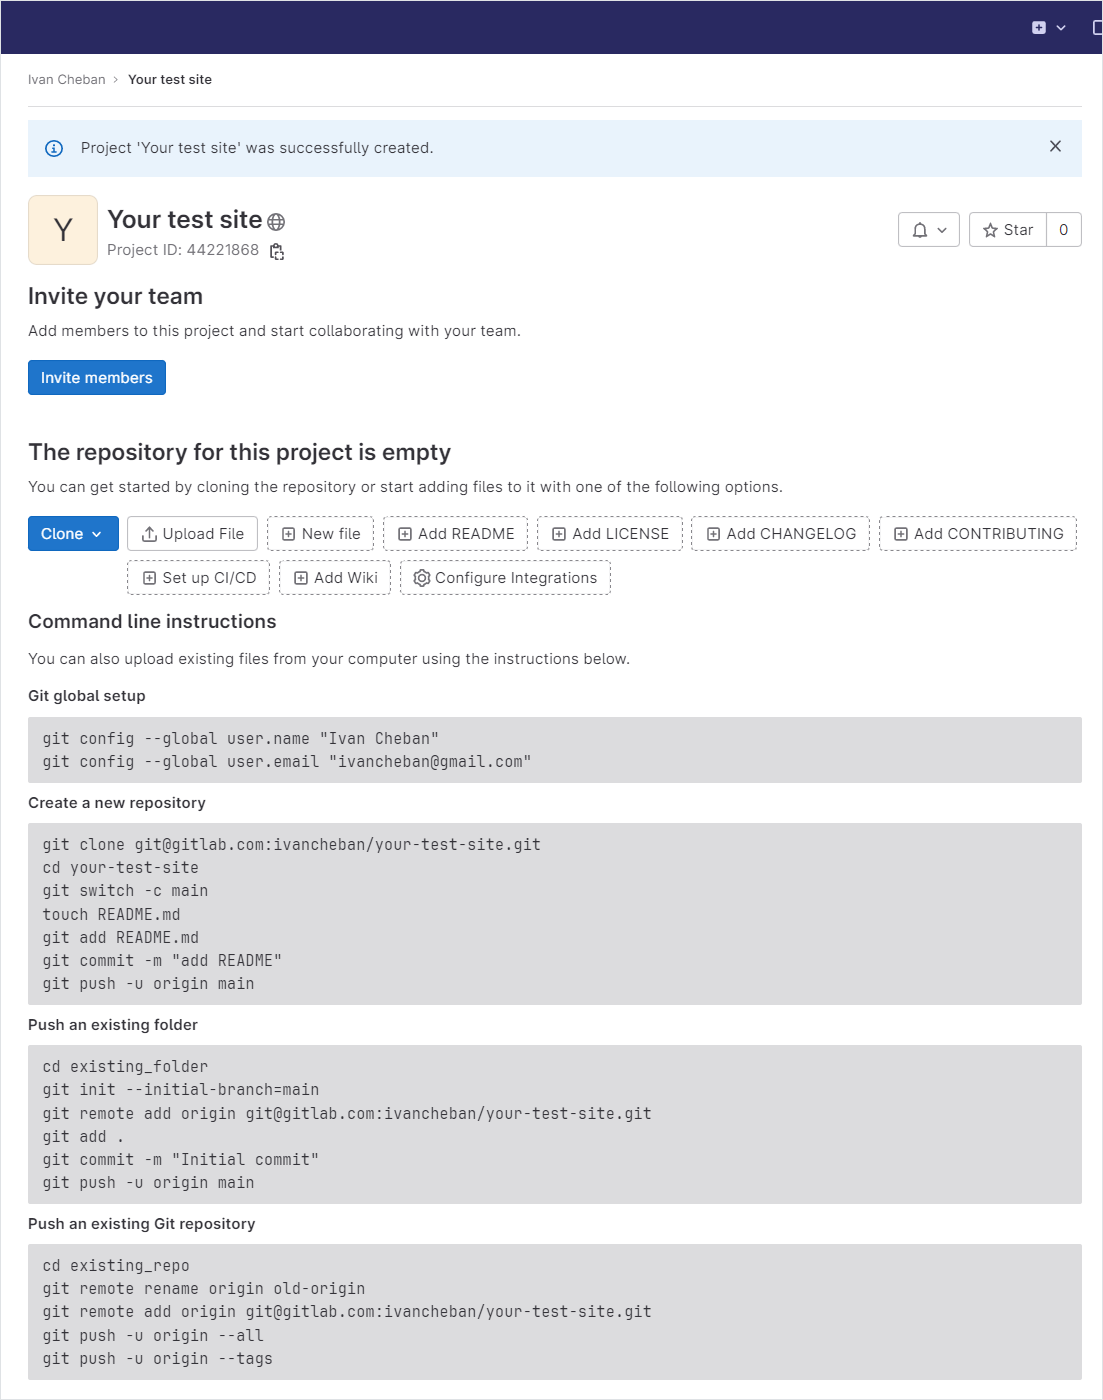
Your empty repo is created.
Push your Docusaurus project to the remote server
To initialize a local Git repo in your Docusaurus project folder and push it to the newly created repo:
-
In the Command Prompt, clone the newly created repo:
git clone https://gitlab.com/ivancheban/your-test-site.gitwhere
your-test-siteis your repo name.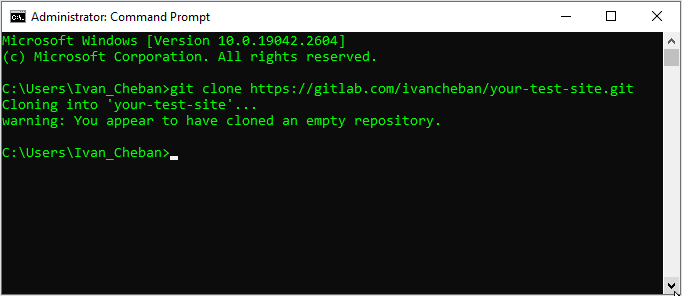
-
In the Command Prompt, go to the
your-test-sitefolder.cd your-test-site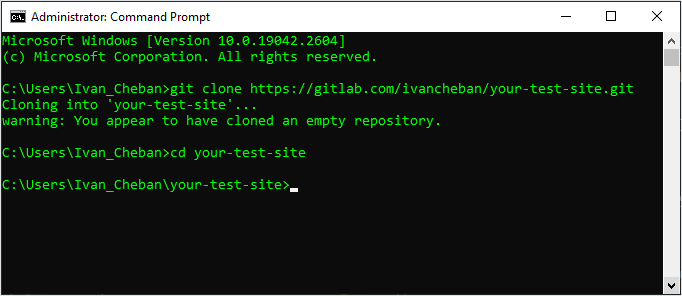
-
Switch to the Git
mainbranch.git switch -c main -
Copy the files from your existing Docusaurus project folder to the your-test-site folder without the hidden
.gitfolder.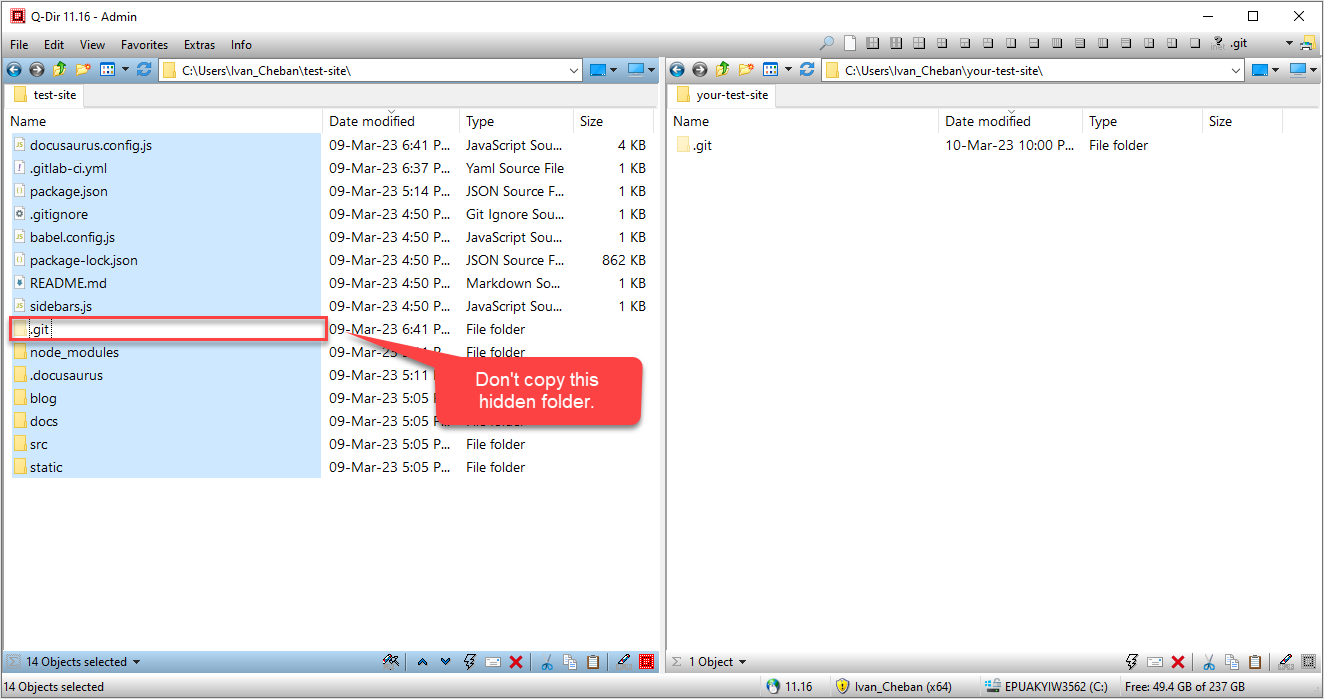
-
In the Command Prompt, add all the copied files:
git add --all -
Commit the added files.
git commit -m "add files" -
Push the committed files to the remote server.
git push -u origin main -
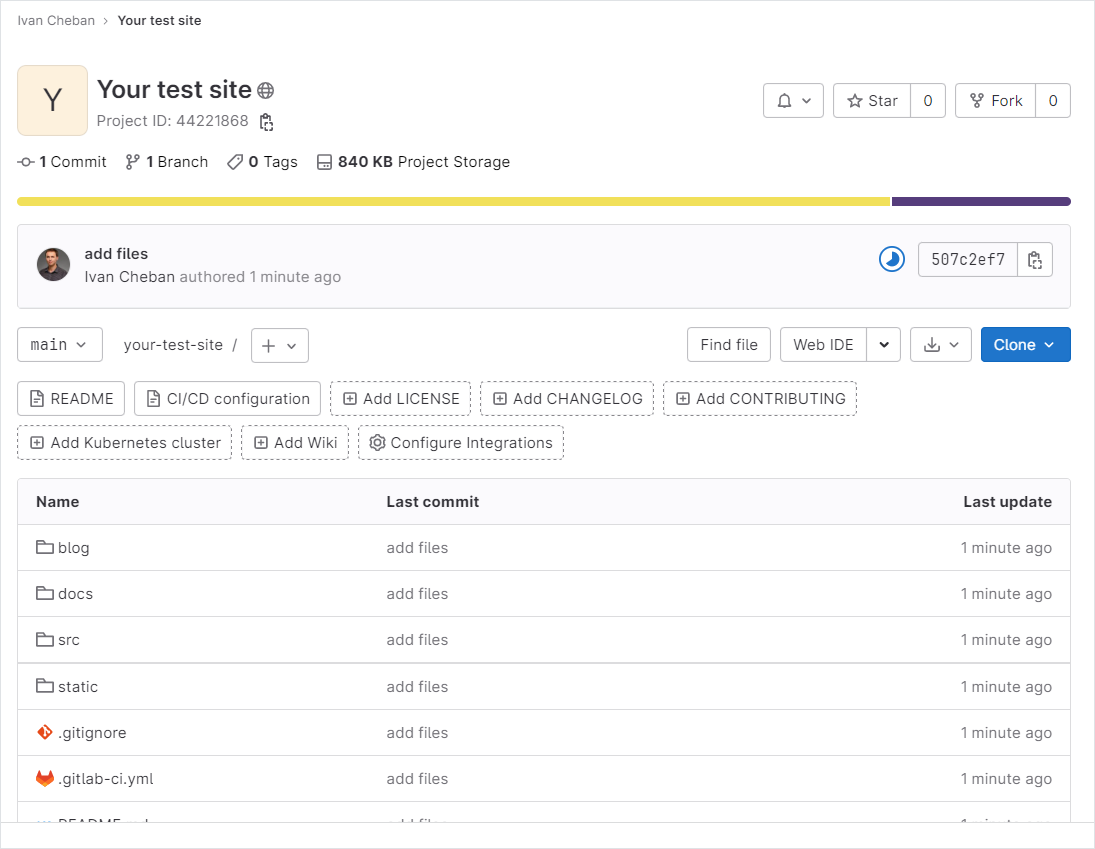
Refresh the GitLab page for your repo to see the uploaded files.
Fork project
Another way (much easier) is to fork my project from GitLab.
To fork my project from GitLab:
-
Select Fork.

-
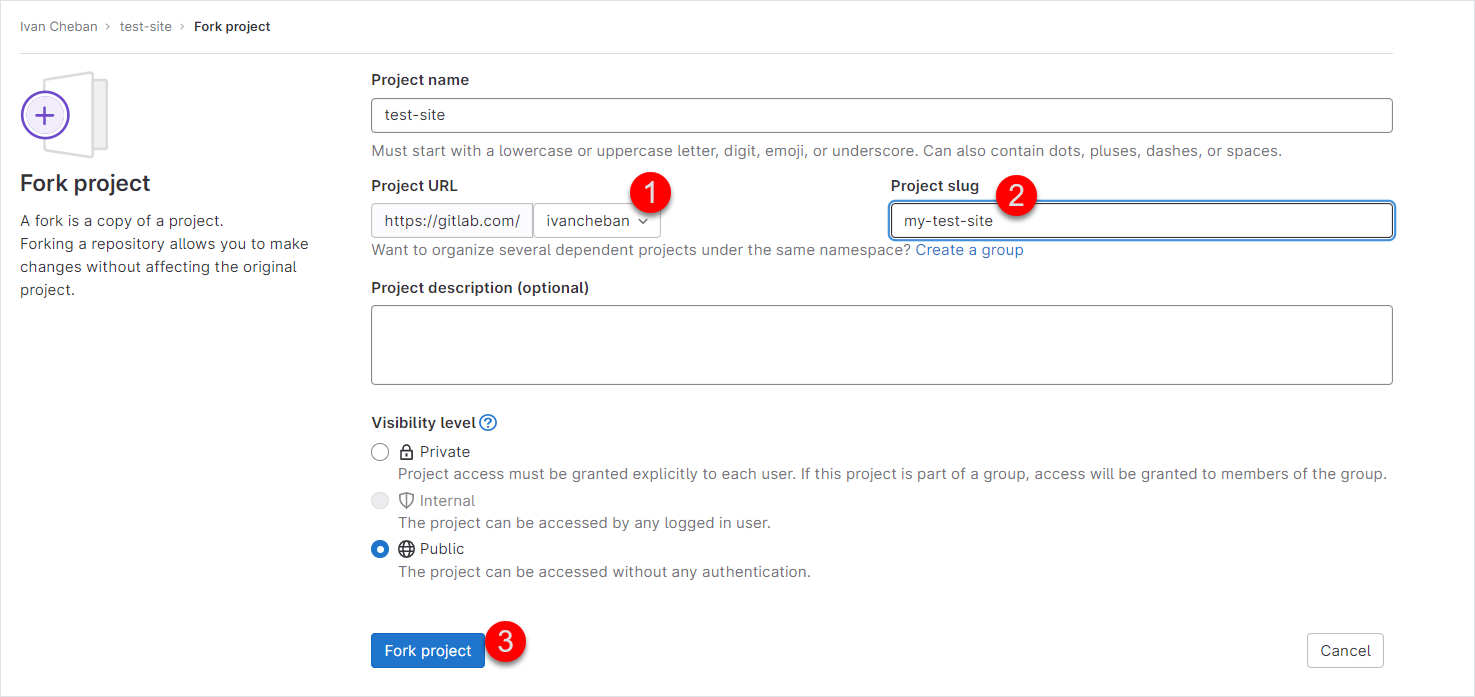
Fill in the fields:
a. The project namespace - select your GitLab name from the dropdown list.
b. Project slug - type the repo name.
c. Select Fork project.
-
Clone the forked project.
git clone https://gitlab.com/ivancheban/my-test-site.gitwhere
my-test-siteis the repo name of the forked project.
Create CI configuration
To create a CI (Continuous Integration) configuration file:
-
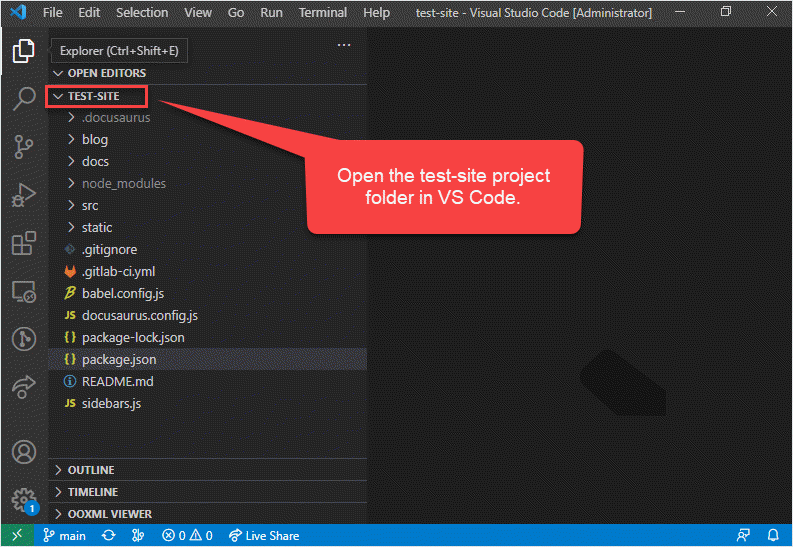
Open your Docusaurus project in VS Code.
-
Click the New file button to add a new file.
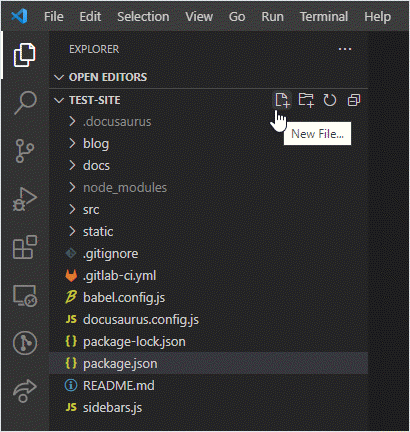
-
Type the file name and extension:
.gitlab-ci.yml. Press Enter.Your file is created.
-
Copy this code and paste it inside the
.gitlab-ci.ymlfile.image: node:latest # allow caching for faster deployment cache: paths: - node_modules/ - public/ - .cache/ pages: stage: deploy script: - yarn install - yarn build:gitlab artifacts: paths: - public only: - main -
Add this code to the
package.jsonfile."build:gitlab": "docusaurus build --out-dir public",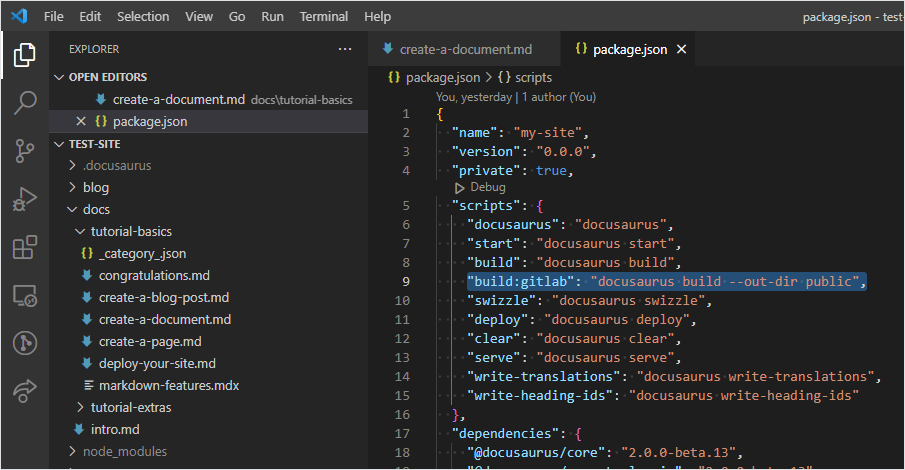
-
Change the
baseUrlvalue in thedocusaurus.config.jsfile to/my-test-site/wheremy-test-siteis the name of your repo.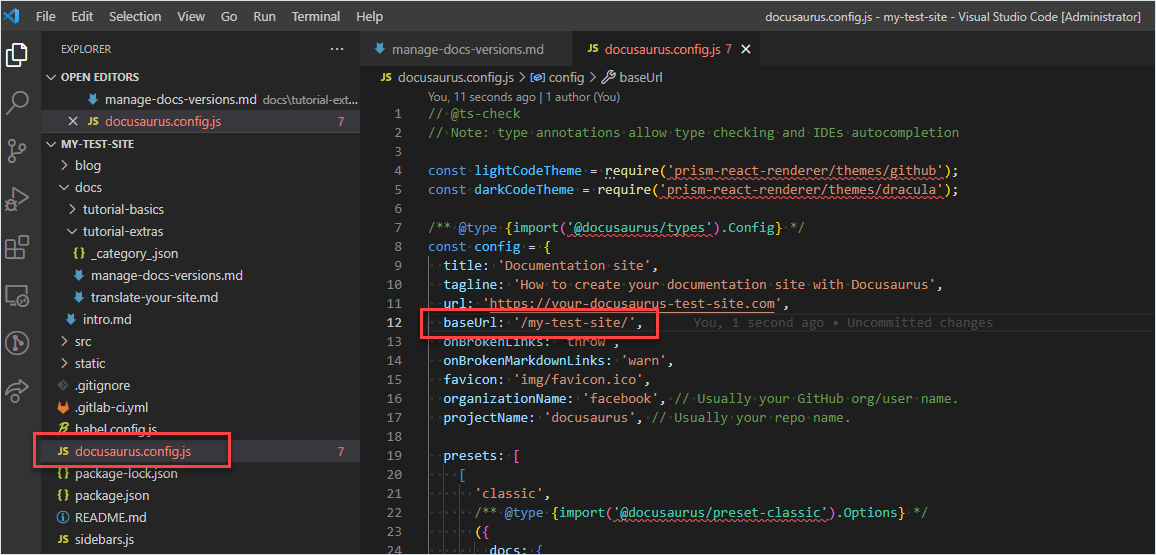
-
Commit and push the changes.
Deploy site to GitLab Pages
Now you have the Docusaurus project—locally and on the remote server—with the CI configuration file. It’s time to trigger deployment.
To trigger deployment to GitLab Pages:
-
Change anything in your docs text.
-
Commit and push your changes.
-
Go to Deployments > Pages in GitLab repo.
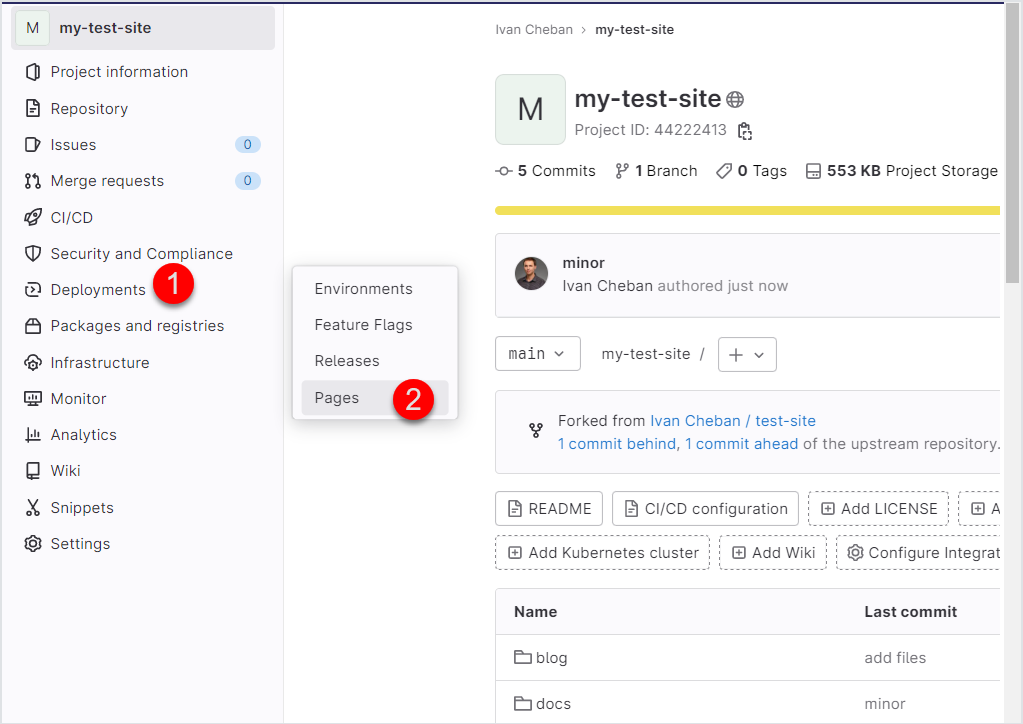
-
Click the site link deployed to GitLab Pages.
https://ivancheban.gitlab.io/my-test-site
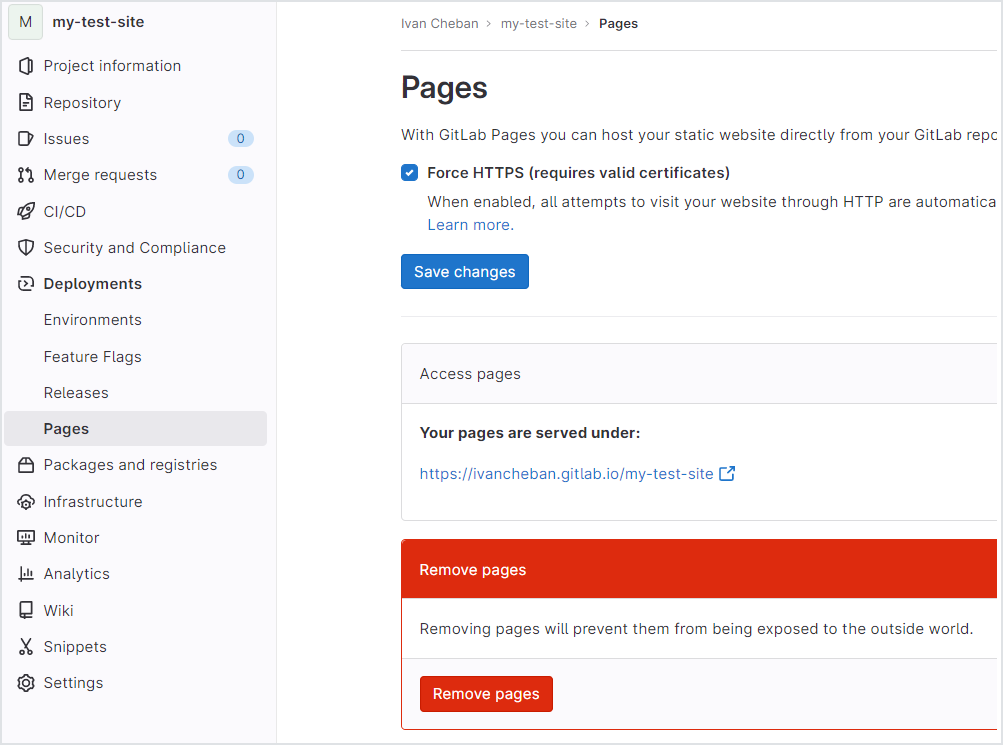
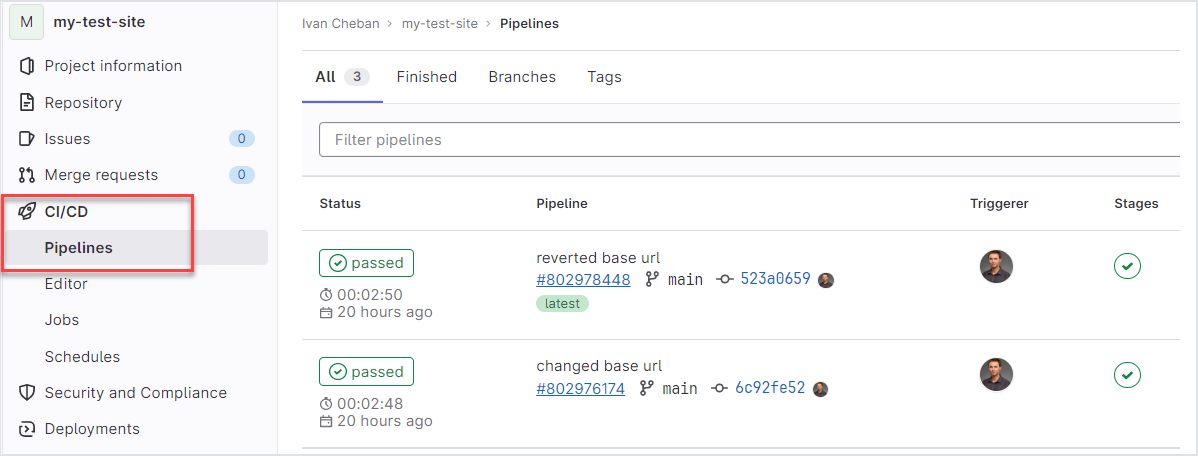
Your site is online. The deployment is triggered automatically when you push changes to your repo. You can view the pipeline for each deployment in CI/CD > Pipelines section.
Feedback
Was this page helpful?
Glad to hear it! Please tell us how we can improve.
Sorry to hear that. Please tell us how we can improve.