Jekyll
5 minute read
Our goal is to build and publish the documentation site using Jekyll and Netlify. The end result will look like this: https://sample-jekyll.netlify.app
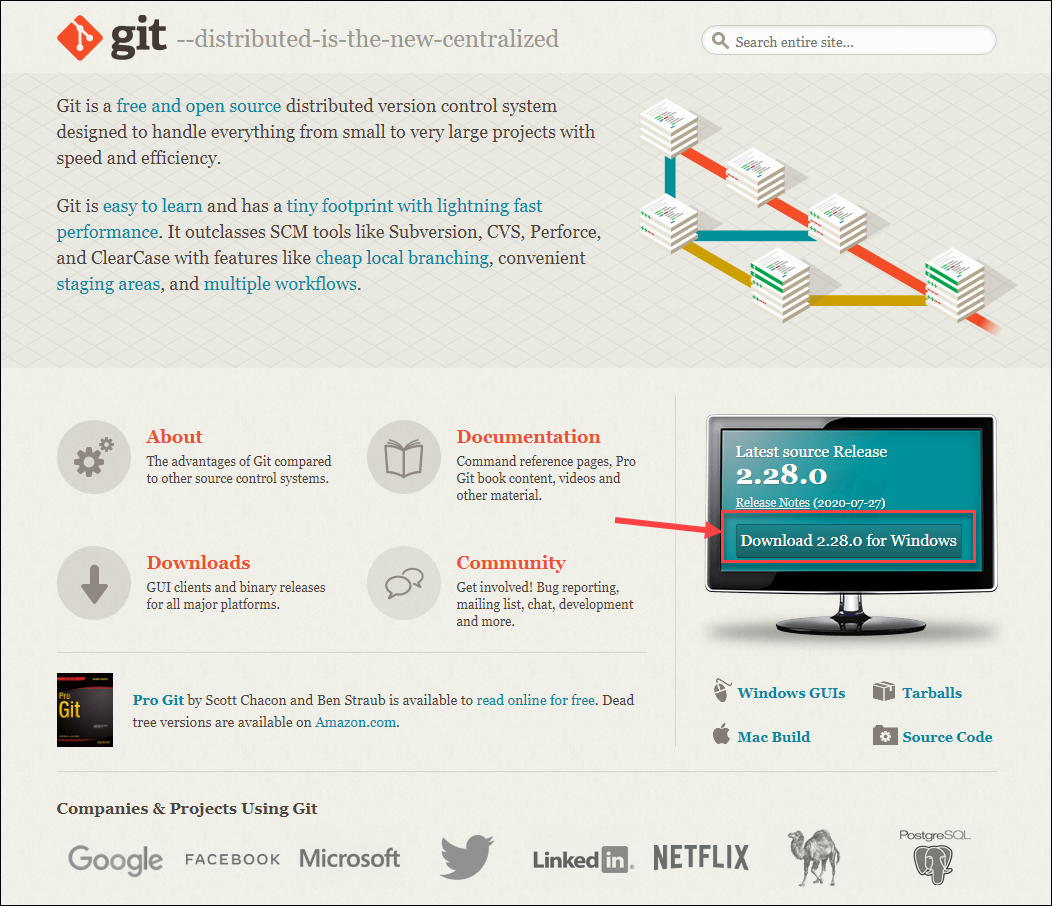
Download the theme from the GitHub repo
-
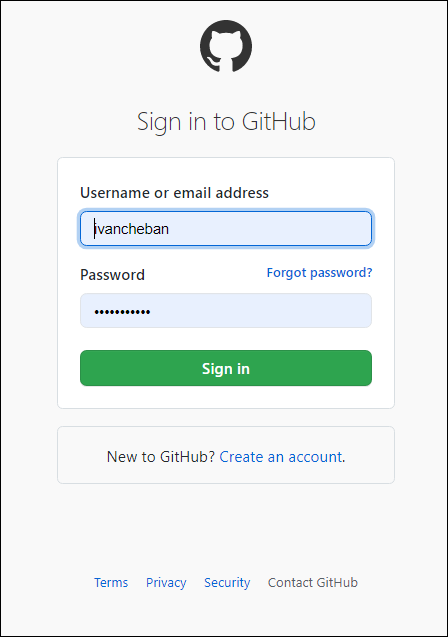
Sign up for GitHub.

-
If you already have the account there, sign in.
-
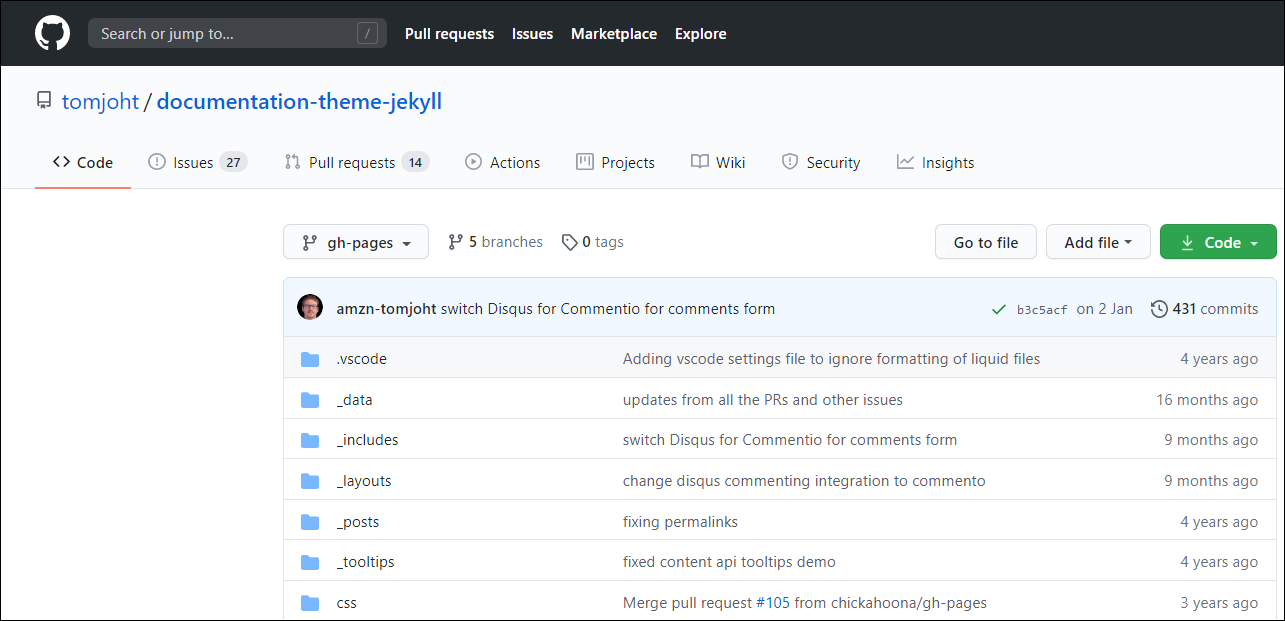
Go to Tom’s repository.
-
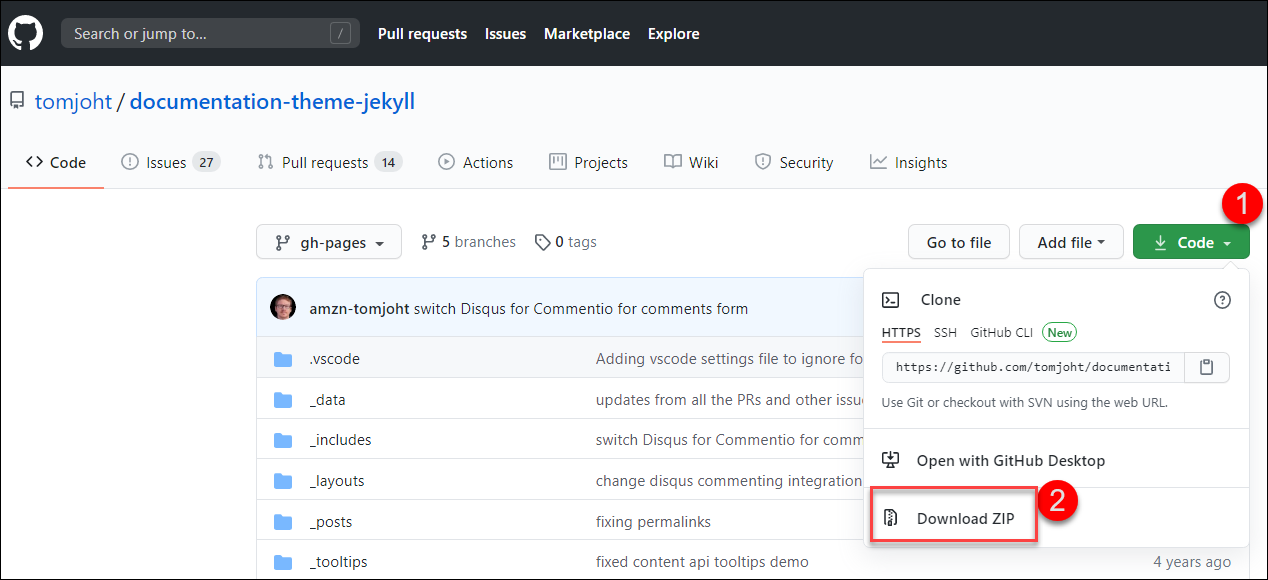
Click the Code button and select Download ZIP.
-
Save the ZIP file to your computer and unzip the contents where you like. Now you have the folder with code and content. Let’s proceed with building our documentation site from all this.
Install Ruby on Windows
Before we install Jekyll that compiles our site, we need to install Ruby. Jekyll is a Ruby-based program and needs Ruby to run.
-
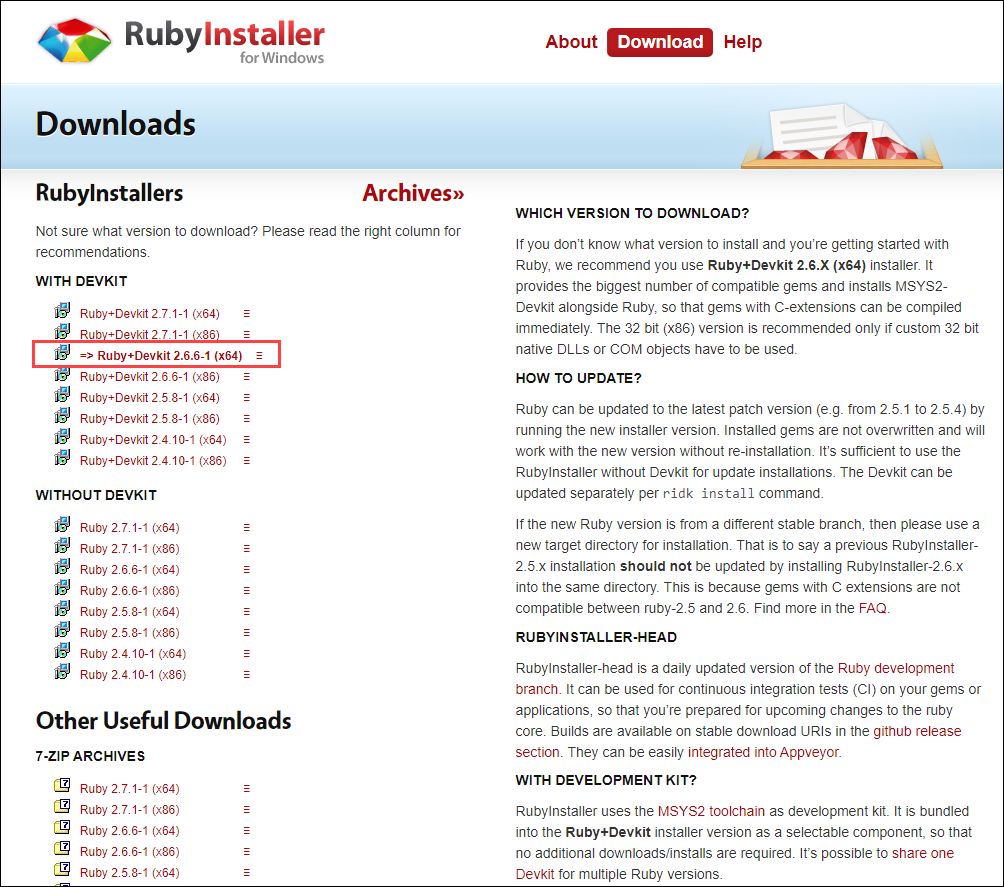
Go to RubyInstaller for Windows.
-
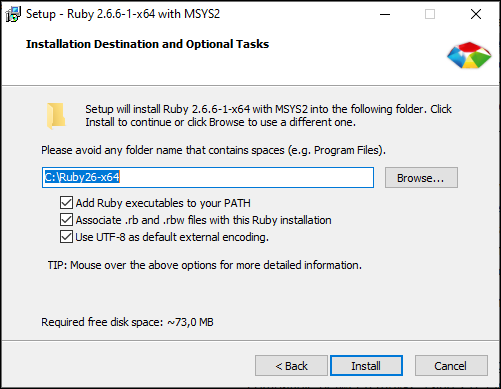
Install the recommended Ruby+Devkit 2.6.X (x64) version.
-
Install everything by default.
-
When the installation completes, you see this command prompt screen. Press Enter`** two times when prompted.
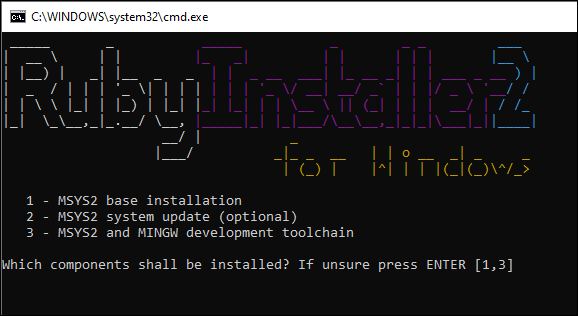
-
When the installation in the command prompt exits, let’s assume that we have Ruby installed. If you want to make sure, open the command prompt and type
ruby -vand press Enter.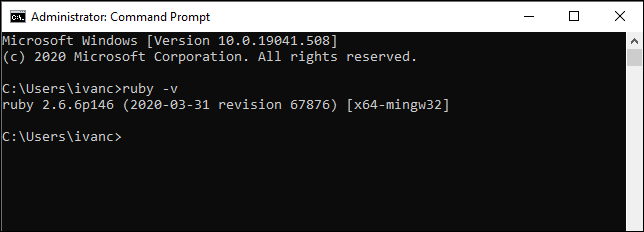
Install Jekyll
-
To install Jekyll, enter
gem install jekyllin the command prompt and press Enter. -
Check if Jekyll has been installed properly: enter
jekyll -vand press Enter.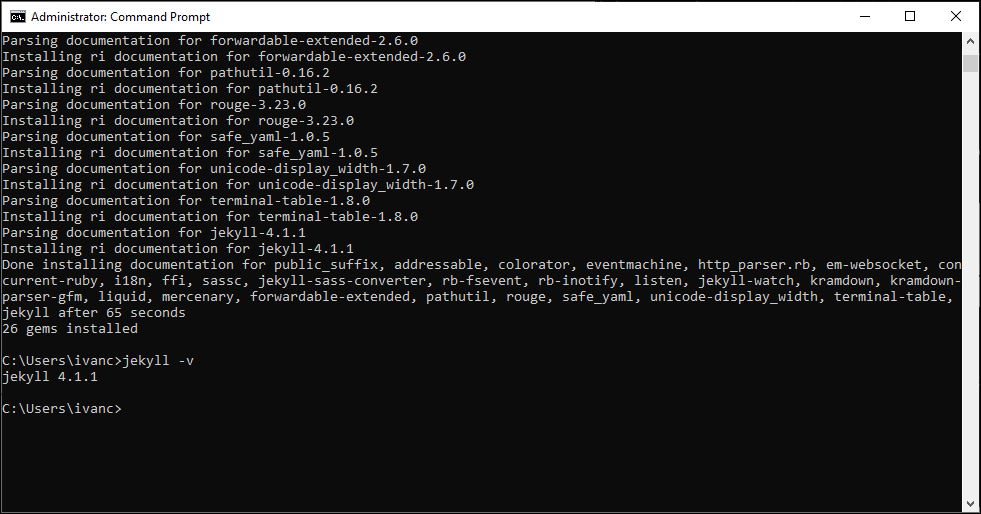
Install Bundler
-
Browse to the directory where you downloaded the Documentation theme for Jekyll.
-
Delete the existing
GemfileandGemfile.lockfiles.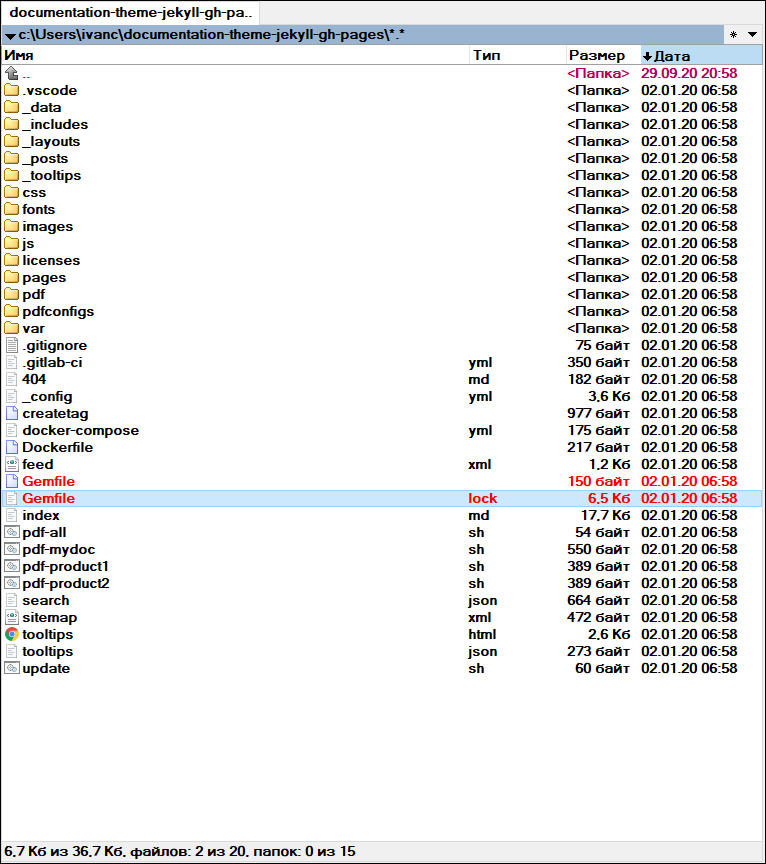
Change directory
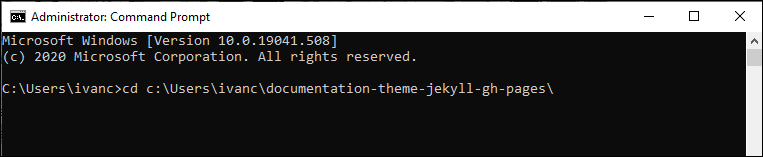
First, you need to change the directory in the Command Prompt.
-
In your file explorer, copy the path to the unzipped folder with your project.

-
In the Command prompt, enter
cdand right-click to paste the copied path. -
Press Enter to change the directory. Now you can execute commands in the project directory.
Install Bundler
-
To install Bundler, enter
gem install bundlerand press Enter.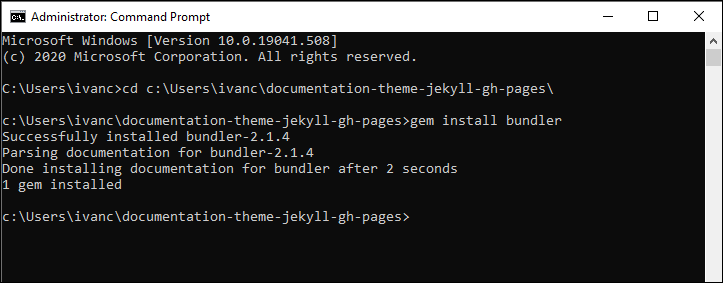
-
Enter the following commands:
bundle init
bundle install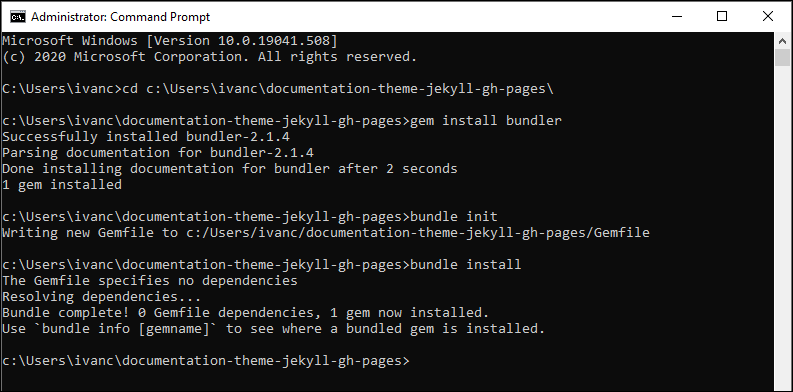
These commands created new
Gemfilefiles in your project folder. -
Open the
Gemfilewith Notepad.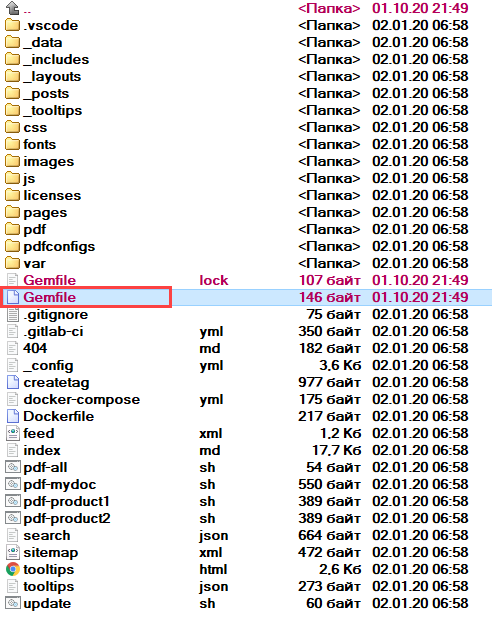
-
Delete everything in this file.
-
Enter the following data and save the file.
source "https://rubygems.org"

gem "jekyll"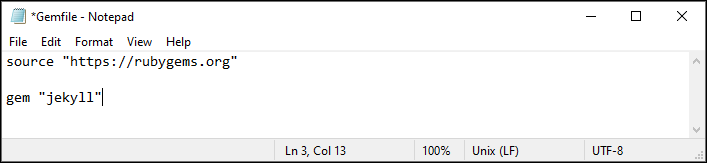
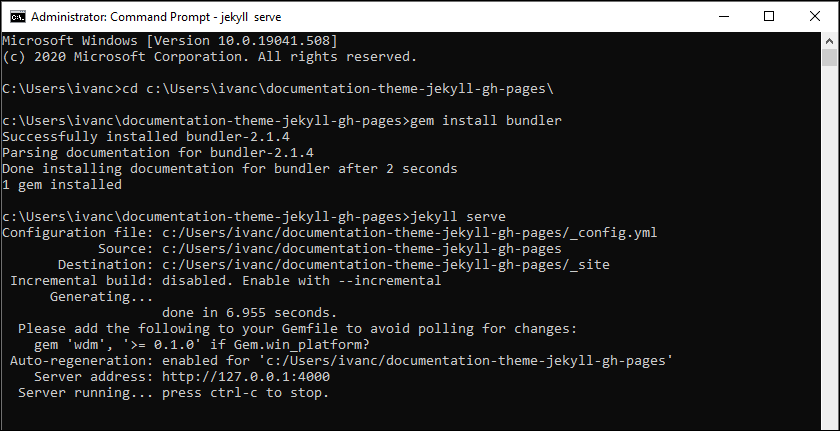
Build the site
To build your Jekyll site locally:
-
Change the directory in the Command Prompt:
cd documentation-theme-jekyll-gh-pages. -
Enter
jekyll serve. -
To access the site locally, copy the address from the Command Prompt: http://127.0.0.1:4000
-
Paste the address in your browser and you will see the site.
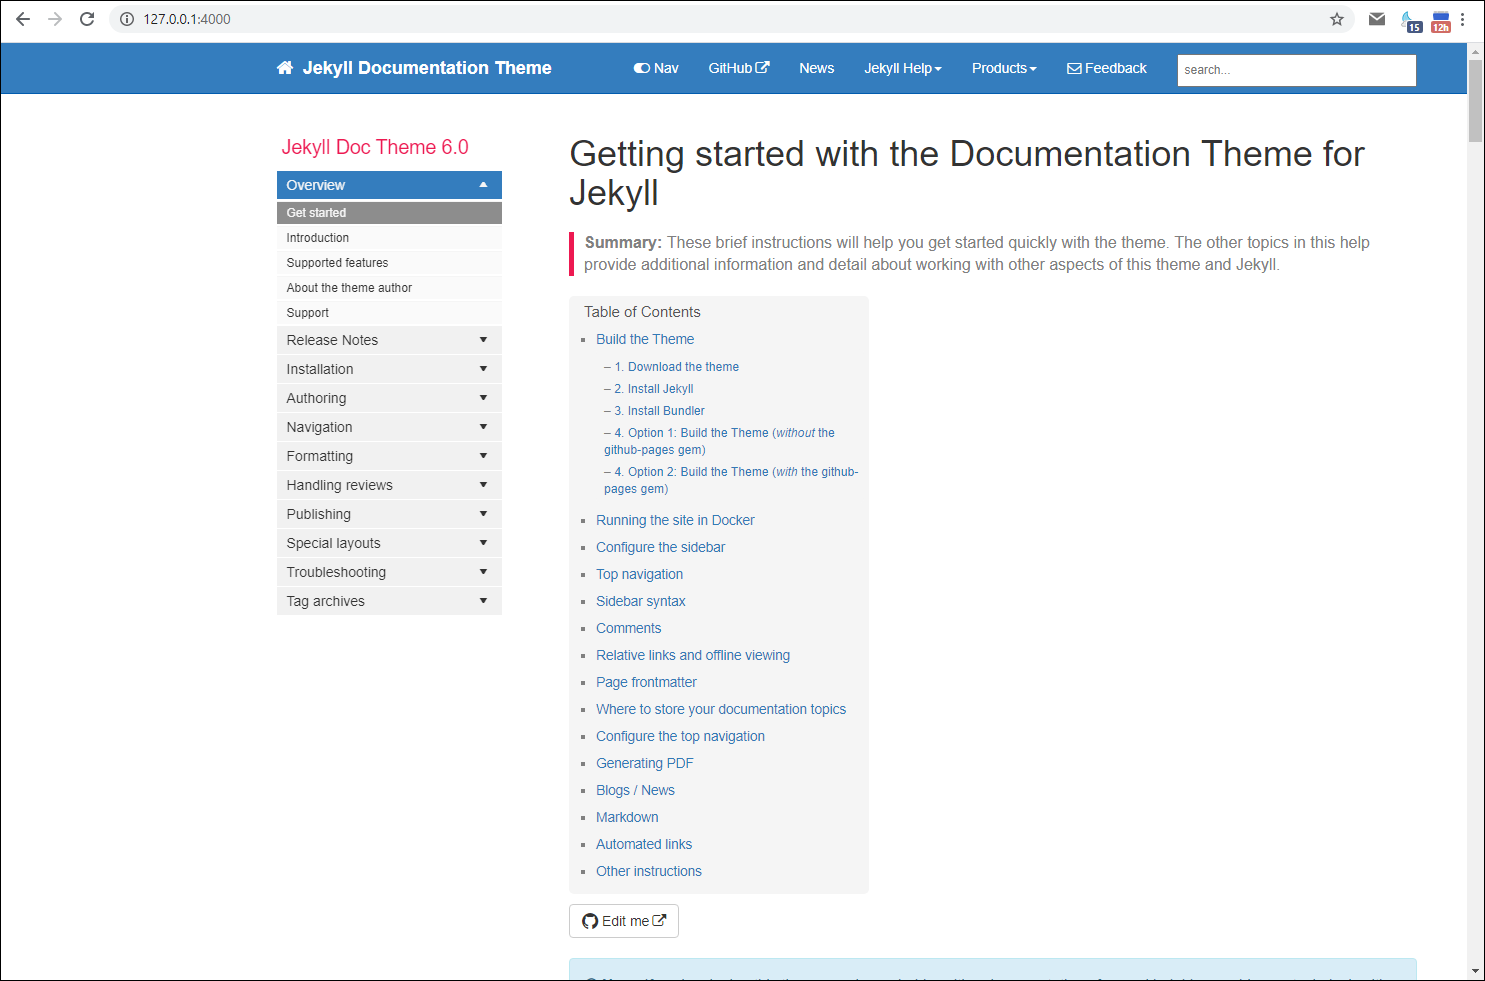
You can access all the site content locally from the project folder.
Note
To stop the local server where your site is served, pressCtrl+C in the Command Prompt.
CI/CD, GitHub and IDE
Before you publish your site online, you need to create the CI/CD pipeline. While this term sounds mysterious, there is nothing complicated about it.
You need to have an editor on your computer where you will change the code and content of your site. This editor should be able to send the changes that you’ve made to your GitHub repository. It’s like a Dropbox folder that syncs your local folder to the cloud.
For this example, I will use Visual Studio Code editor/IDE.
VSCode editor
Install VSCode from its official site.

Useful links for setting up VSCode for viewing and editing Markdown files:
- Using Markdown with Visual Studio Code
- How-To Guide: Markdown in Visual Studio Code
- Markdown and Visual Studio Code
- Lana Novikova’s materials about VScode (In Russian)
Git client
You will also need Git client to connect VSCode to your GitHub repository. It’s the same as using Word (in this case VSCode) to write/edit your document and Dropbox desktop client (in this case Git client) to sync your changes to the cloud server.
-
Install Git client from its official site.
-
Install everything by default. You may close the Git client window.
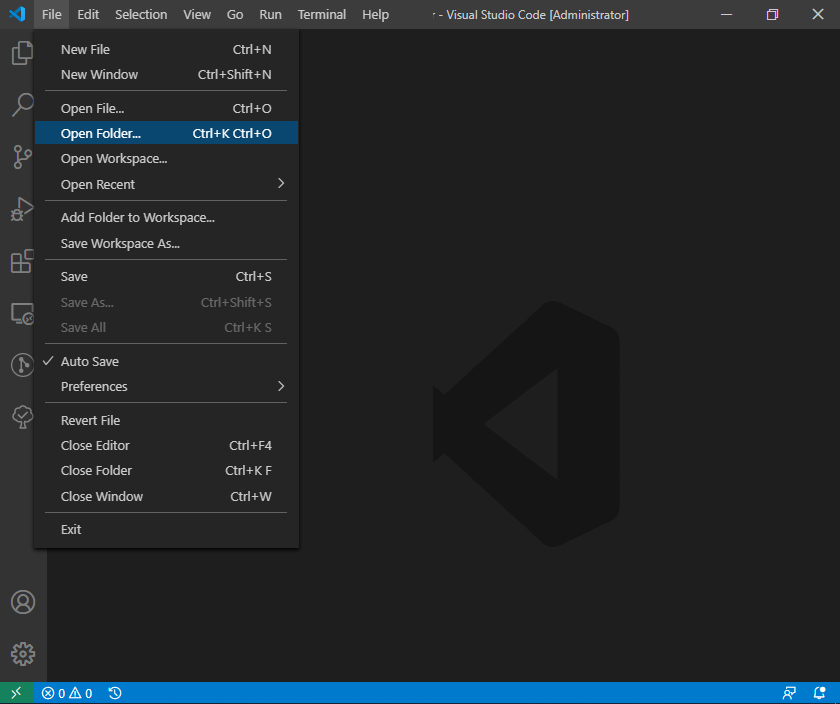
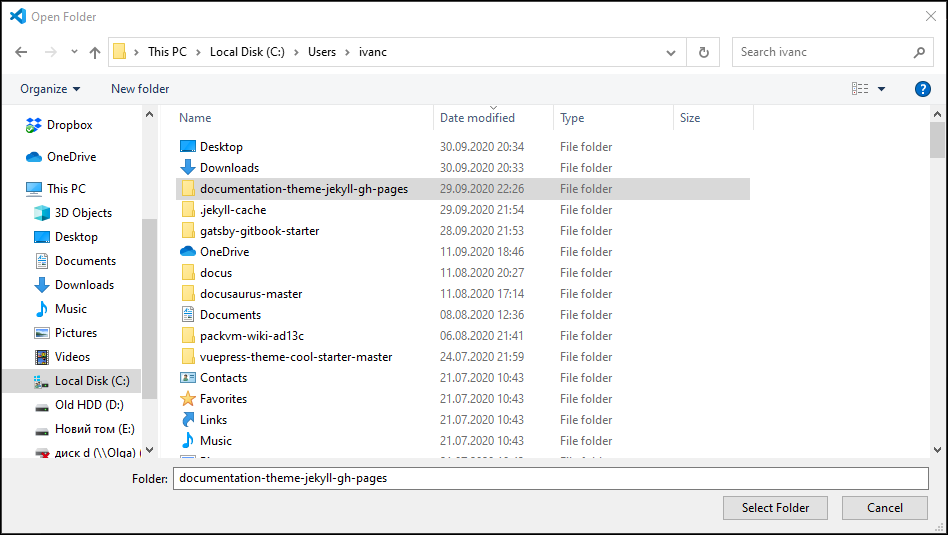
View project folder in the editor
-
Run the VSCode.
-
Select File > Open Folder.
-
Open the project folder.
Now you will see the folder contents in the VSCode editor. If you open the folder with content and click the .md file, you will see the file markup.
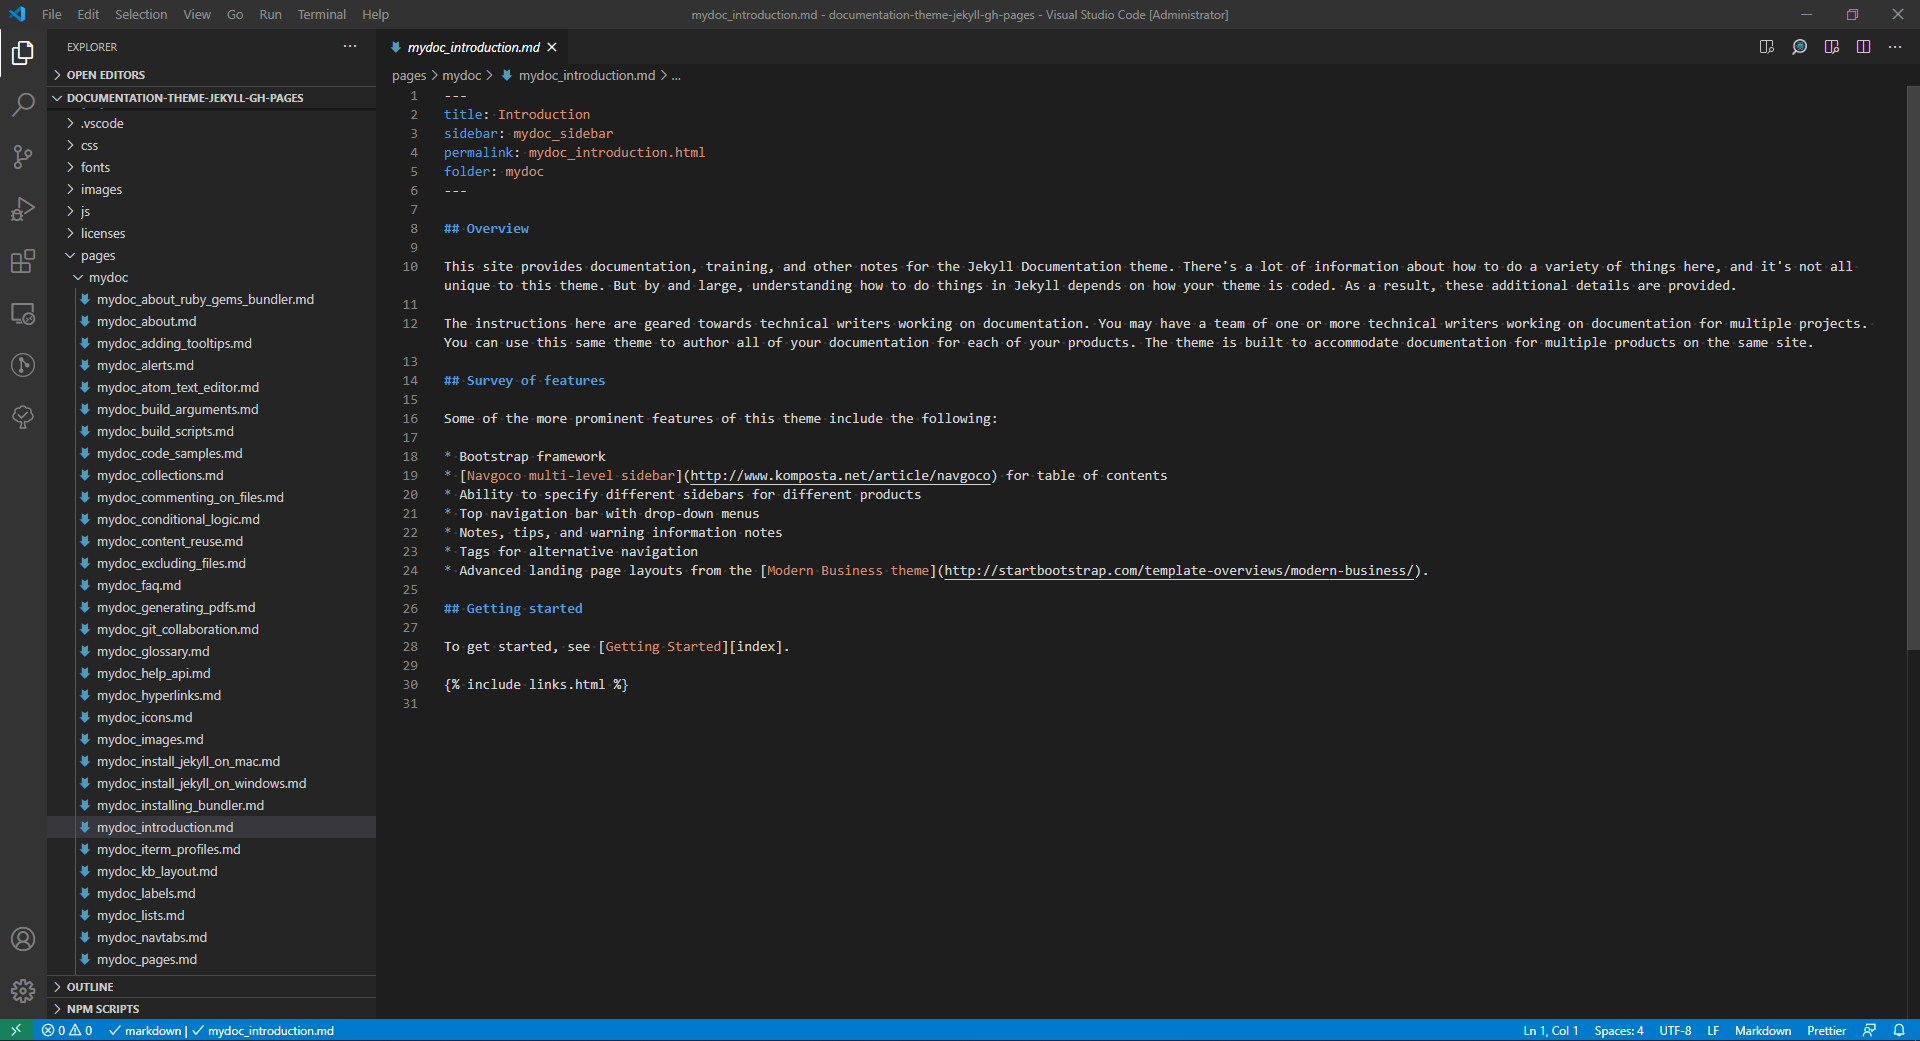
Now you can edit the files. But you need to upload this folder to your GitHub repository to sync the changes.
Upload project folder to GitHub
-
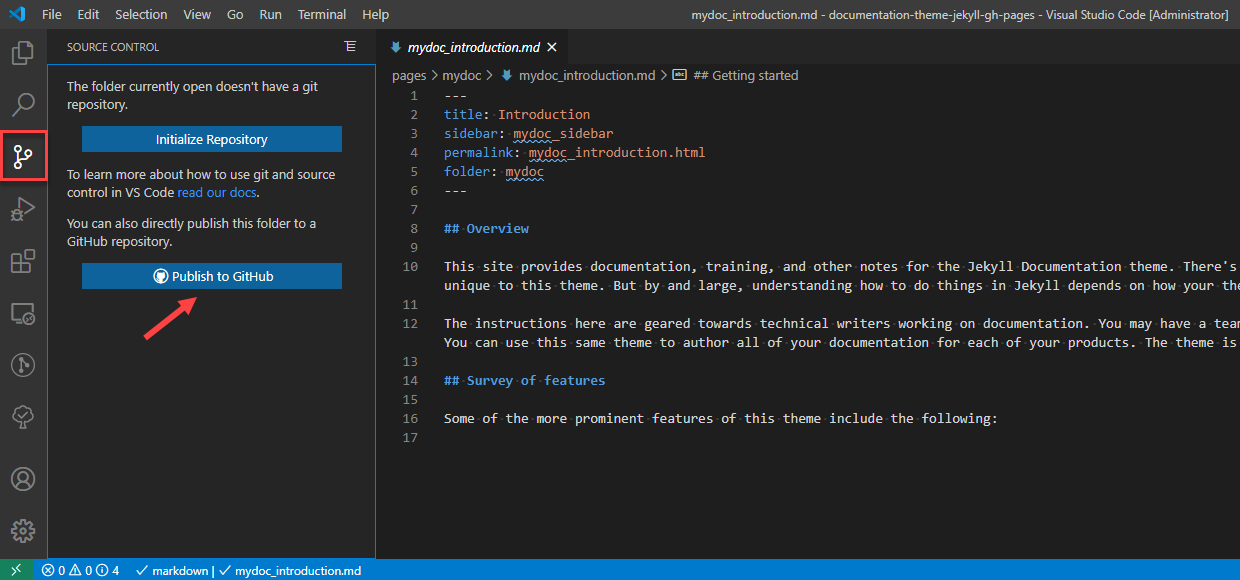
Go to the Source Control section of VSCode and click the Publish to GitHub button.
-
Select Publish to GitHub public repository.

-
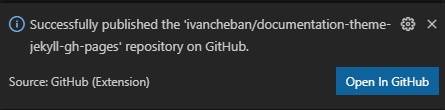
Select Open in GitHub to open your newly created project repository in GitHub.
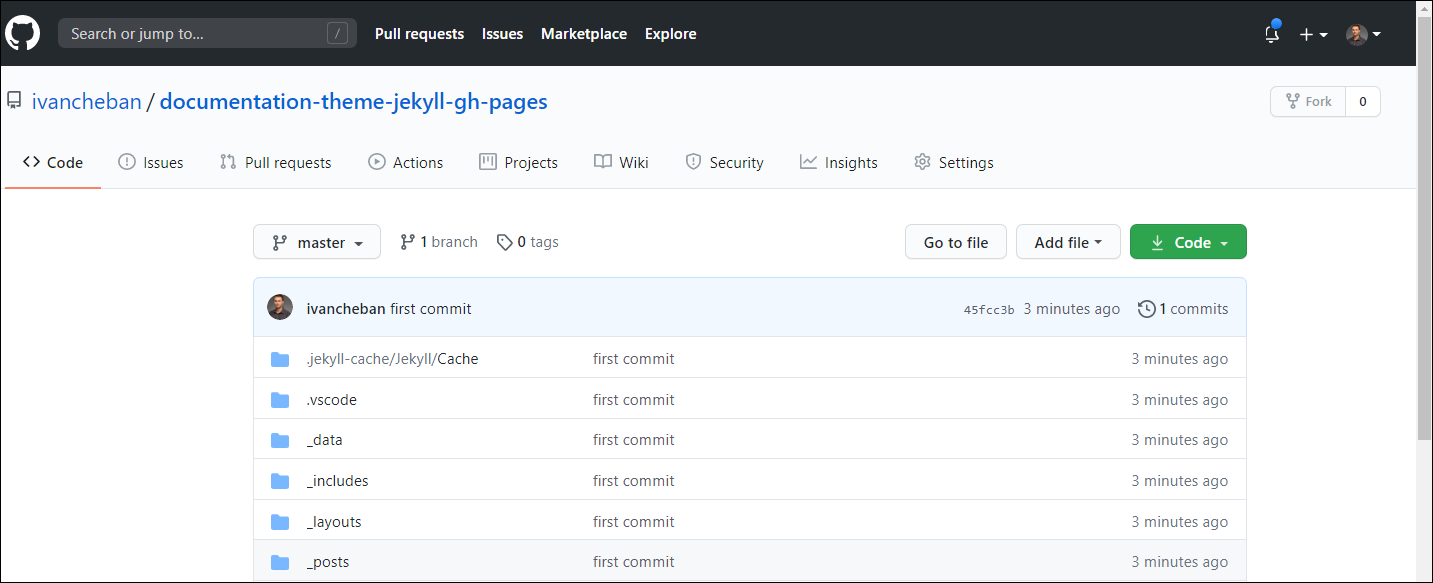
You will see your project folder structure. Now your local folder is synced to the GitHub cloud server. Every change that you make locally will be synced to the GitHub server.
Publish your site
Now when you have built the Documentation Site locally, you wonder how to publish it online for everyone to see. Although Tom tells how to publish his site on GitHub Pages, I don’t recommend this. There are better and easier ways for publishing the sites built with Static Site Generators. For this example I will use Netlify.
-
Sign up to Netlify.
Or log in, if you already have an account.
-
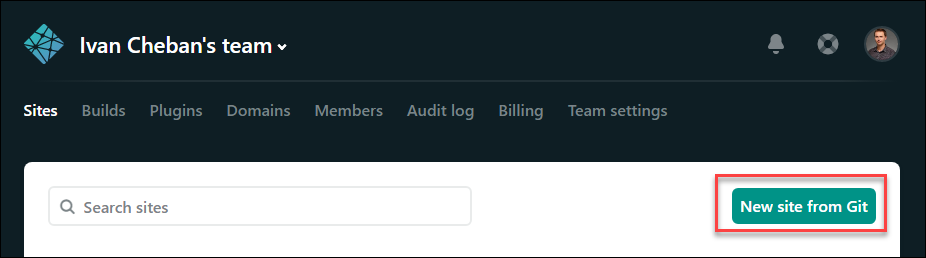
Press the New site from Git button.
-
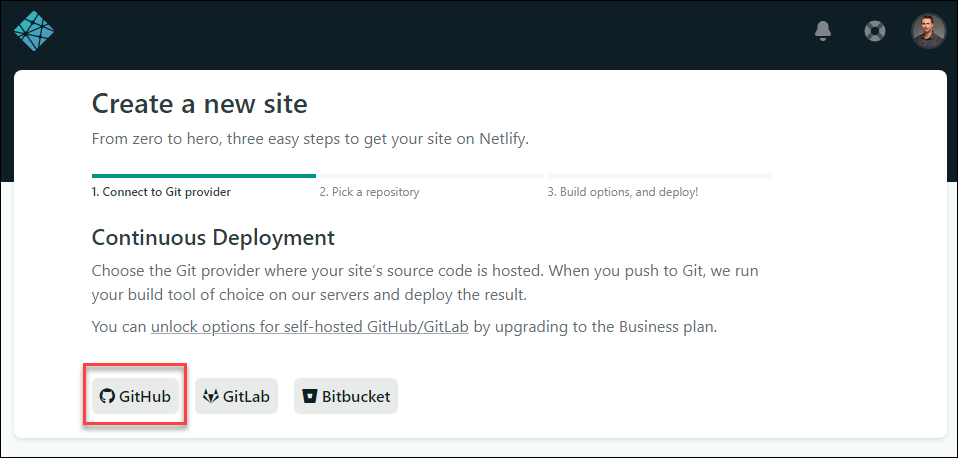
Select GitHub as your Git provider.
-
Authorize Netlify’s access to your GitHub repository.
You will see the list of your repositories.
-
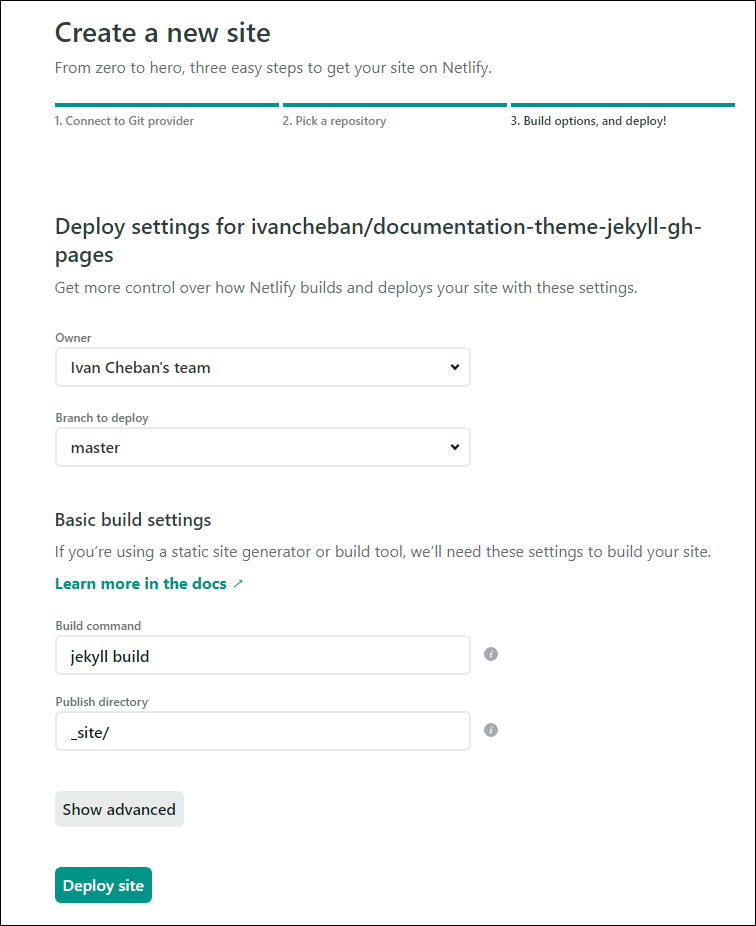
Pick the repository that you’ve created in the previous step.

-
Select Deploy site.
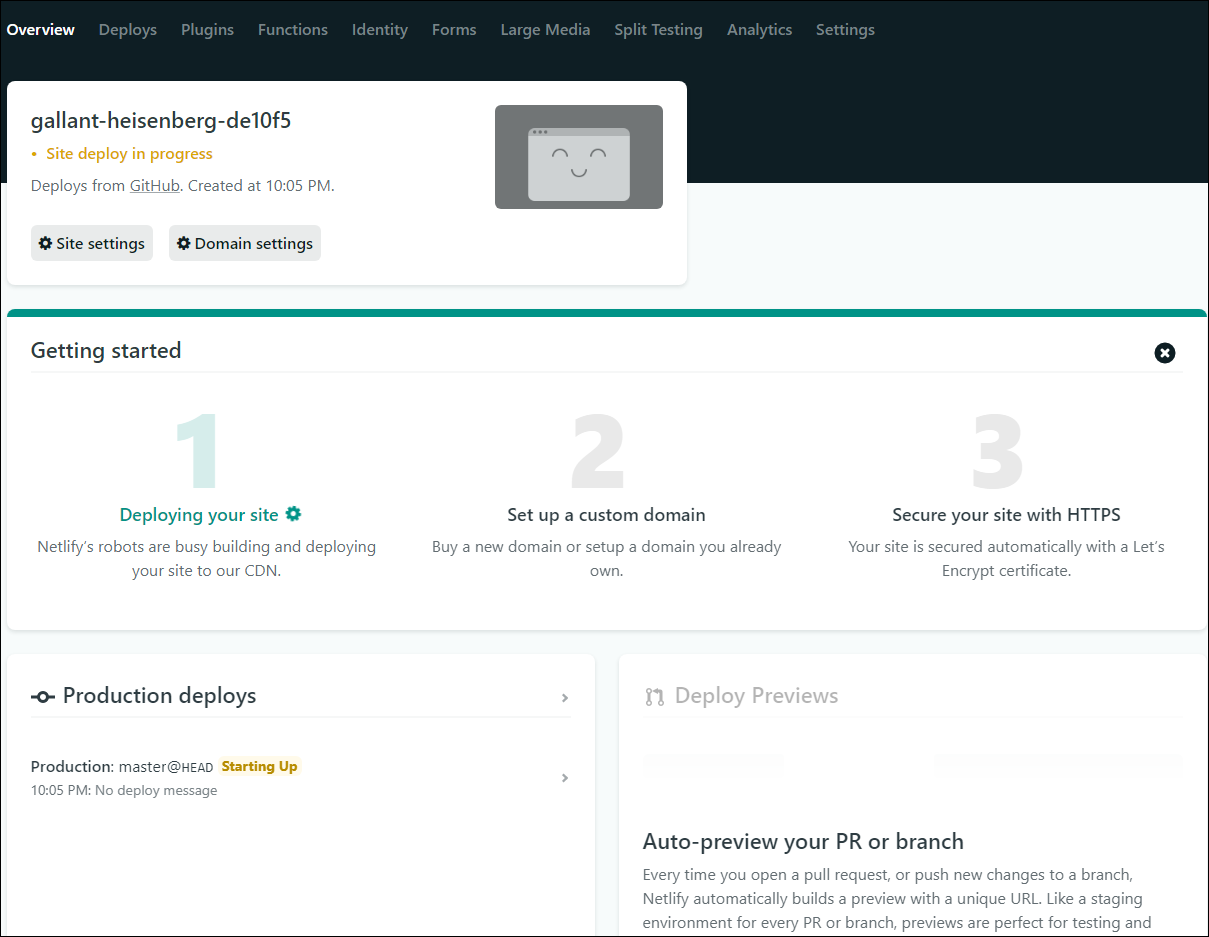
You will see Netlify deploying your site with some funny name.
Note
The building of your site for the first time takes several minutes. Be patient. When the build finishes, you will see the Published status.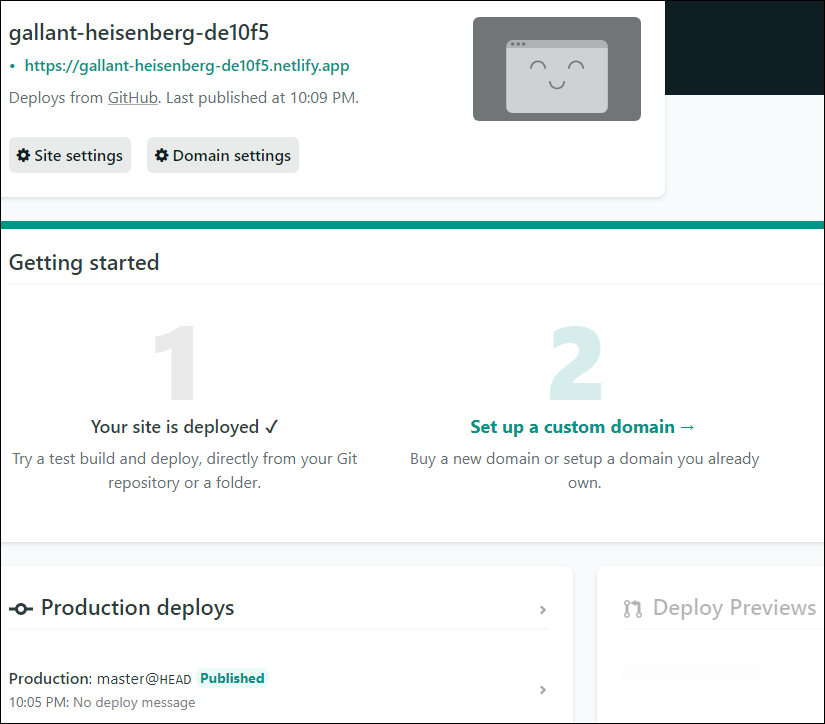
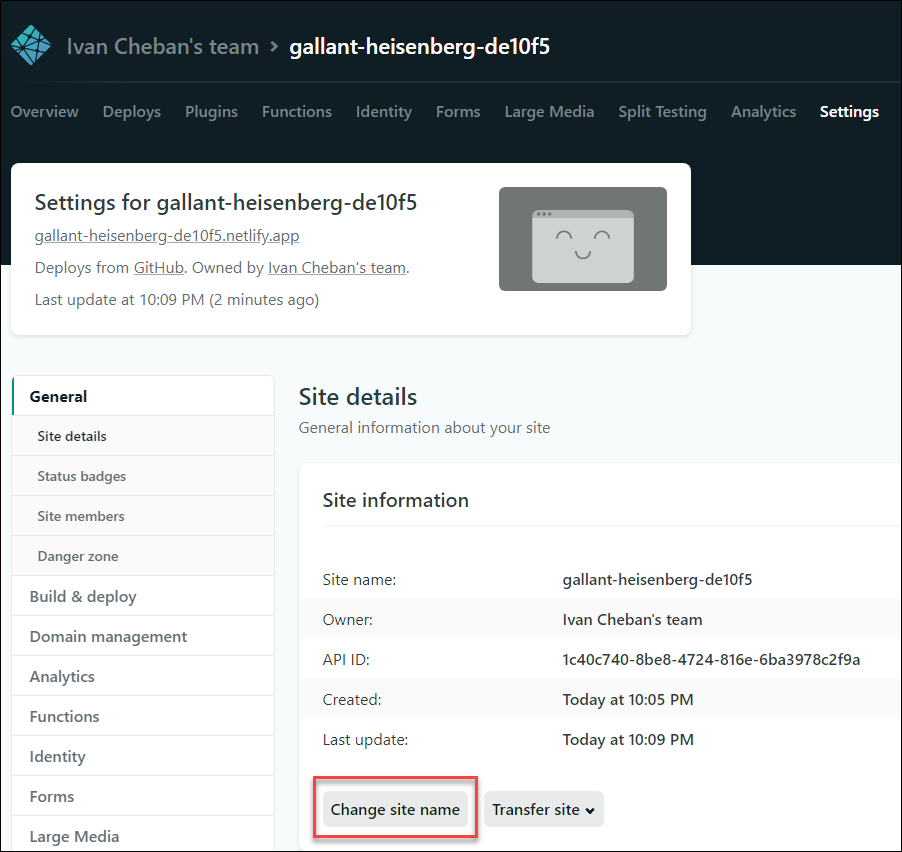
-
Change the site name to something more relevant.
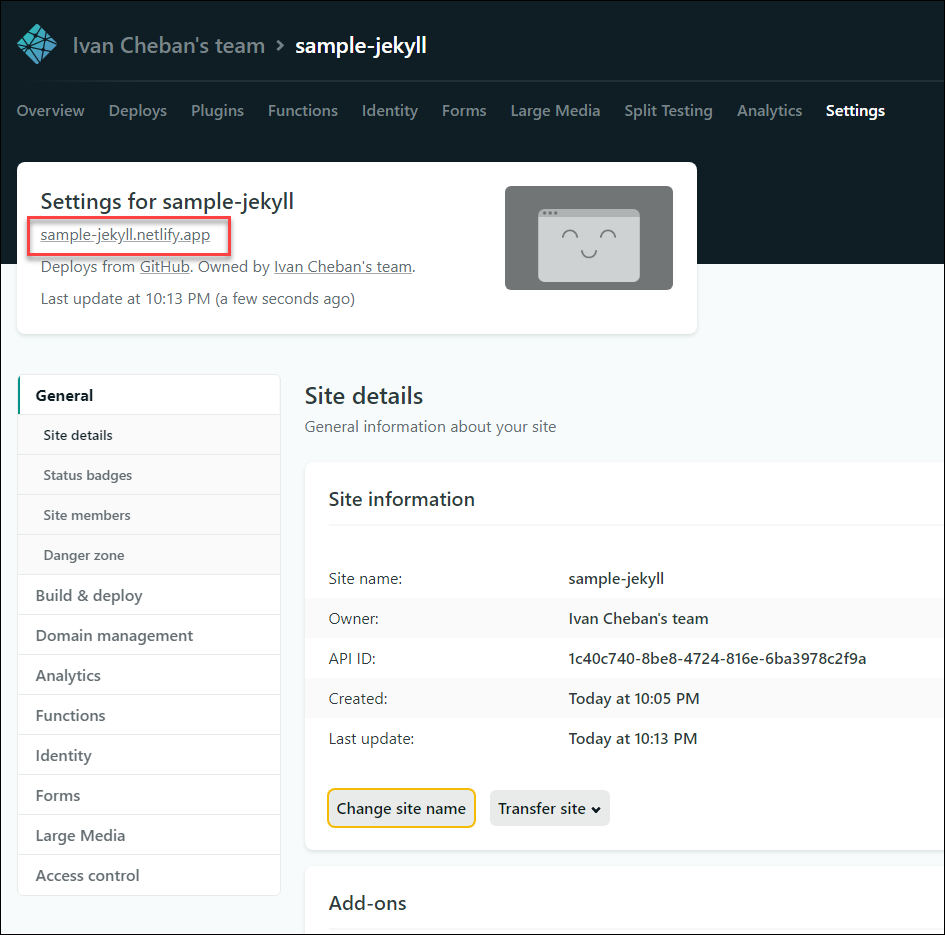
-
Click the new site name to visit its page. My test site:
https://sample-jekyll.netlify.app/
Useful links
I used some help from these sites:
- https://www.netlify.com/blog/2020/04/02/a-step-by-step-guide-jekyll-4.0-on-netlify/
- https://www.netlify.com/blog/2015/10/28/a-step-by-step-guide-jekyll-3.0-on-netlify/
- https://idratherbewriting.com/documentation-theme-jekyll/index.html
- https://github.com/tomjoht/documentation-theme-jekyll
- https://docs.github.com/en/free-pro-team@latest/github/importing-your-projects-to-github/adding-an-existing-project-to-github-using-the-command-line
Feedback
Was this page helpful?
Glad to hear it! Please tell us how we can improve.
Sorry to hear that. Please tell us how we can improve.