Create online CV with Jekyll
4 minute read
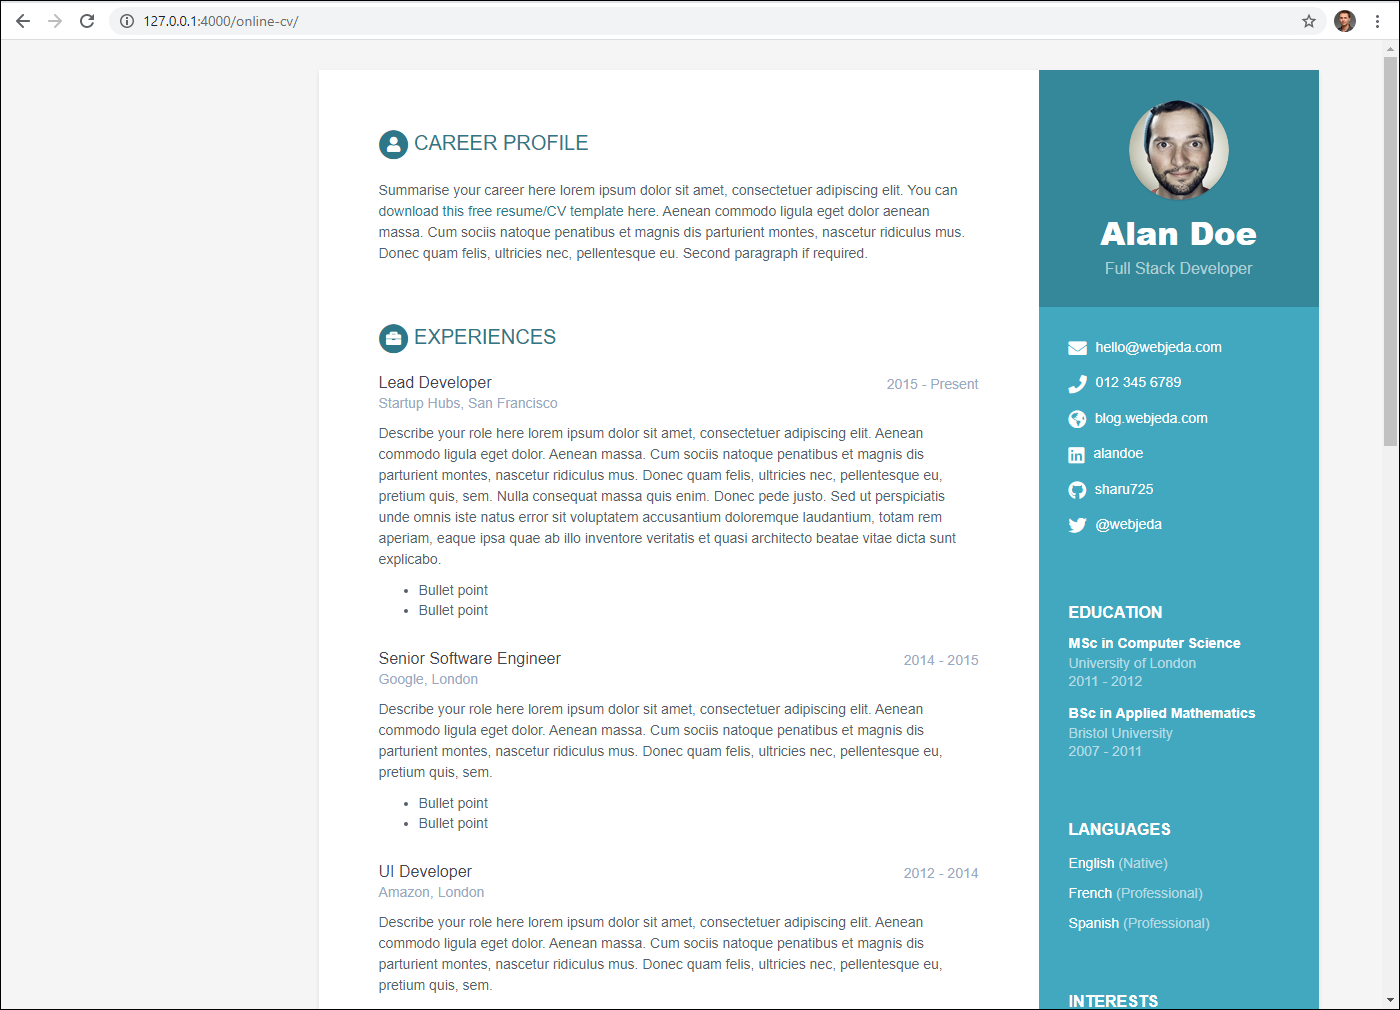
Our goal is to build and publish the one-page online resume site using Jekyll and Vercel. The end result will look like this:
Prerequisites
Assume that you have Jekyll, Git client, and Visual Studio Code editor installed on your computer. If not, read the Jekyll article first.
To check that you have Jekyll installed:
-
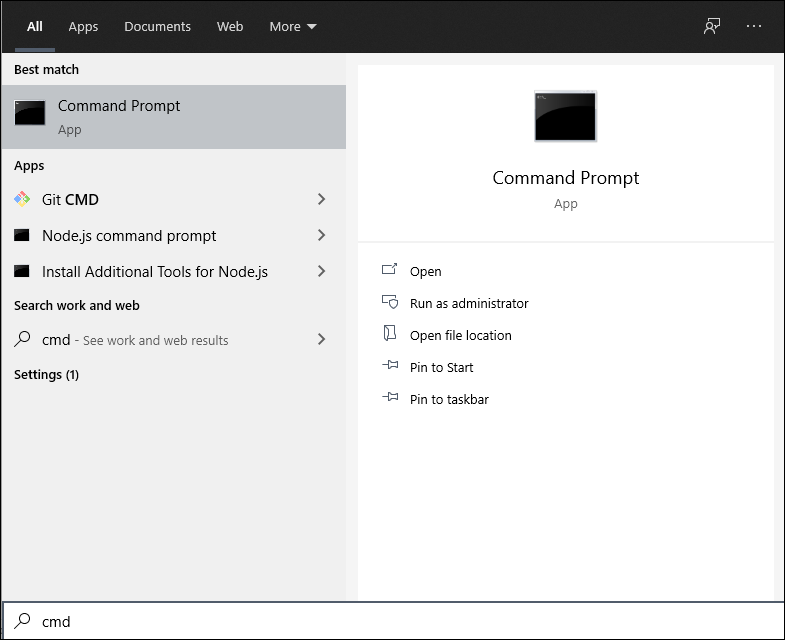
Open Command Prompt.
-
Enter
jekyll -vand press Enter.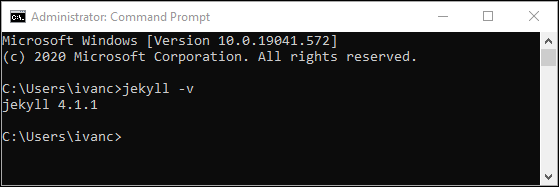
To check that you have Git and VSCode installed:
-
In the Command Prompt, enter
git --version.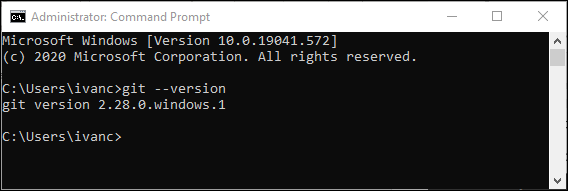
-
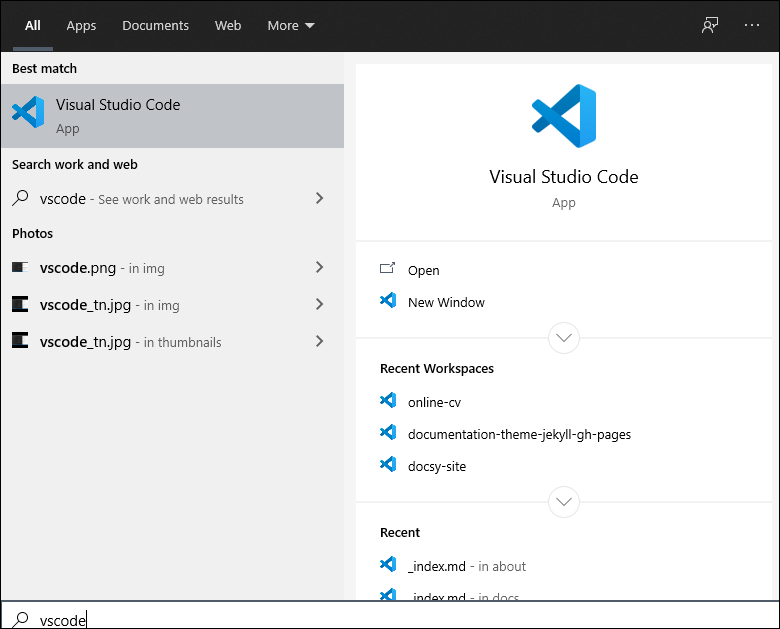
Check that you have Visual Studio Code installed.
Download the theme
There are a lot of free preconfigured Jekyll themes that you can download from GitHub. You can view the list of themes for static site generators at JAMstack Themes. I used this theme for my online resume.
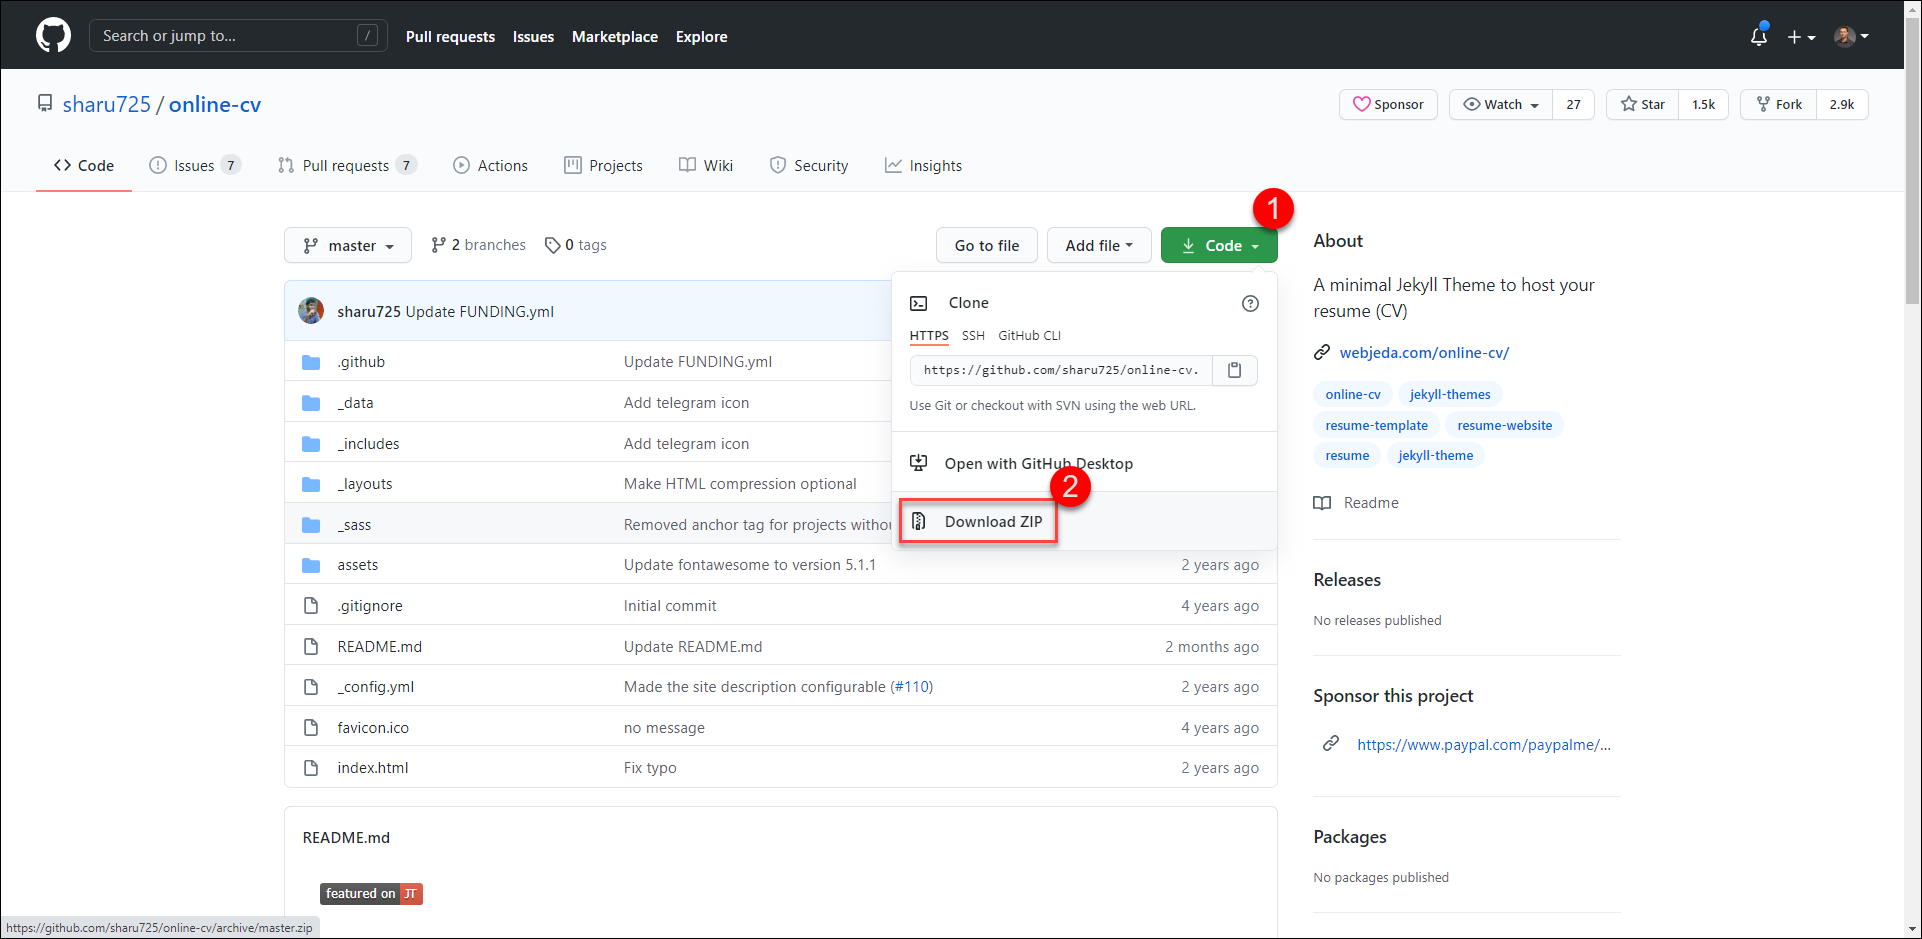
To download the Jekyll theme for your online resume:
-
Go to the theme GitHub repository.
-
Select Code.
-
Select Download ZIP.
-
Save the zipped project folder to your computer.
-
Unzip the folder.
Launch the site locally
Before changing the data in this CV, let’s check how the site runs locally on your computer.
Edit the config file
To edit the _config.yml file:
-
Open the project folder in VSCode.
-
Select the
_config.ymlfile.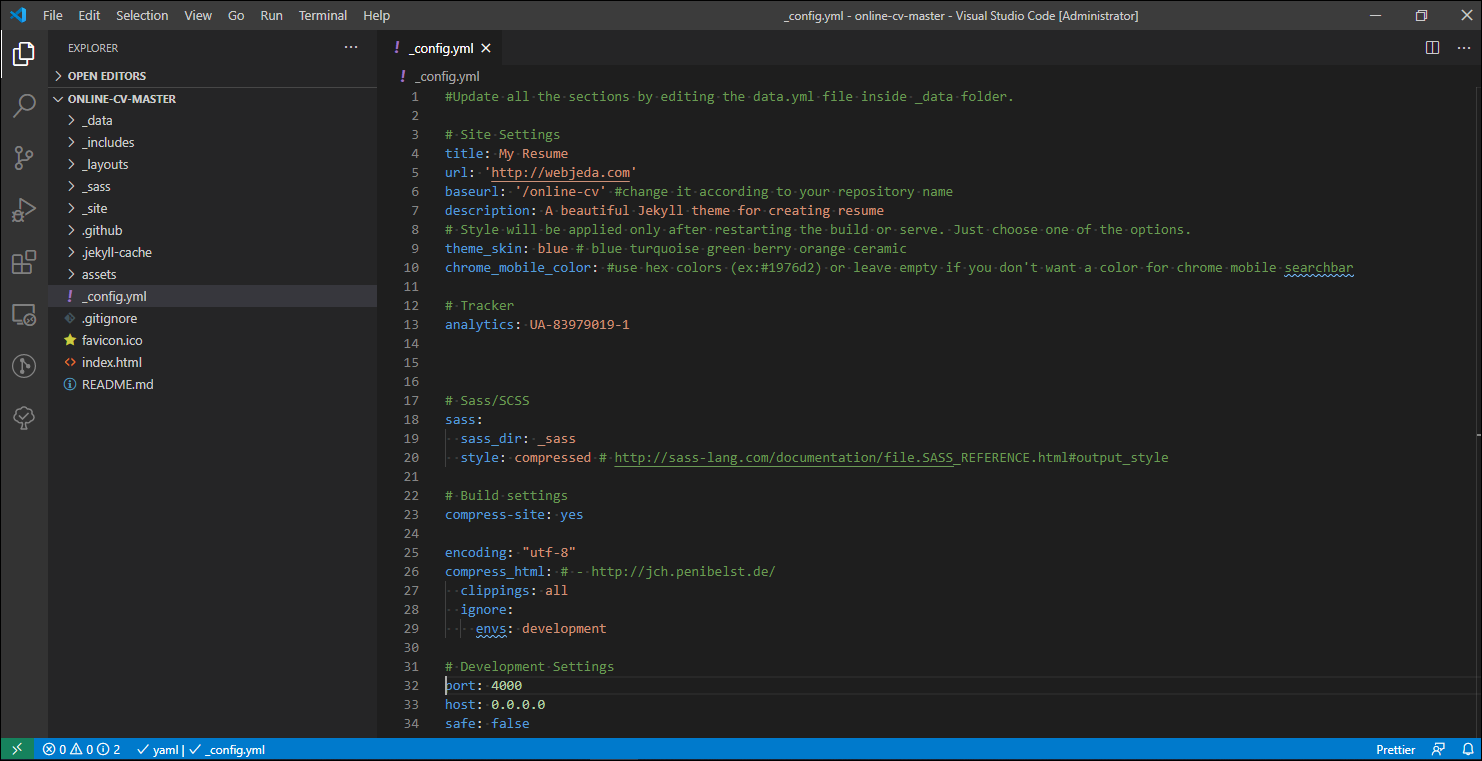
-
Delete the line:
baseurl: '/online-cv' #change it according to your repository name. -
Delete the lines under the
# Development Settings.port: 4000 host: 0.0.0.0 safe: false
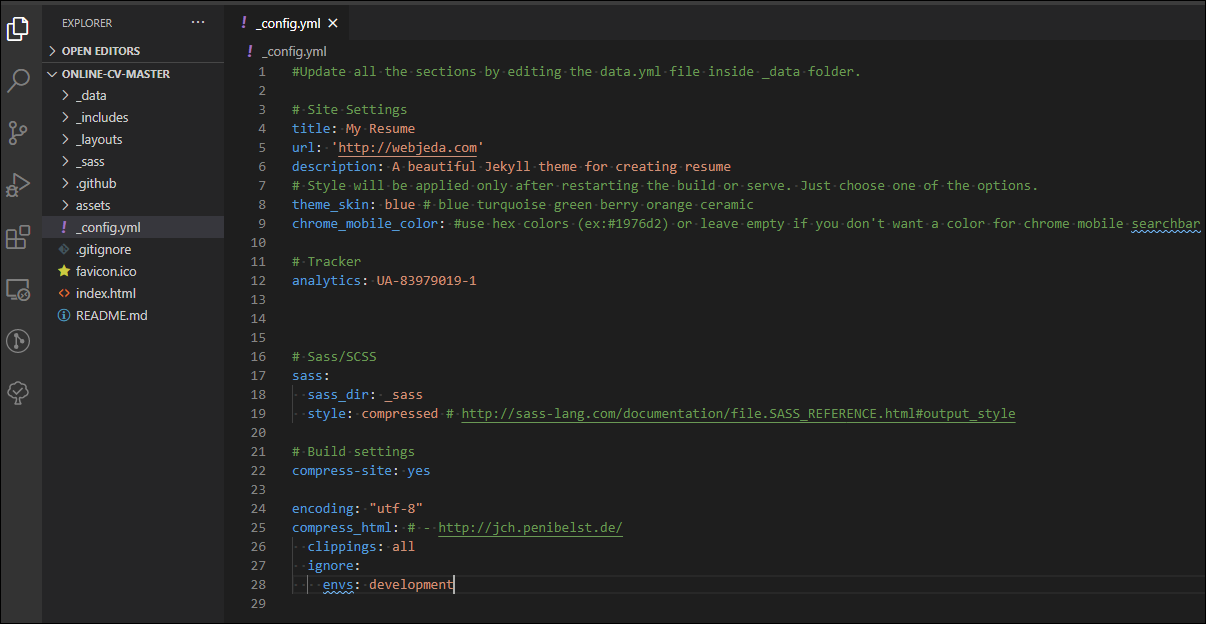
This is how your _config.yml file should look.
Install Bundler
To install the Bundler:
-
In the file explorer, copy the path to the project folder.
In my case, it’s
c:\Users\ivanc\online-cv-master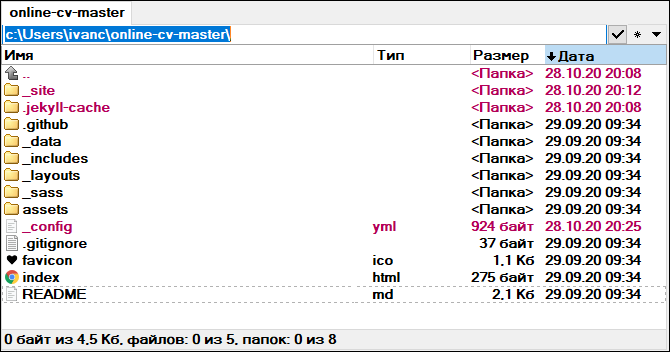
-
In the Command Prompt, change the directory to your project folder path. Press Enter.
cd c:\Users\ivanc\online-cv-master\ -
Enter
gem install bundlerand press Enter. -
Enter the following commands:
bundle init
bundle install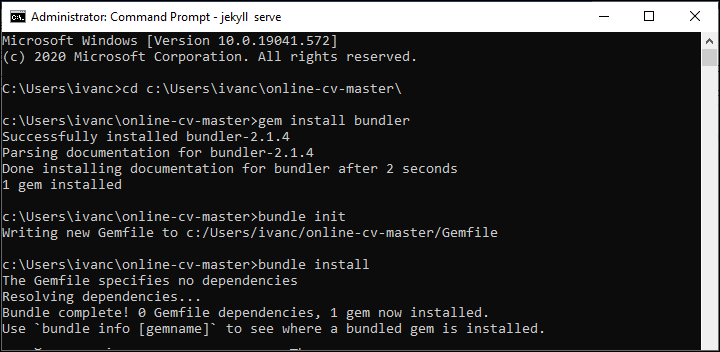
These commands created new
Gemfilefiles in your project folder. -
Open the
Gemfilewith Notepad.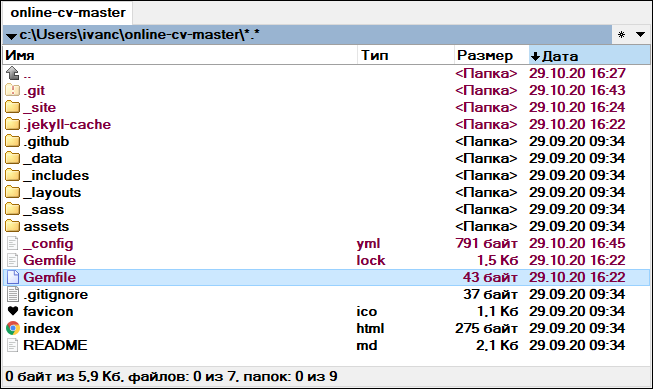
-
Delete everything in this file.
-
Enter the following data and save the file.
source "https://rubygems.org"

gem "jekyll"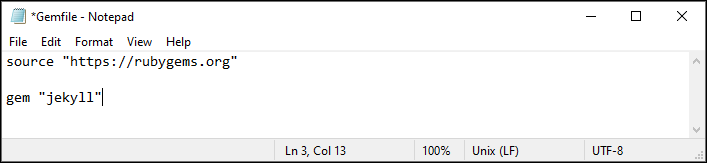
Build the site
To build your Jekyll site locally:
-
Enter
jekyll serveand press Enter.
-
Copy the server address:
-
Paste it in your browser and you should see your site served locally.
Edit your resume
Now that you’ve built the resume site, it’s time to edit its data with your own.
To edit the data in your resume:
-
In VSCode, open the project folder and select the
data.ymlfile.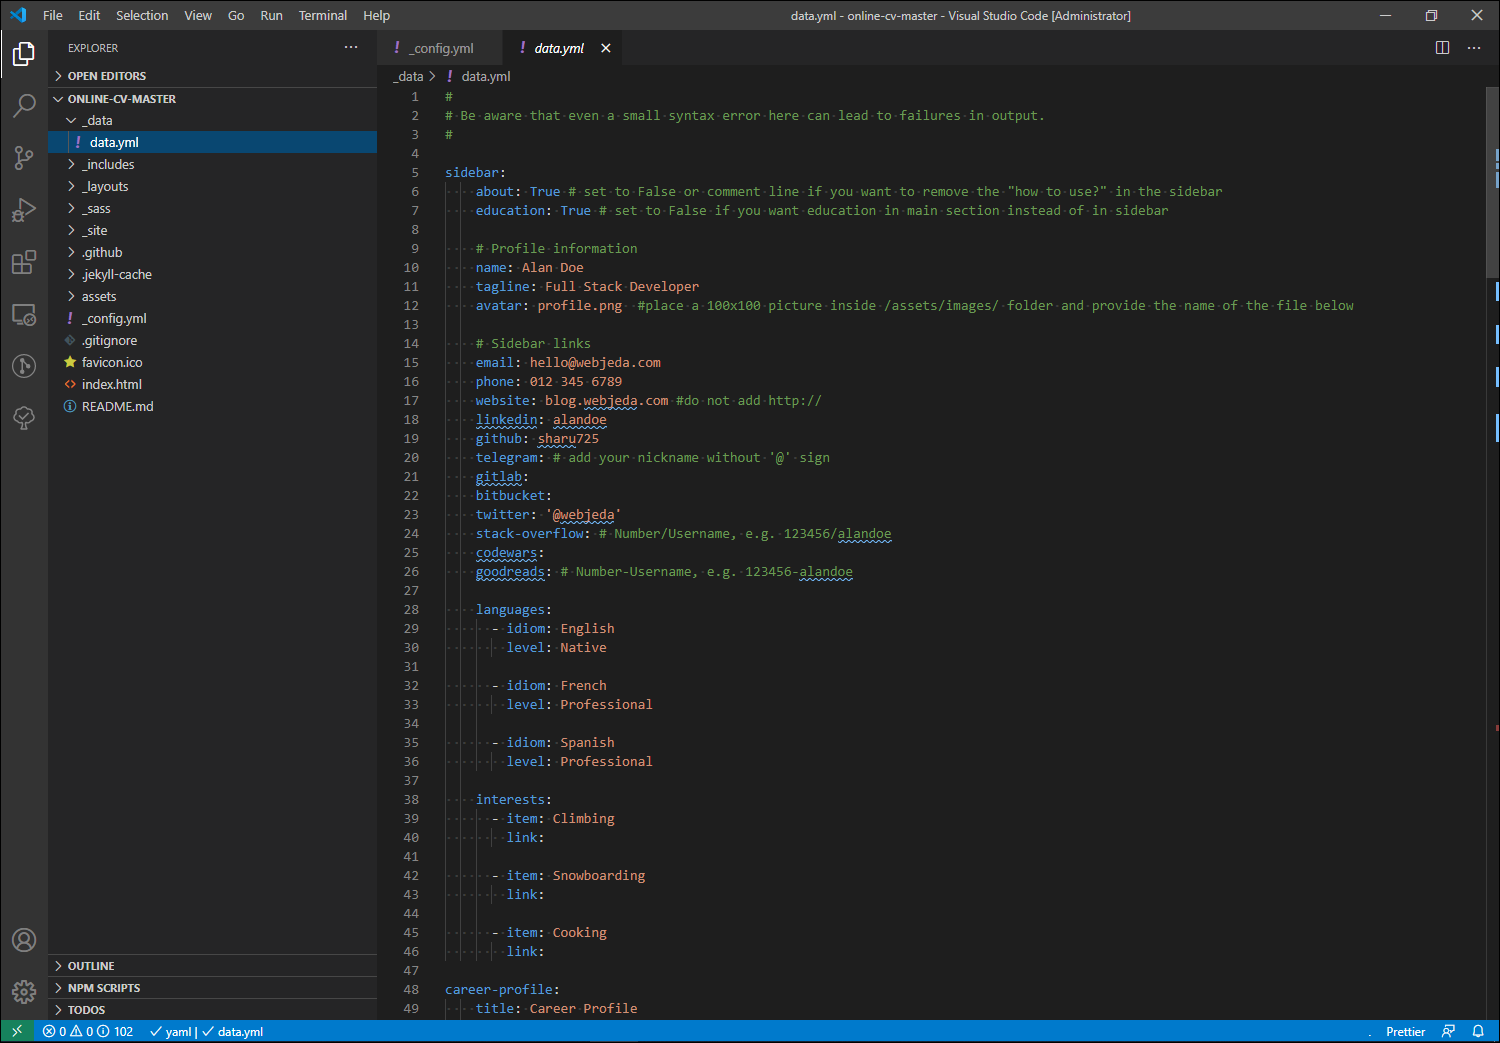
-
Edit the data in the resume with your own.
Note
When you edit the data in the resume, the changes are applied automatically to the site served locally. Refresh the page in your browser to see the changes.
Publish the site online
When you finish editing the site locally, it’s time to publish it online for everybody to see. For this example, I will use another nice platform to deploy and host your site, Vercel. But first you need to upload your project folder to GitHub.
Publish to GitHub
To upload your project folder to GitHub:
-
In VSCode, open the project folder.
-
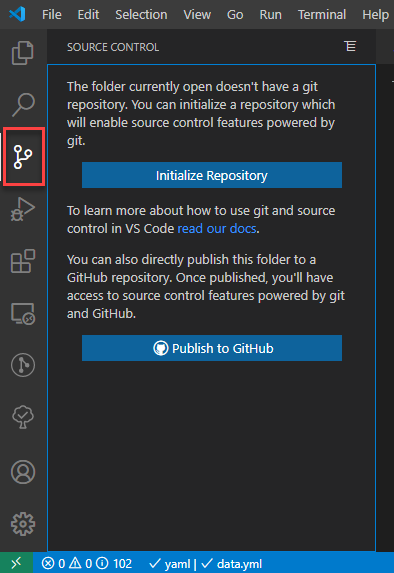
Select the Source Control icon.
-
Select Publish to GitHub.
-
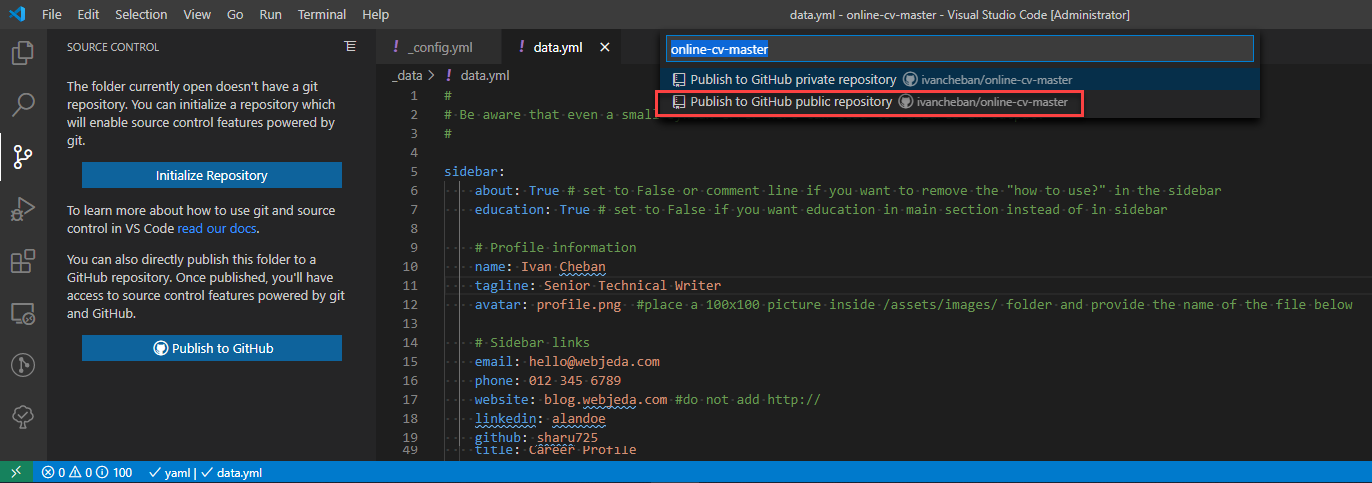
Select Publish to GitHub public repository.
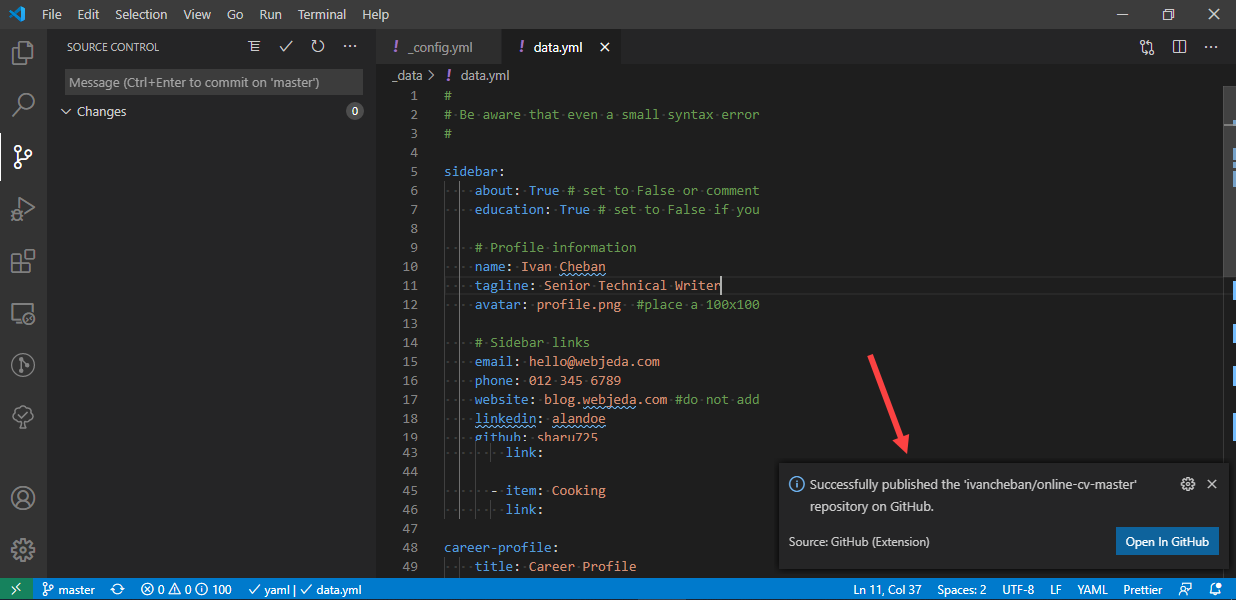
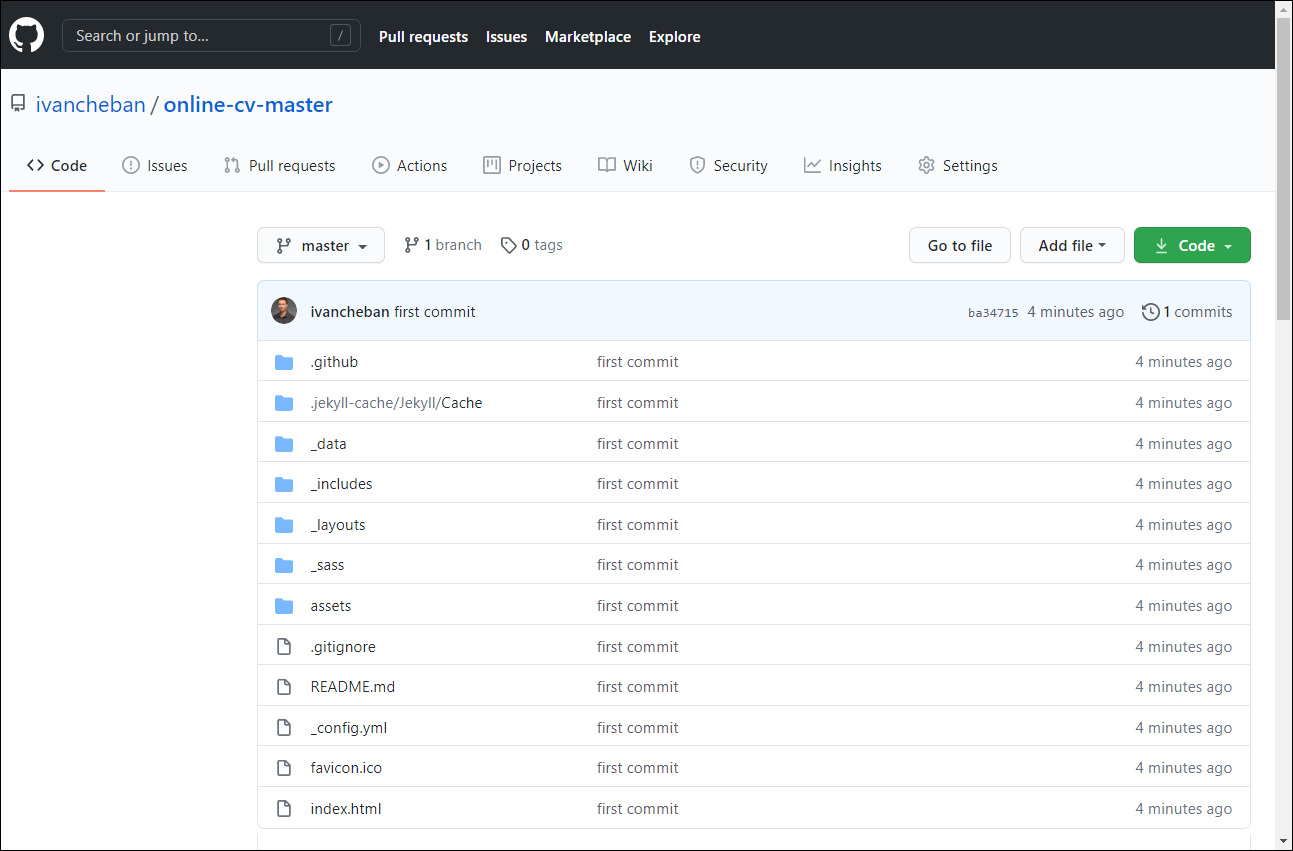
When the project folder has been uploaded to the GitHub repository, you will see this success message.
-
Select Open in GitHub to view your project folder uploaded and synced to the GitHub repository.
Deploy to Vercel
To publish your site online, you need to deploy it to Vercel.
-
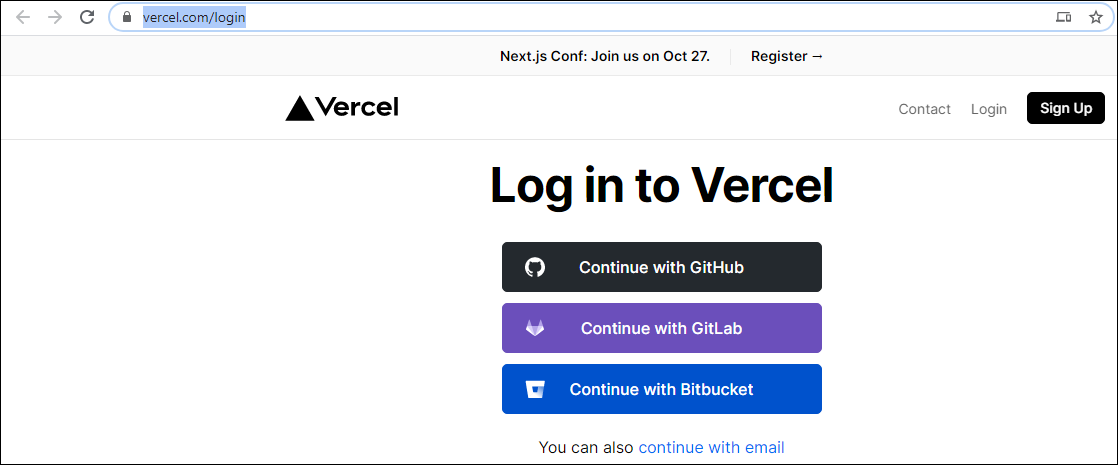
Go to Vercel.
-
Select Continue with GitHub.
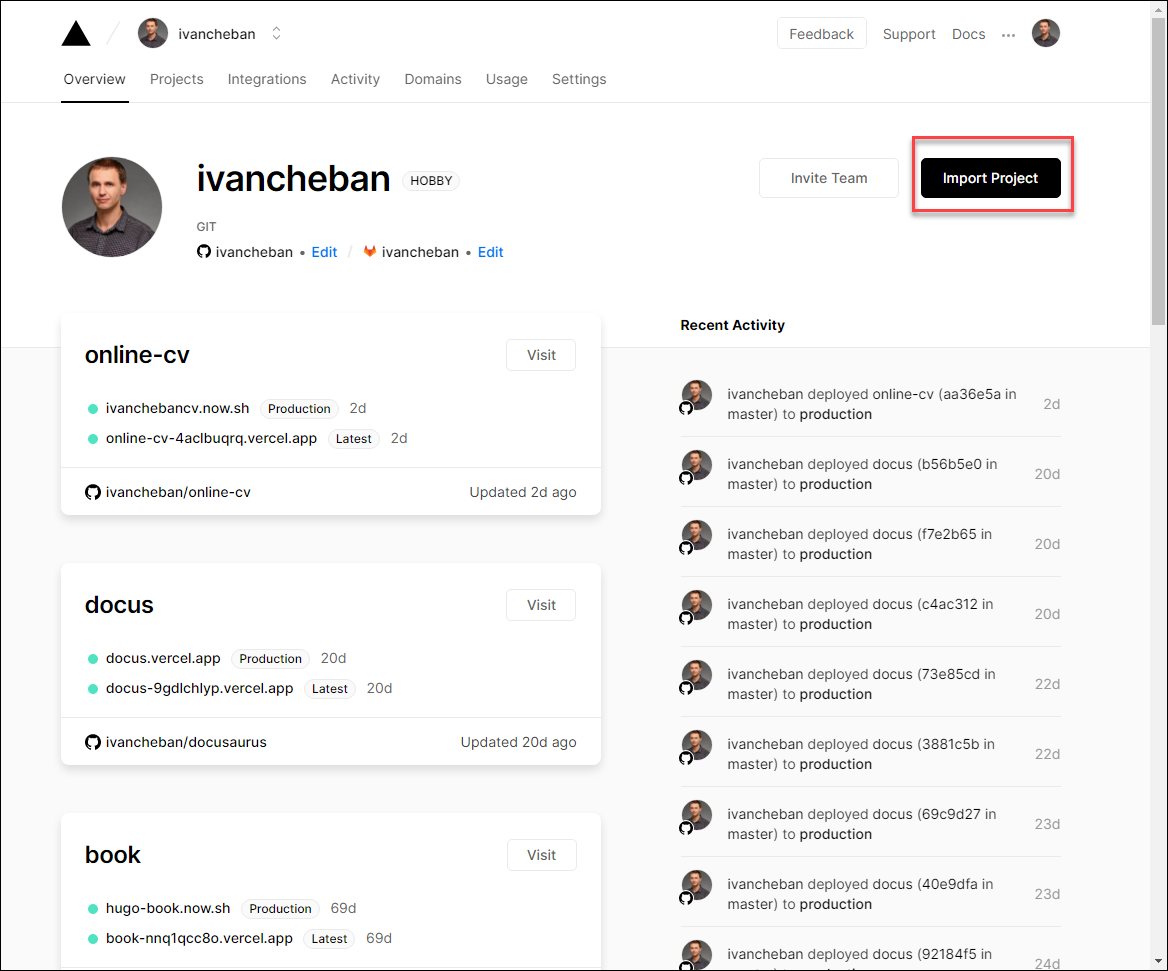
-
Select Import Project.
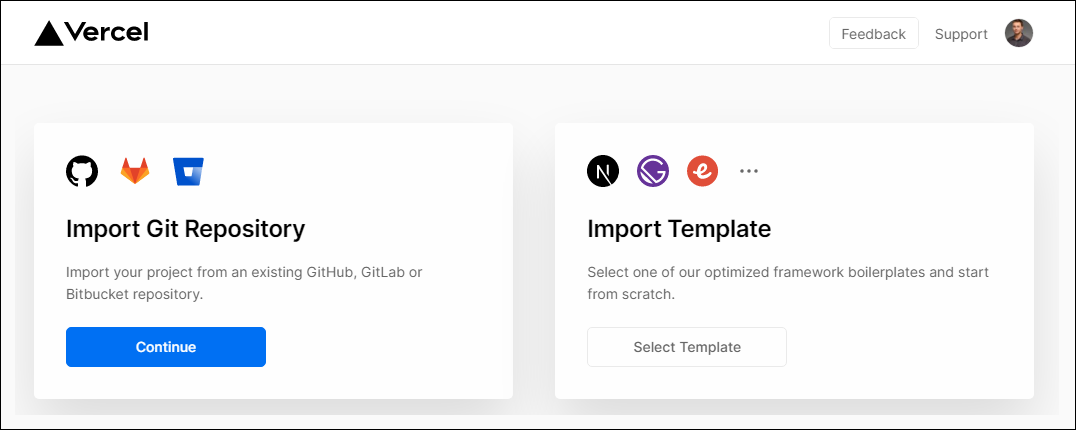
-
Select Continue to import your project from GitHub.
-
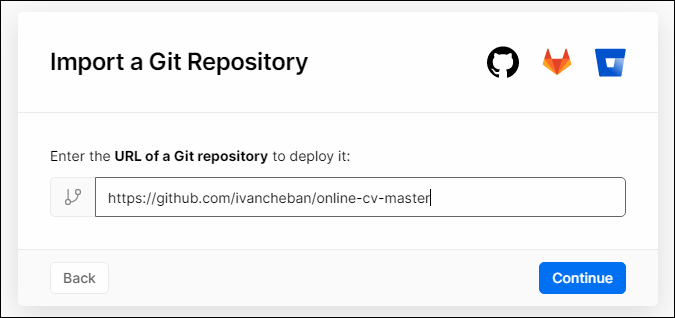
Provide the link to your GitHub repository and select Continue:
https://github.com/ivancheban/online-cv-master
-
Enter the project name: for example,
online-cv-master. Select Deploy.Note
This name will be used in the link to your site. You can always change the site name in the Vercel settings in Domains.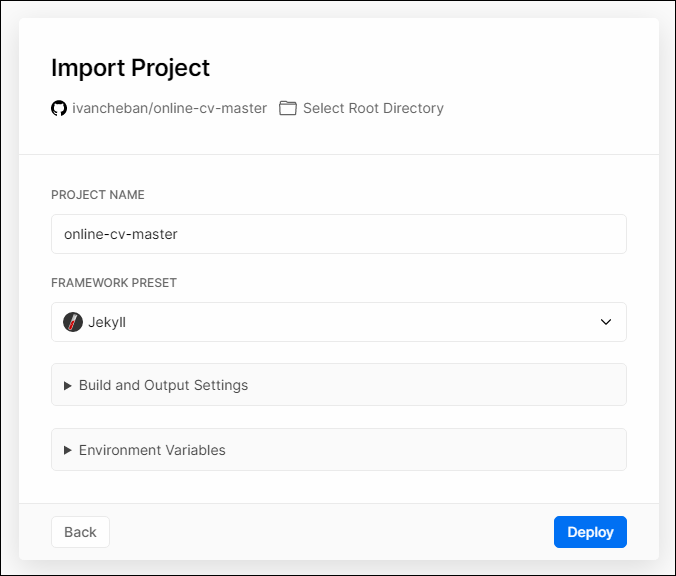
Note
The project deploy takes several minutes. Be patient.When the deploy finishes you will see this nice success screen.
-
Select Visit to go to your resume site available online.
You should see your site similar to this:
Feedback
Was this page helpful?
Glad to hear it! Please tell us how we can improve.
Sorry to hear that. Please tell us how we can improve.